When Tammy from Housing a Forest linked up to Thrifty Thursday, I went back to her blog and started looking through some of her old projects. There were some AMAZING craft ideas!
I asked her if she would be willing to guest post some of her ideas and she sent me this........an absolutely AMAZING birthday party idea, all on a very thrifty budget!
Annika's Art Party was a huge success! Annika has a love for all things art related, so this was the perfect choice for her and all her little friends. They all loved creating together.

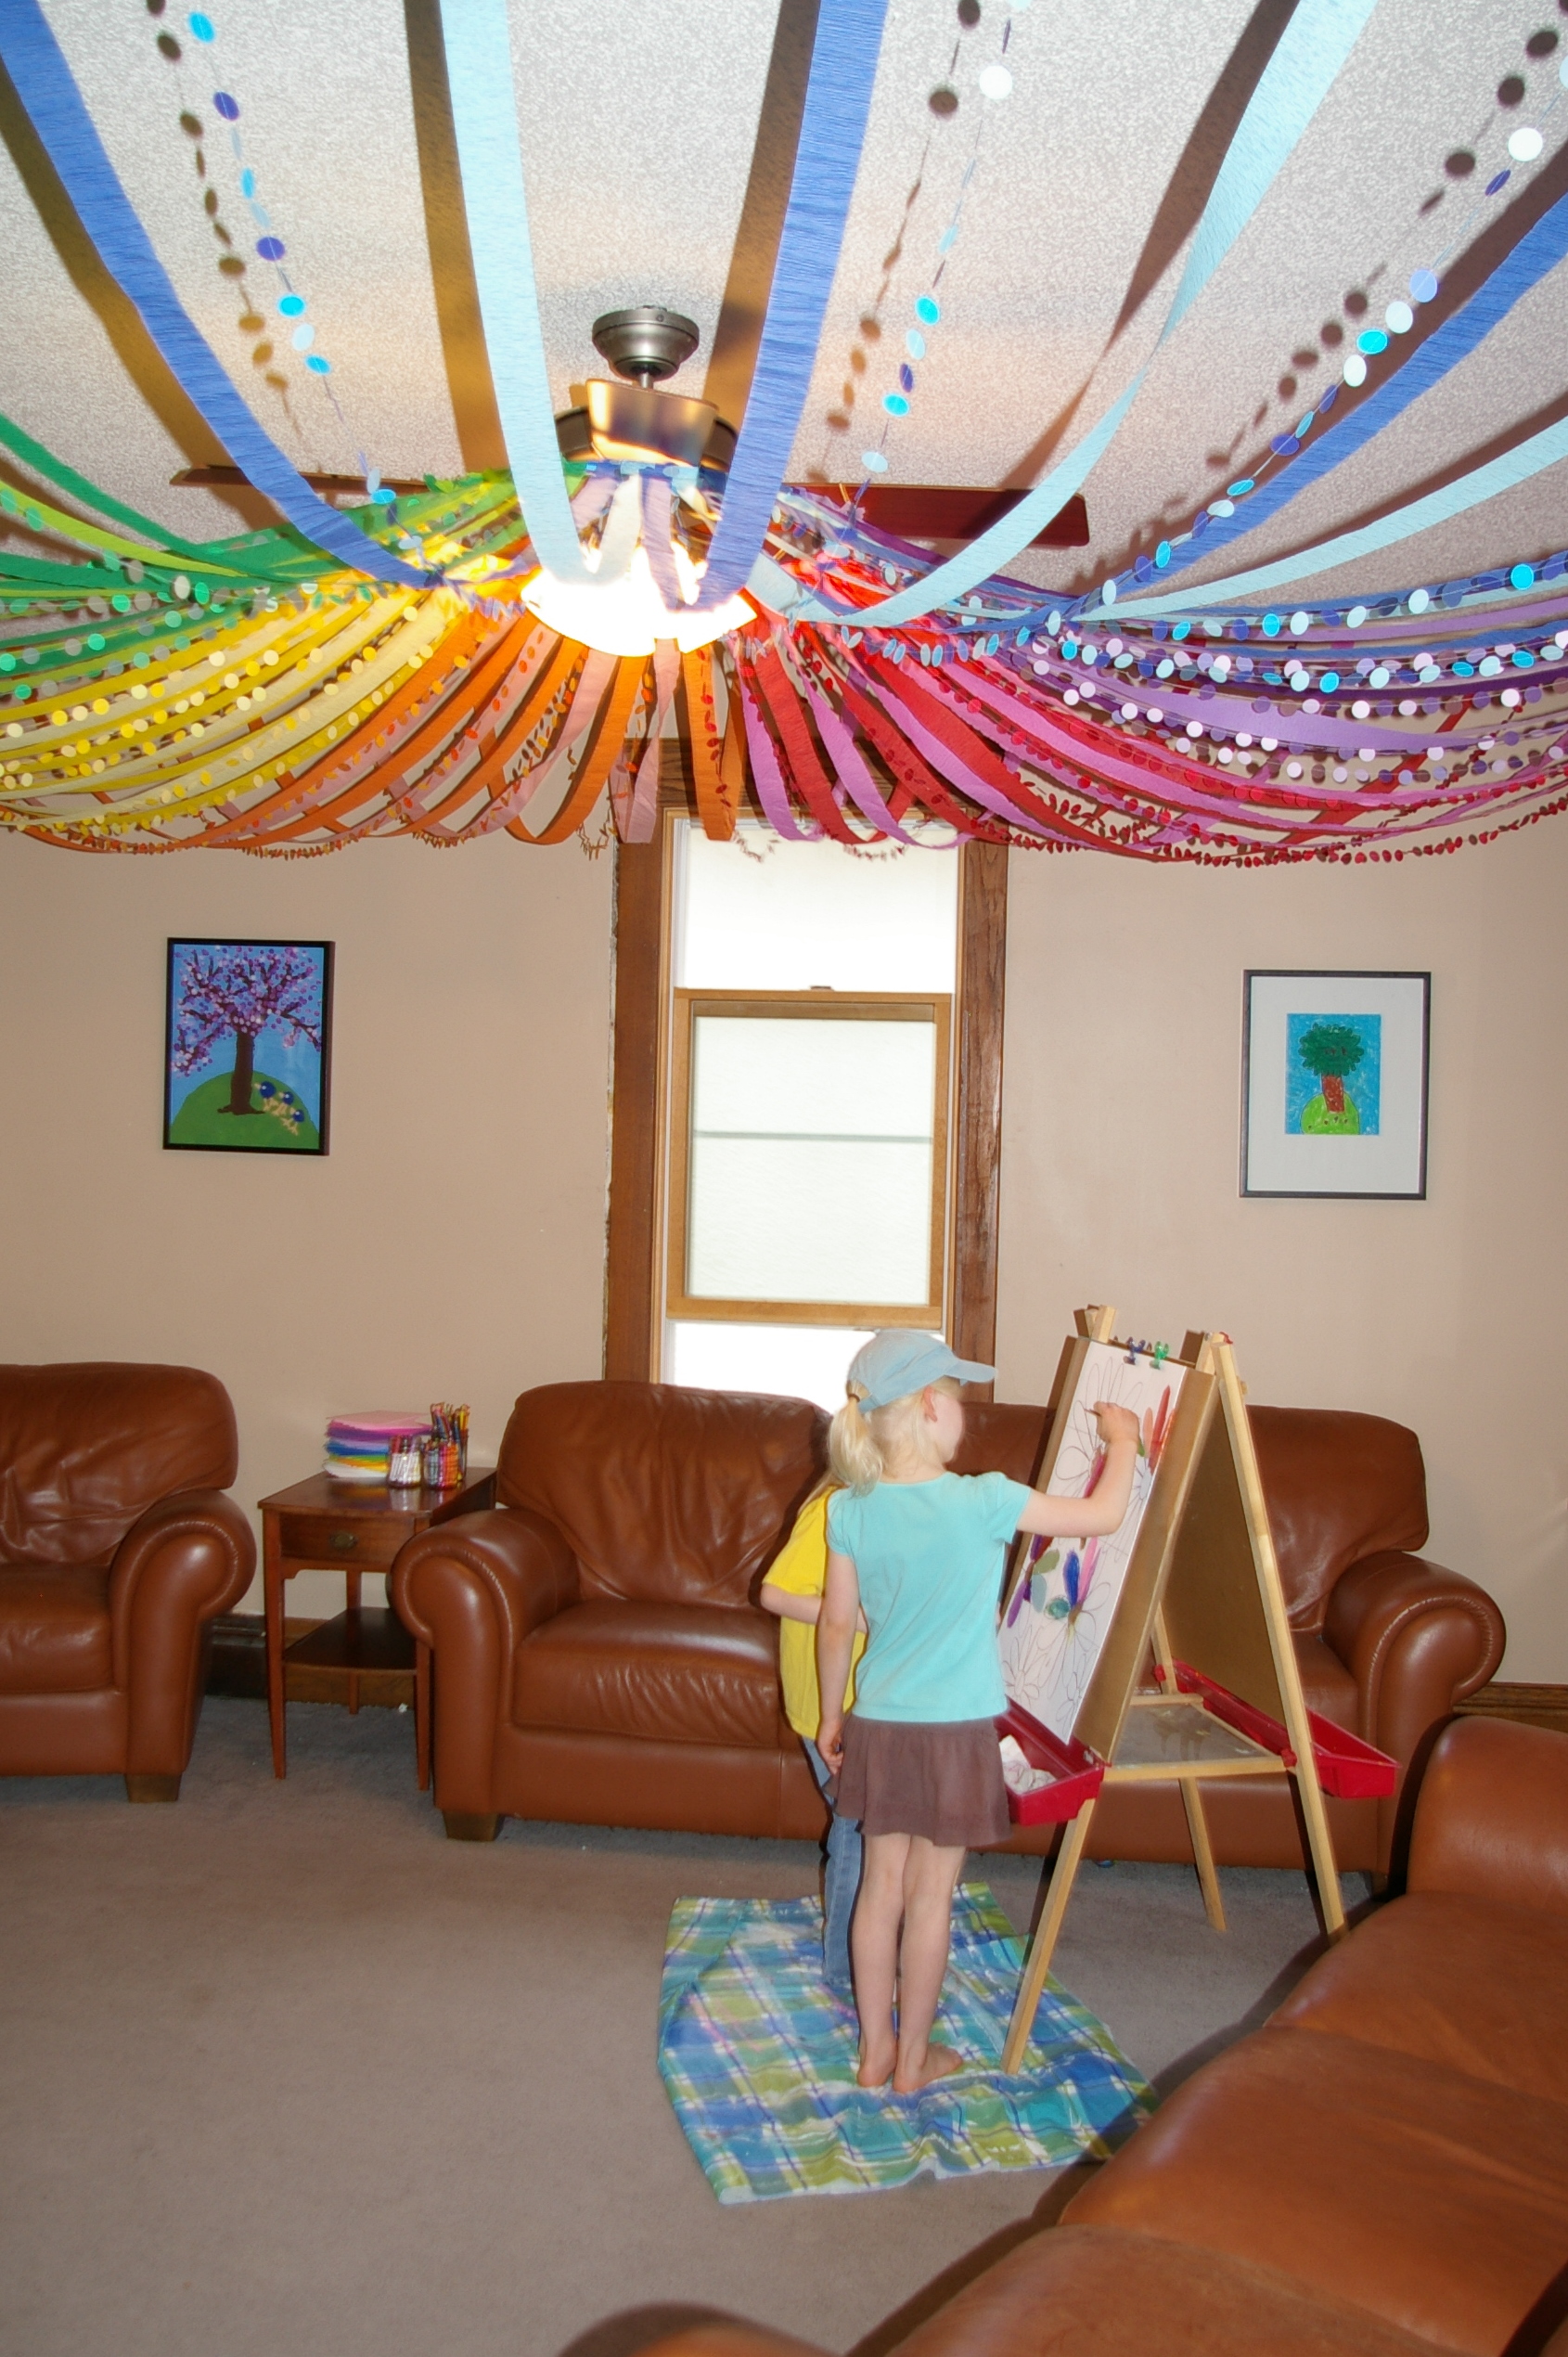
The color wheel ceiling was dramatic when you first walked in the door. I love how it instantly brightens the space. It created a large impact for very little money, which I love. You can read about how to create your own here. It was a bit time consuming to create, but it could easily translate into a number of different party themes.

Colorful frames seemed like the perfect decoration for an art party. Annika chose all the bright colors, I love the statement they created in our dining room. The dinning room was painted a very dark red a number of years ago. We will be removing the plaster walls and installing new drywall in a few weeks. This small remodel is perfect timing for party decorating since I don't have to be concerned about holes in the walls or if I love the new paint color. It is all changing soon. With that in mind, I decided to paint a white rectangle on the wall creating the perfect back drop for all the colorful frames. (My wonderful hubby did the painting for me! I love it that he goes along with all my crazy plans!)


The flowers were placed in colored water to create a rainbow, paint chips lined the table, flower paint chips were scattered around like confetti and numerous jars were used to display art supplies.


We have a budding little seamstress in our house. Bree, who is 6, sewed all the dots and paint chips that were strung throughout the party. I love it! We also covered old paint cans and chip brushes in bright paper to create a display in the entry way.


The wreath was created using more paint chips, I love the paint chip flowers. Above the art armoire was a cute grouping of more sewn dots, a paint chip color burst and a vase covered in markers.


Annika had a gallery wall of a few of her pieces. To find out how we created the sweet spring tree and pour painting click on the links. I also love her version of Kandinsky's Concentric Circles.

I wanted a special keepsake for Annika painted by all her friends, so I drew a quick sketch of flowers on mat board and divided it 12 equal sections. The kids each painted one section of the painting. This is a super cute idea. One painting that all her friends helped create that can be hung in her room. The easel was set up in the corner of the living room, it was super cute watching them paint under the color wheel ceiling.


There were a few painting stations set up outside. The kids loved bubble painting, marble painting and creating spin art. I had one helper at each station which worked great.
 All the art work the kids created was hung on a string outside. It made a perfect spot to dry the art work, but also added some great color. The work looked so great all strung up waving in the breeze. At the top of the picture there is a string of colorful pendants. The kids created those by using our leftover easter egg dye and old school computer paper, the kind with the holes up the side. I love how bright the colors turned out.


Annika wanted a colorful rainbow cake like all the ones we saw around St. Patrick's Day. It was really easy to create, although I will worn you, with all the layers it can get a bit tall. As I was putting it together, I realized I should have used less batter in each layer. I really so love the over sized statment it made, but next time I will make sure not to use 2 cups of batter for each color. One problem that we ran into because of the size was how to serve it. The cake was simply too big for regular plates so a friend suggested that we serve it on card stock. I really love the idea, it is an art party after all! I also served white grape juice with purple grape juice ice cubes. The ice cubes melted fast, but they did create a fun color effect as they melted into the white grape juice.

The favorite activity of the party was the master piece art wall. Like I mentioned before, our plaster walls are being demolished soon, so it was a perfect time to create a giant canvas for the kids to paint. It took a few coats of a stain blocking paint to cover the deep red, but it was totally worth it. I then painted a simple frame, a large flower and Happy Birthday Annika to begin the mural. The kids did the rest.


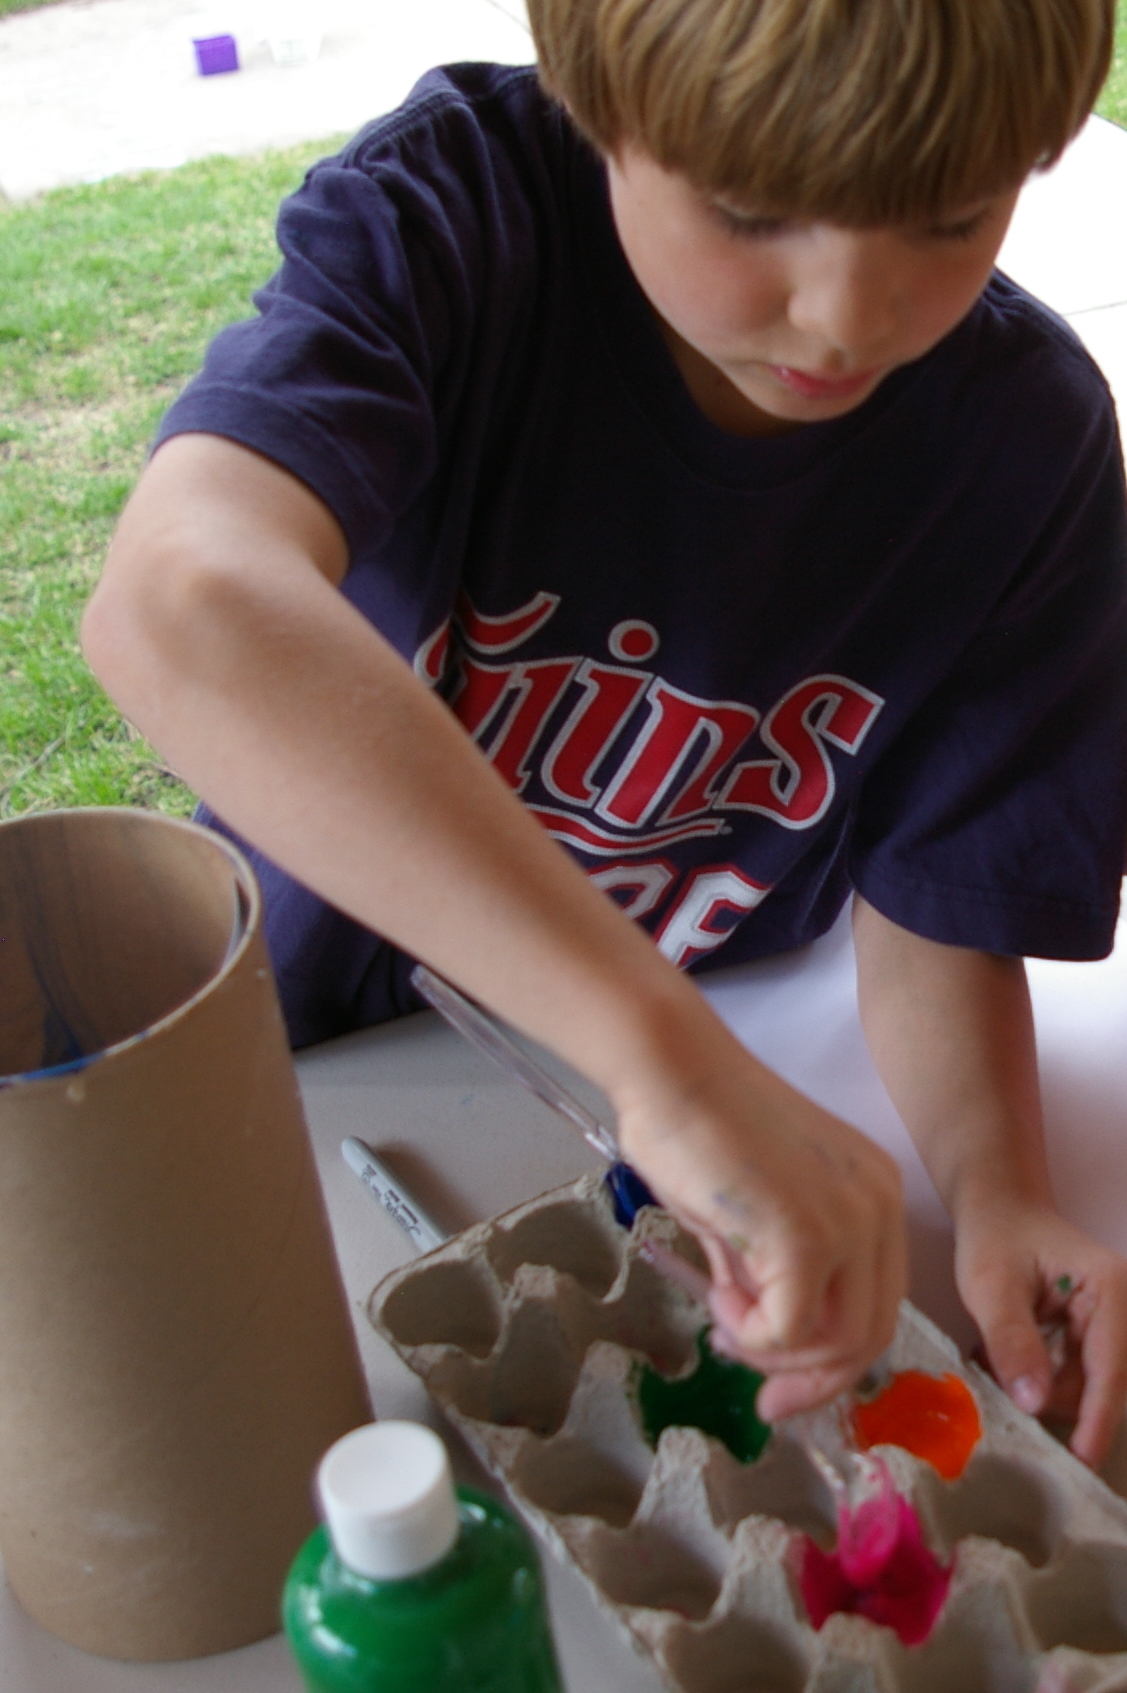
They enjoyed all the stations, but kept coming back to this one. I think that being able to paint on a wall which is normally discouraged, and having such a large area to work on was a real draw for the kids. They each had half of an egg carton that they used as their painting pallet. There were numerous colors of craft acrylics that the kids could choose from. The colors got a bit muddy since there was not real good way to have them rinse out their brushes between colors. I LOVE the wall and I am going to have a hard time when we have to demolish all their hard work to put up the new drywall. This would be such a fun idea for a play room, always changing art work.


-----------------------------
If you are looking for fun craft ideas for your children (and yourself!) this summer, you need to check out Housing a Forest! Here are just some of her great ideas!


Read more ...
I asked her if she would be willing to guest post some of her ideas and she sent me this........an absolutely AMAZING birthday party idea, all on a very thrifty budget!
---------------------------------
Hi! My name is Tammy and I blog over at Housing a Forest I was SO excited when Nicole asked me to be a guest blogger. I am hooked on reading her blog, and was delighted to be given the opportunity to share my ideas here!
I love spending time being creative and encouraging my kiddos to be creative as well. I am a mom to 3 of the most wonderful kiddos and I have a super supportive husband of all my crazy ideas. Our house is often full of kiddos, and I love watching them play, create and learn. I started blogging to document what we do, share our ideas and hopefully inspire other moms. I enjoy kid art, I love being a mom and I am really excited to share what we are creating.
Annika's Art Party was a huge success! Annika has a love for all things art related, so this was the perfect choice for her and all her little friends. They all loved creating together.
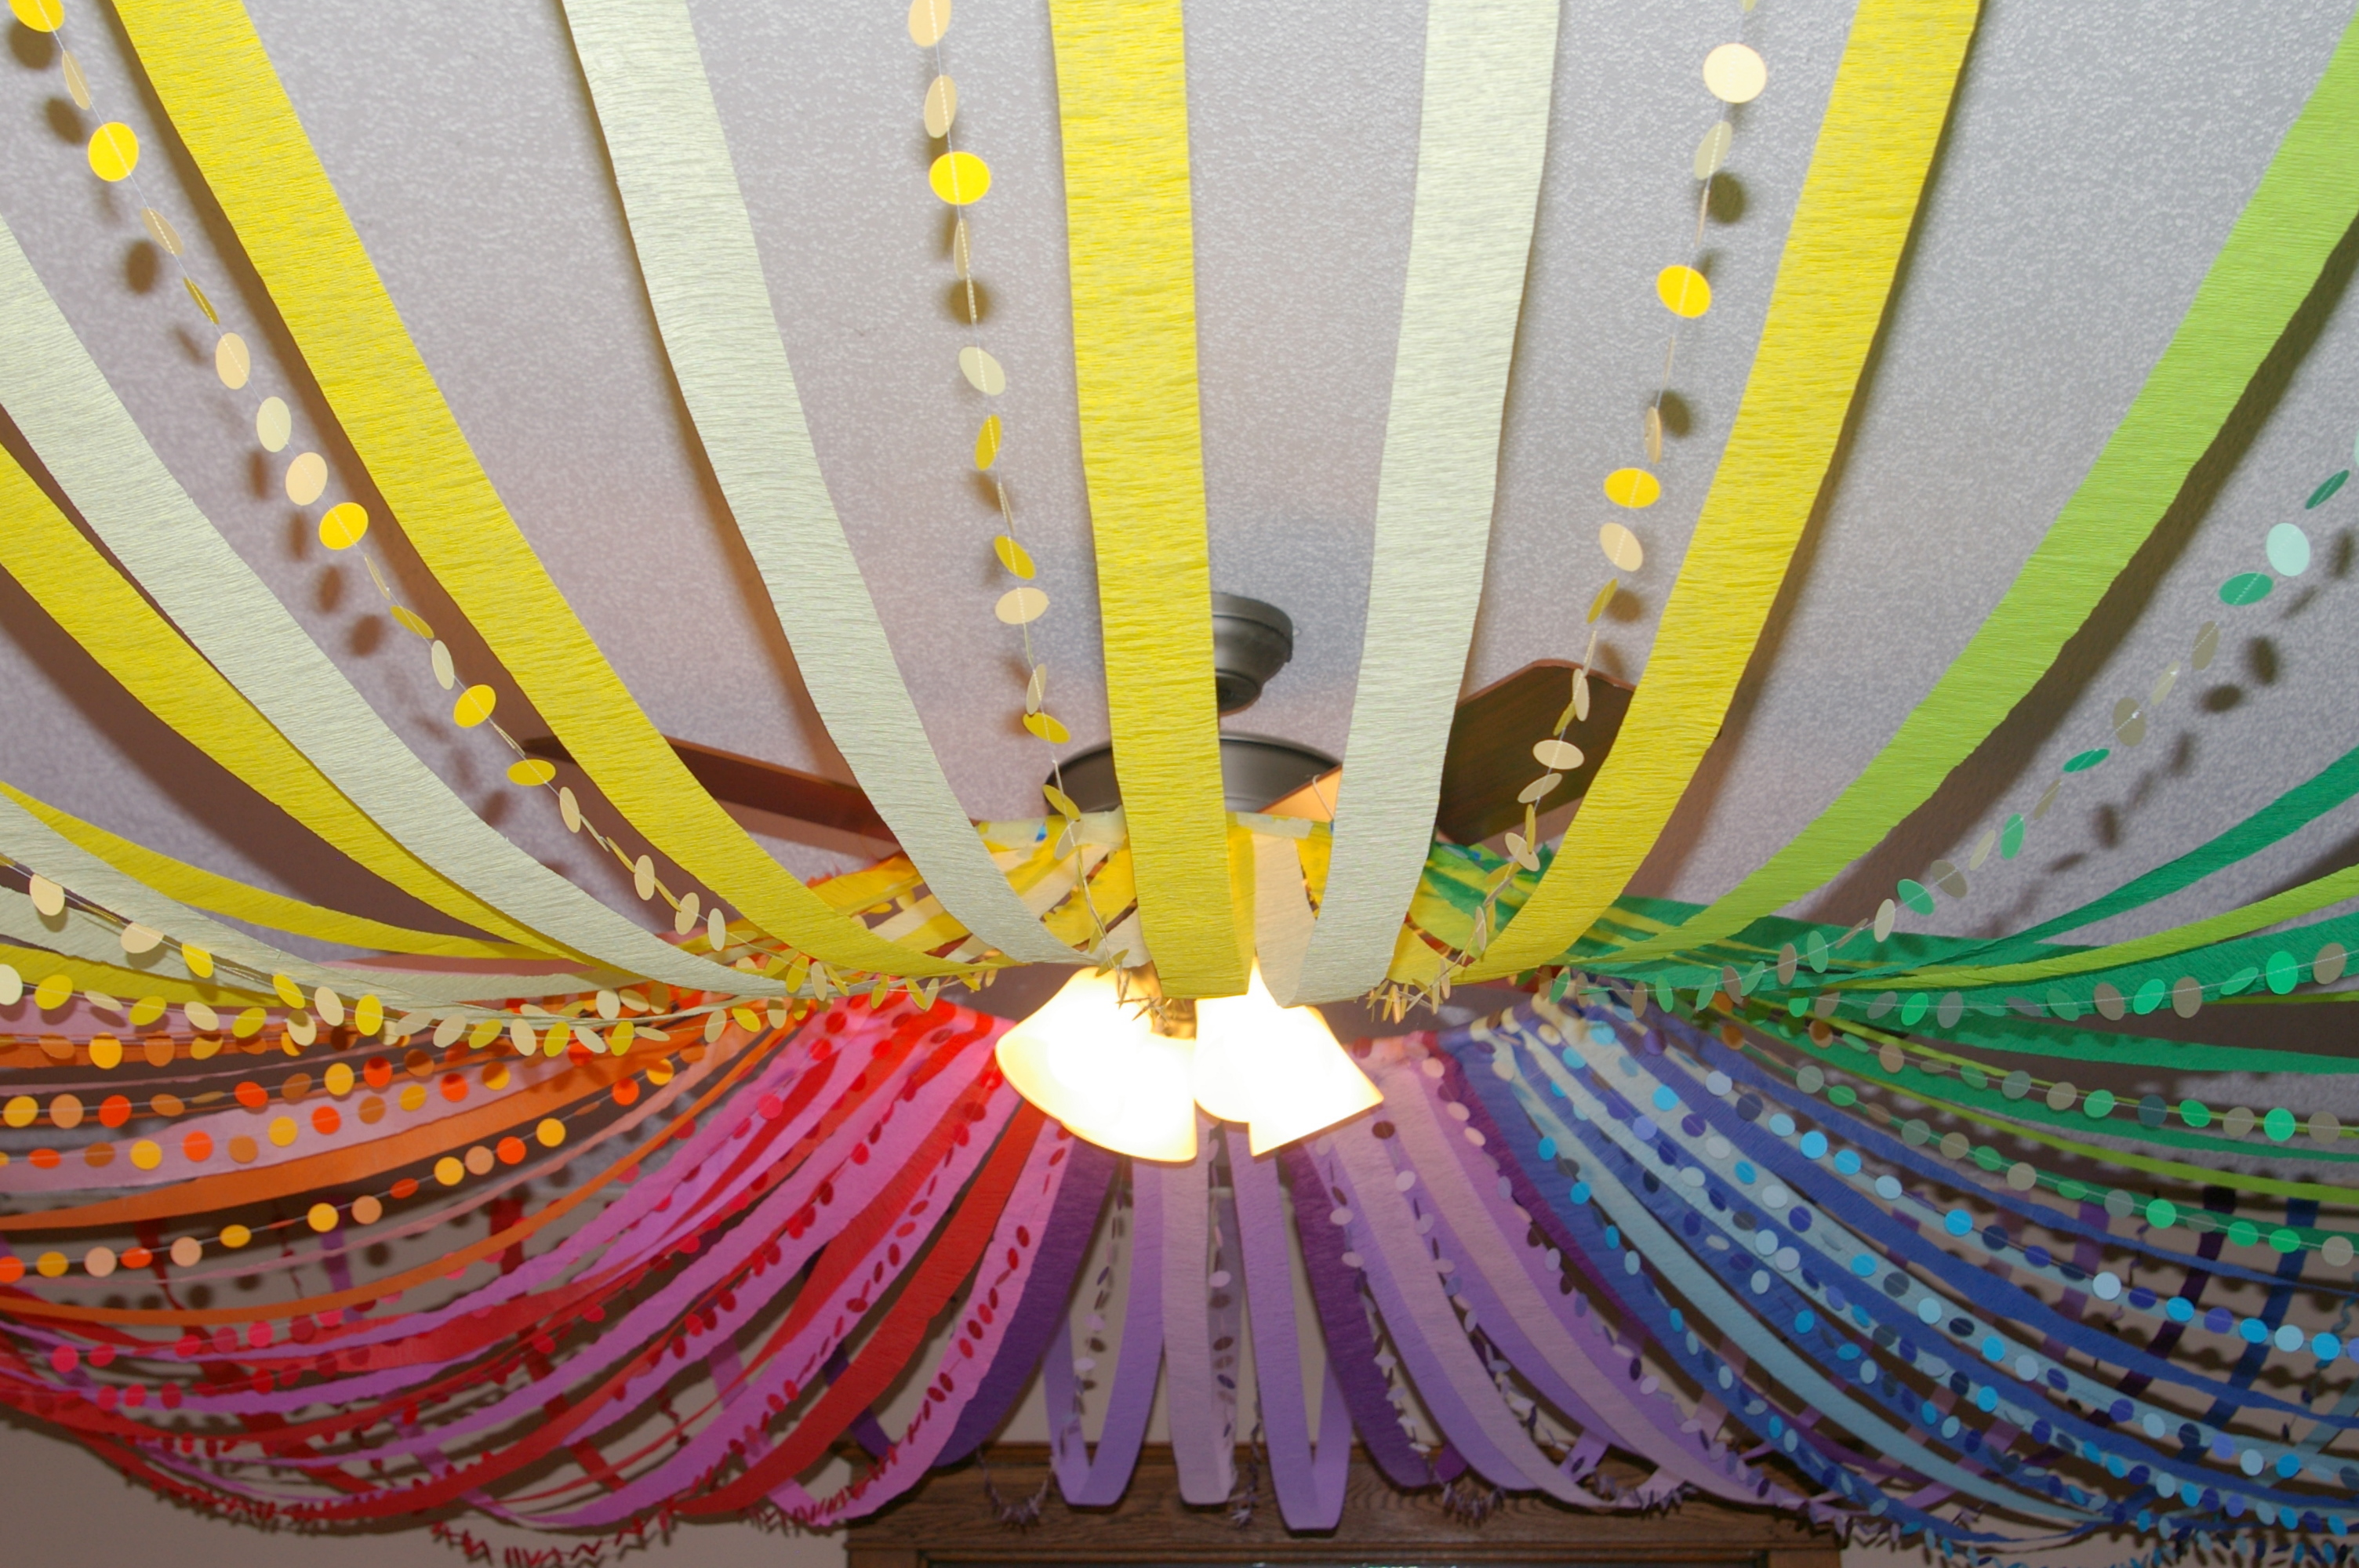
The color wheel ceiling was dramatic when you first walked in the door. I love how it instantly brightens the space. It created a large impact for very little money, which I love. You can read about how to create your own here. It was a bit time consuming to create, but it could easily translate into a number of different party themes.

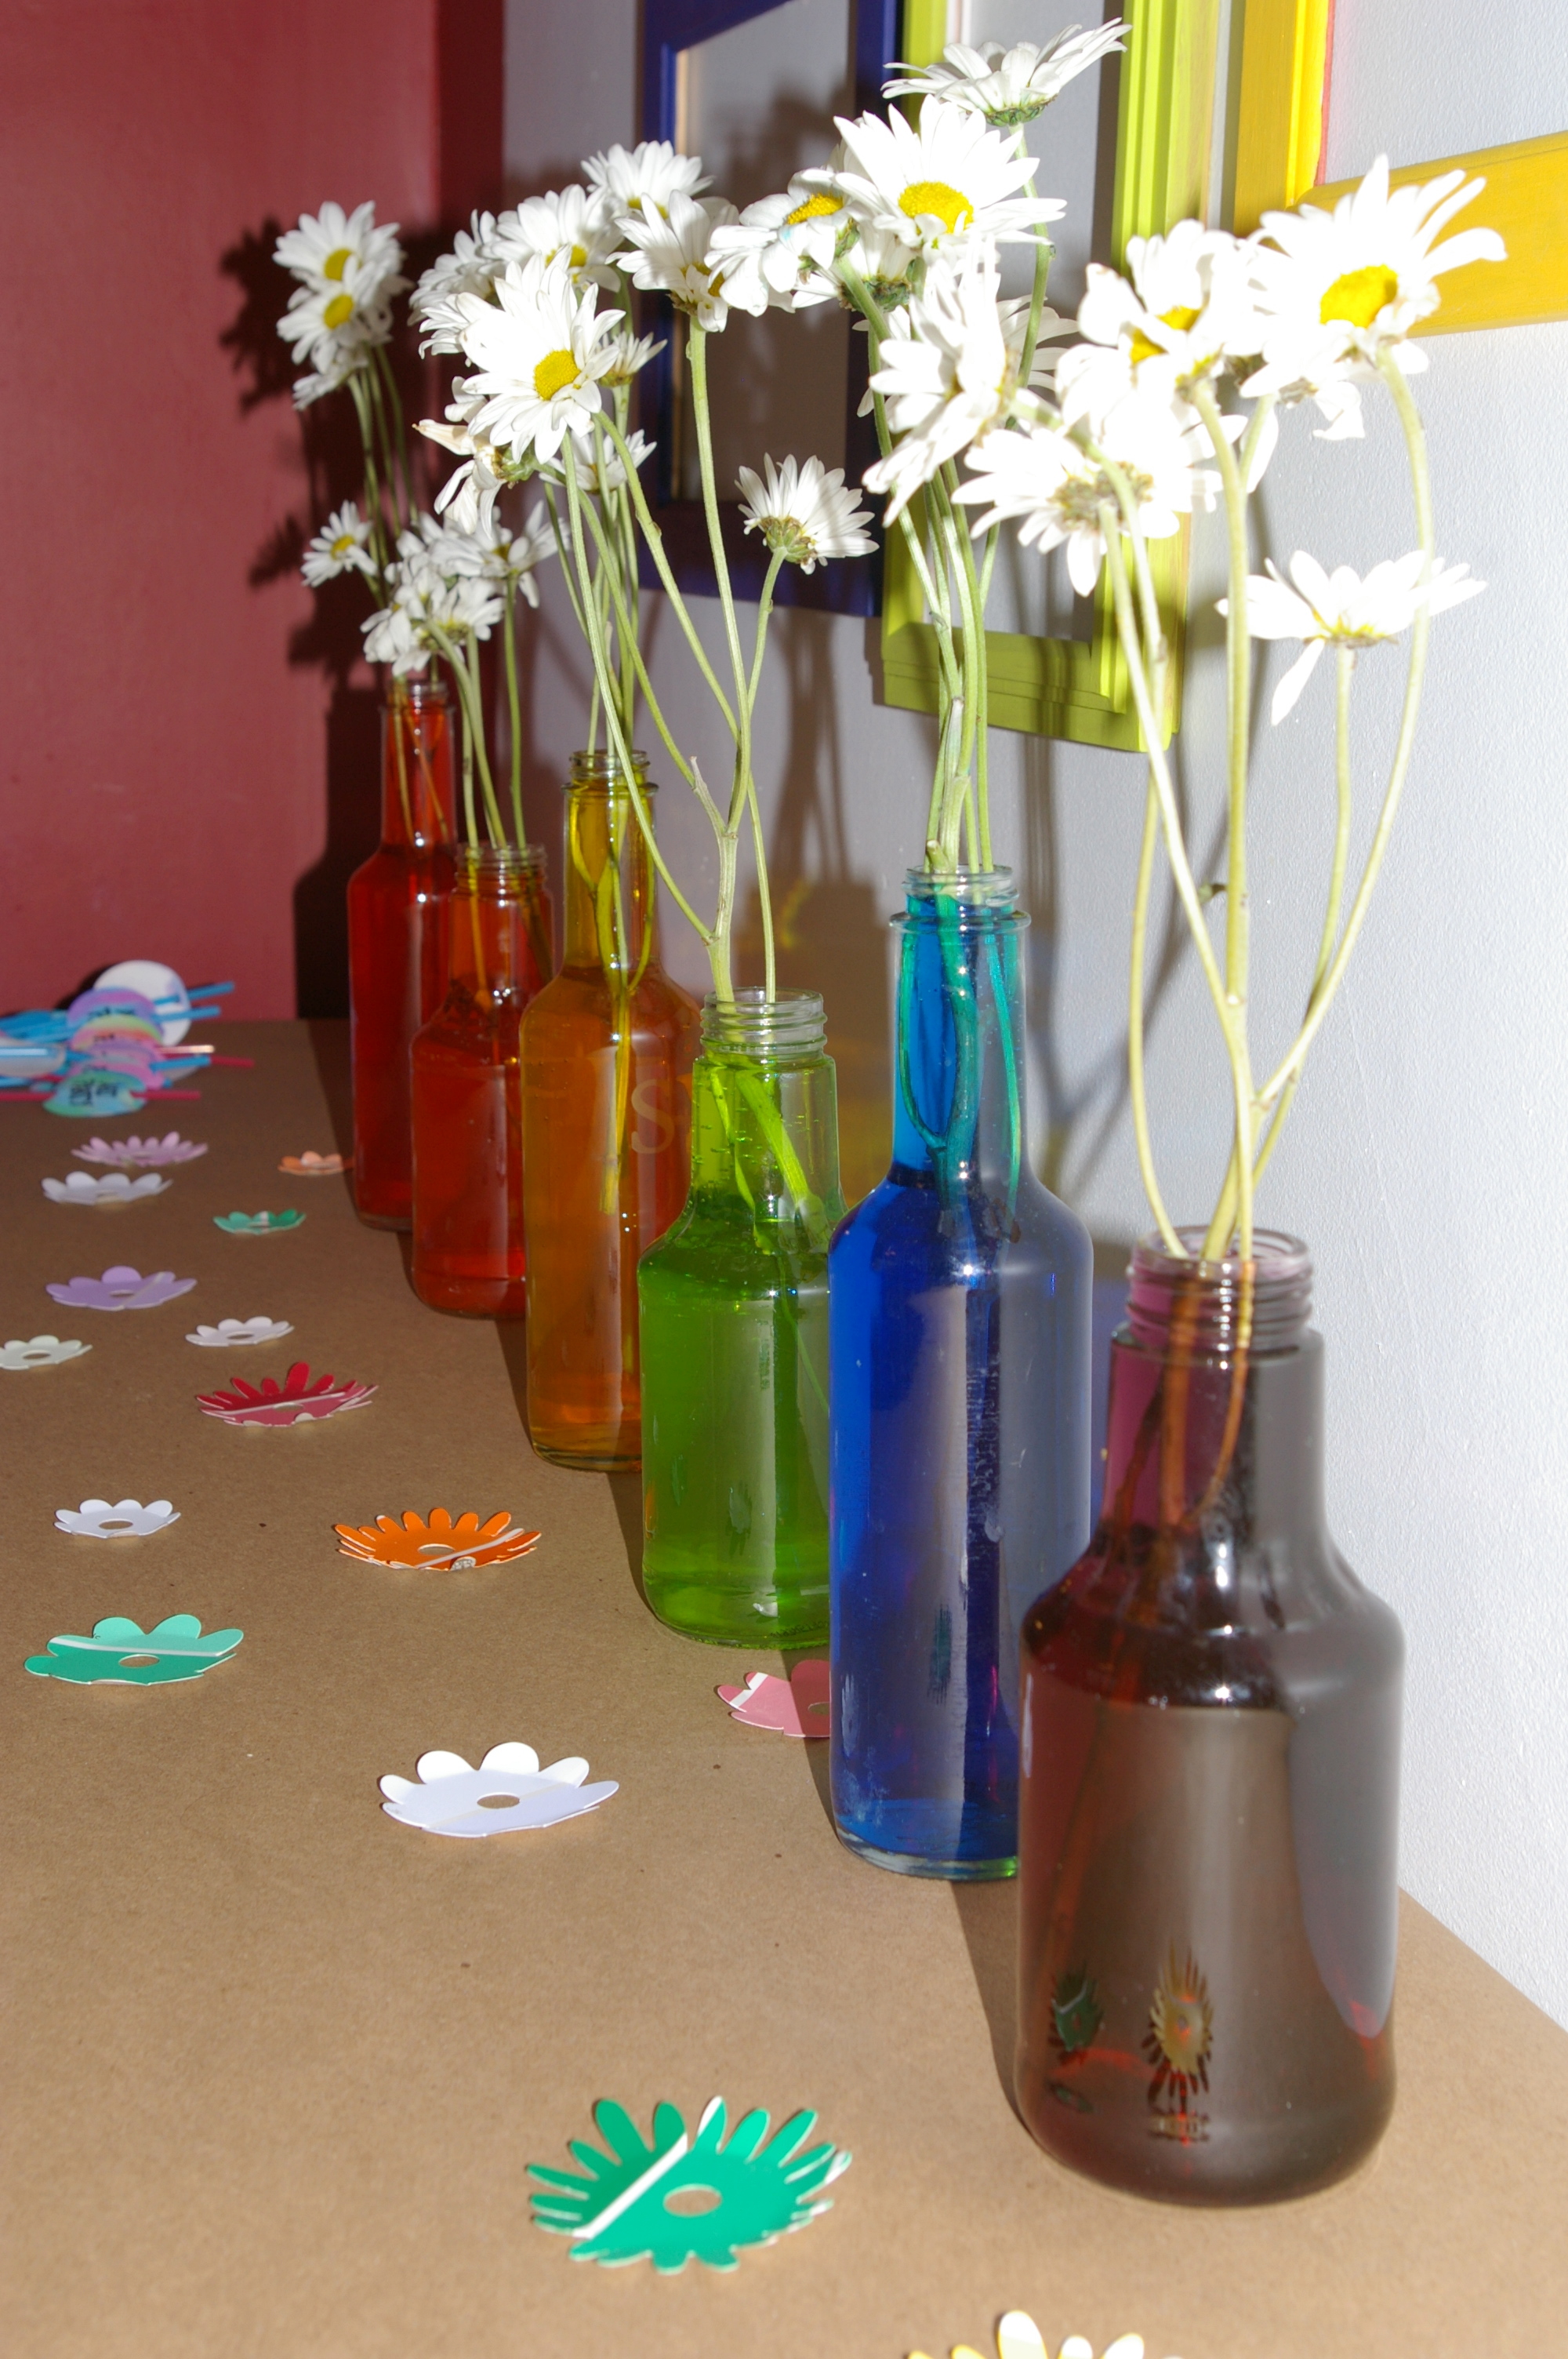


The flowers were placed in colored water to create a rainbow, paint chips lined the table, flower paint chips were scattered around like confetti and numerous jars were used to display art supplies.
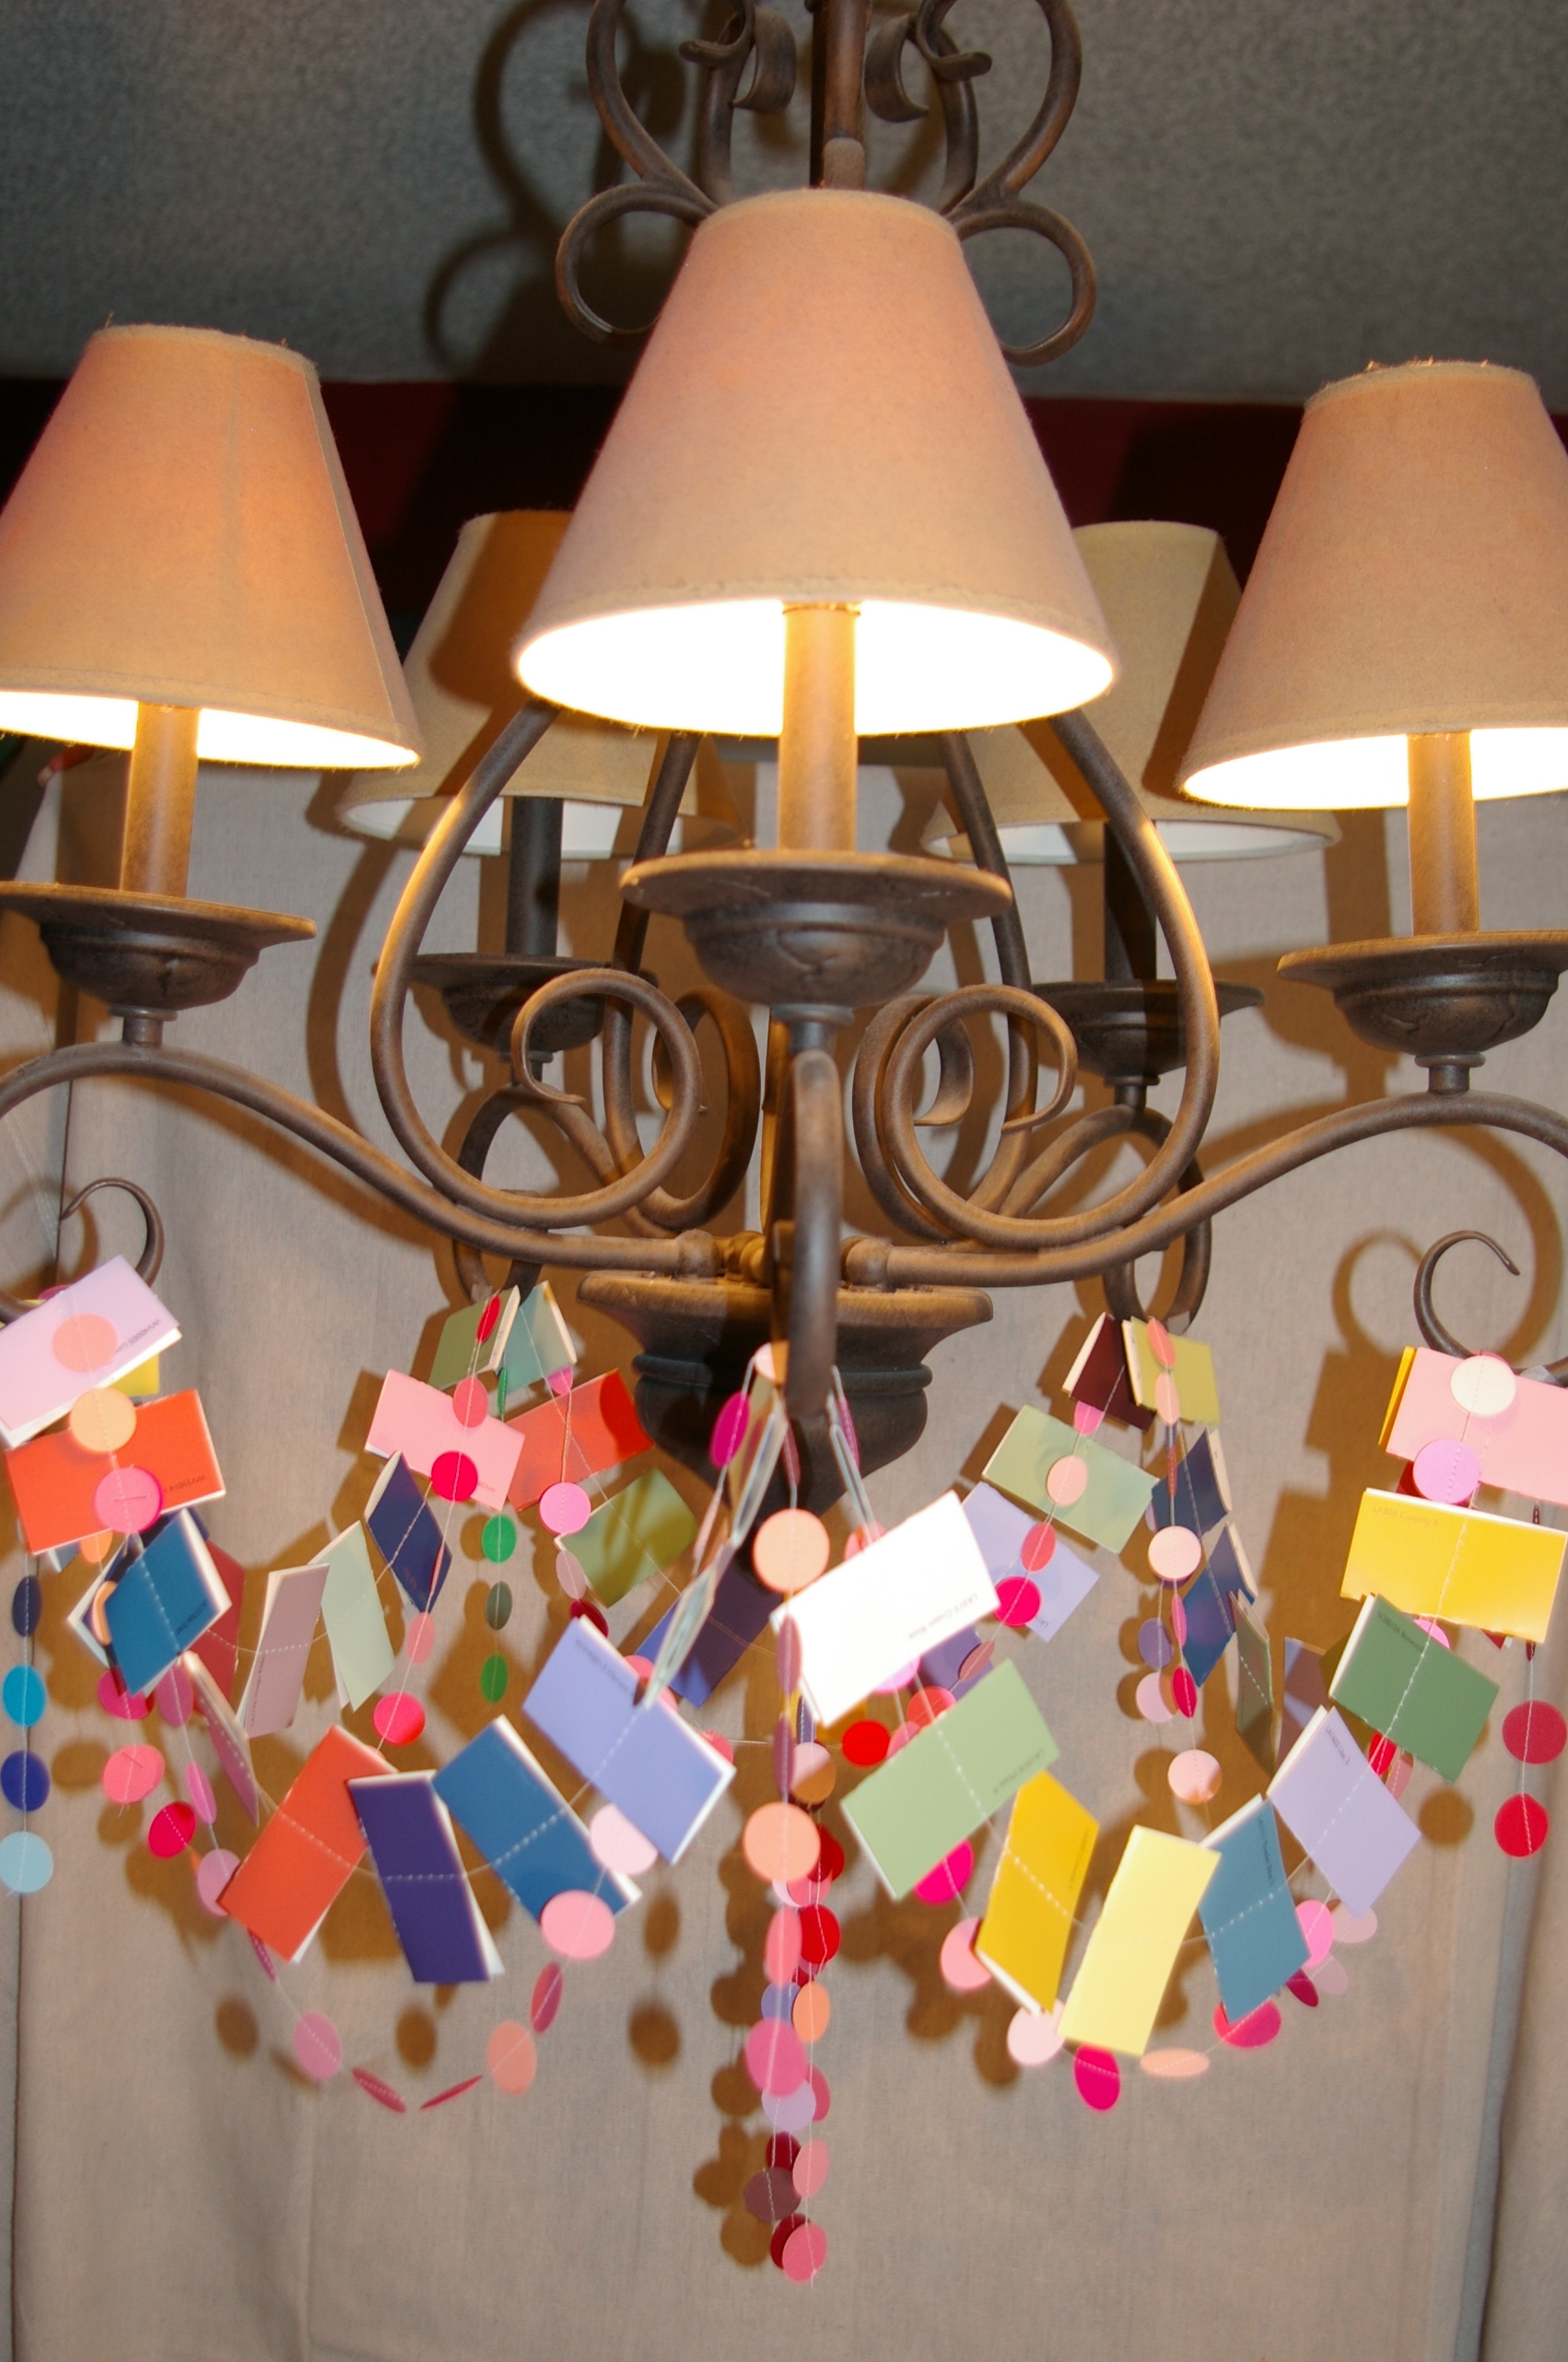
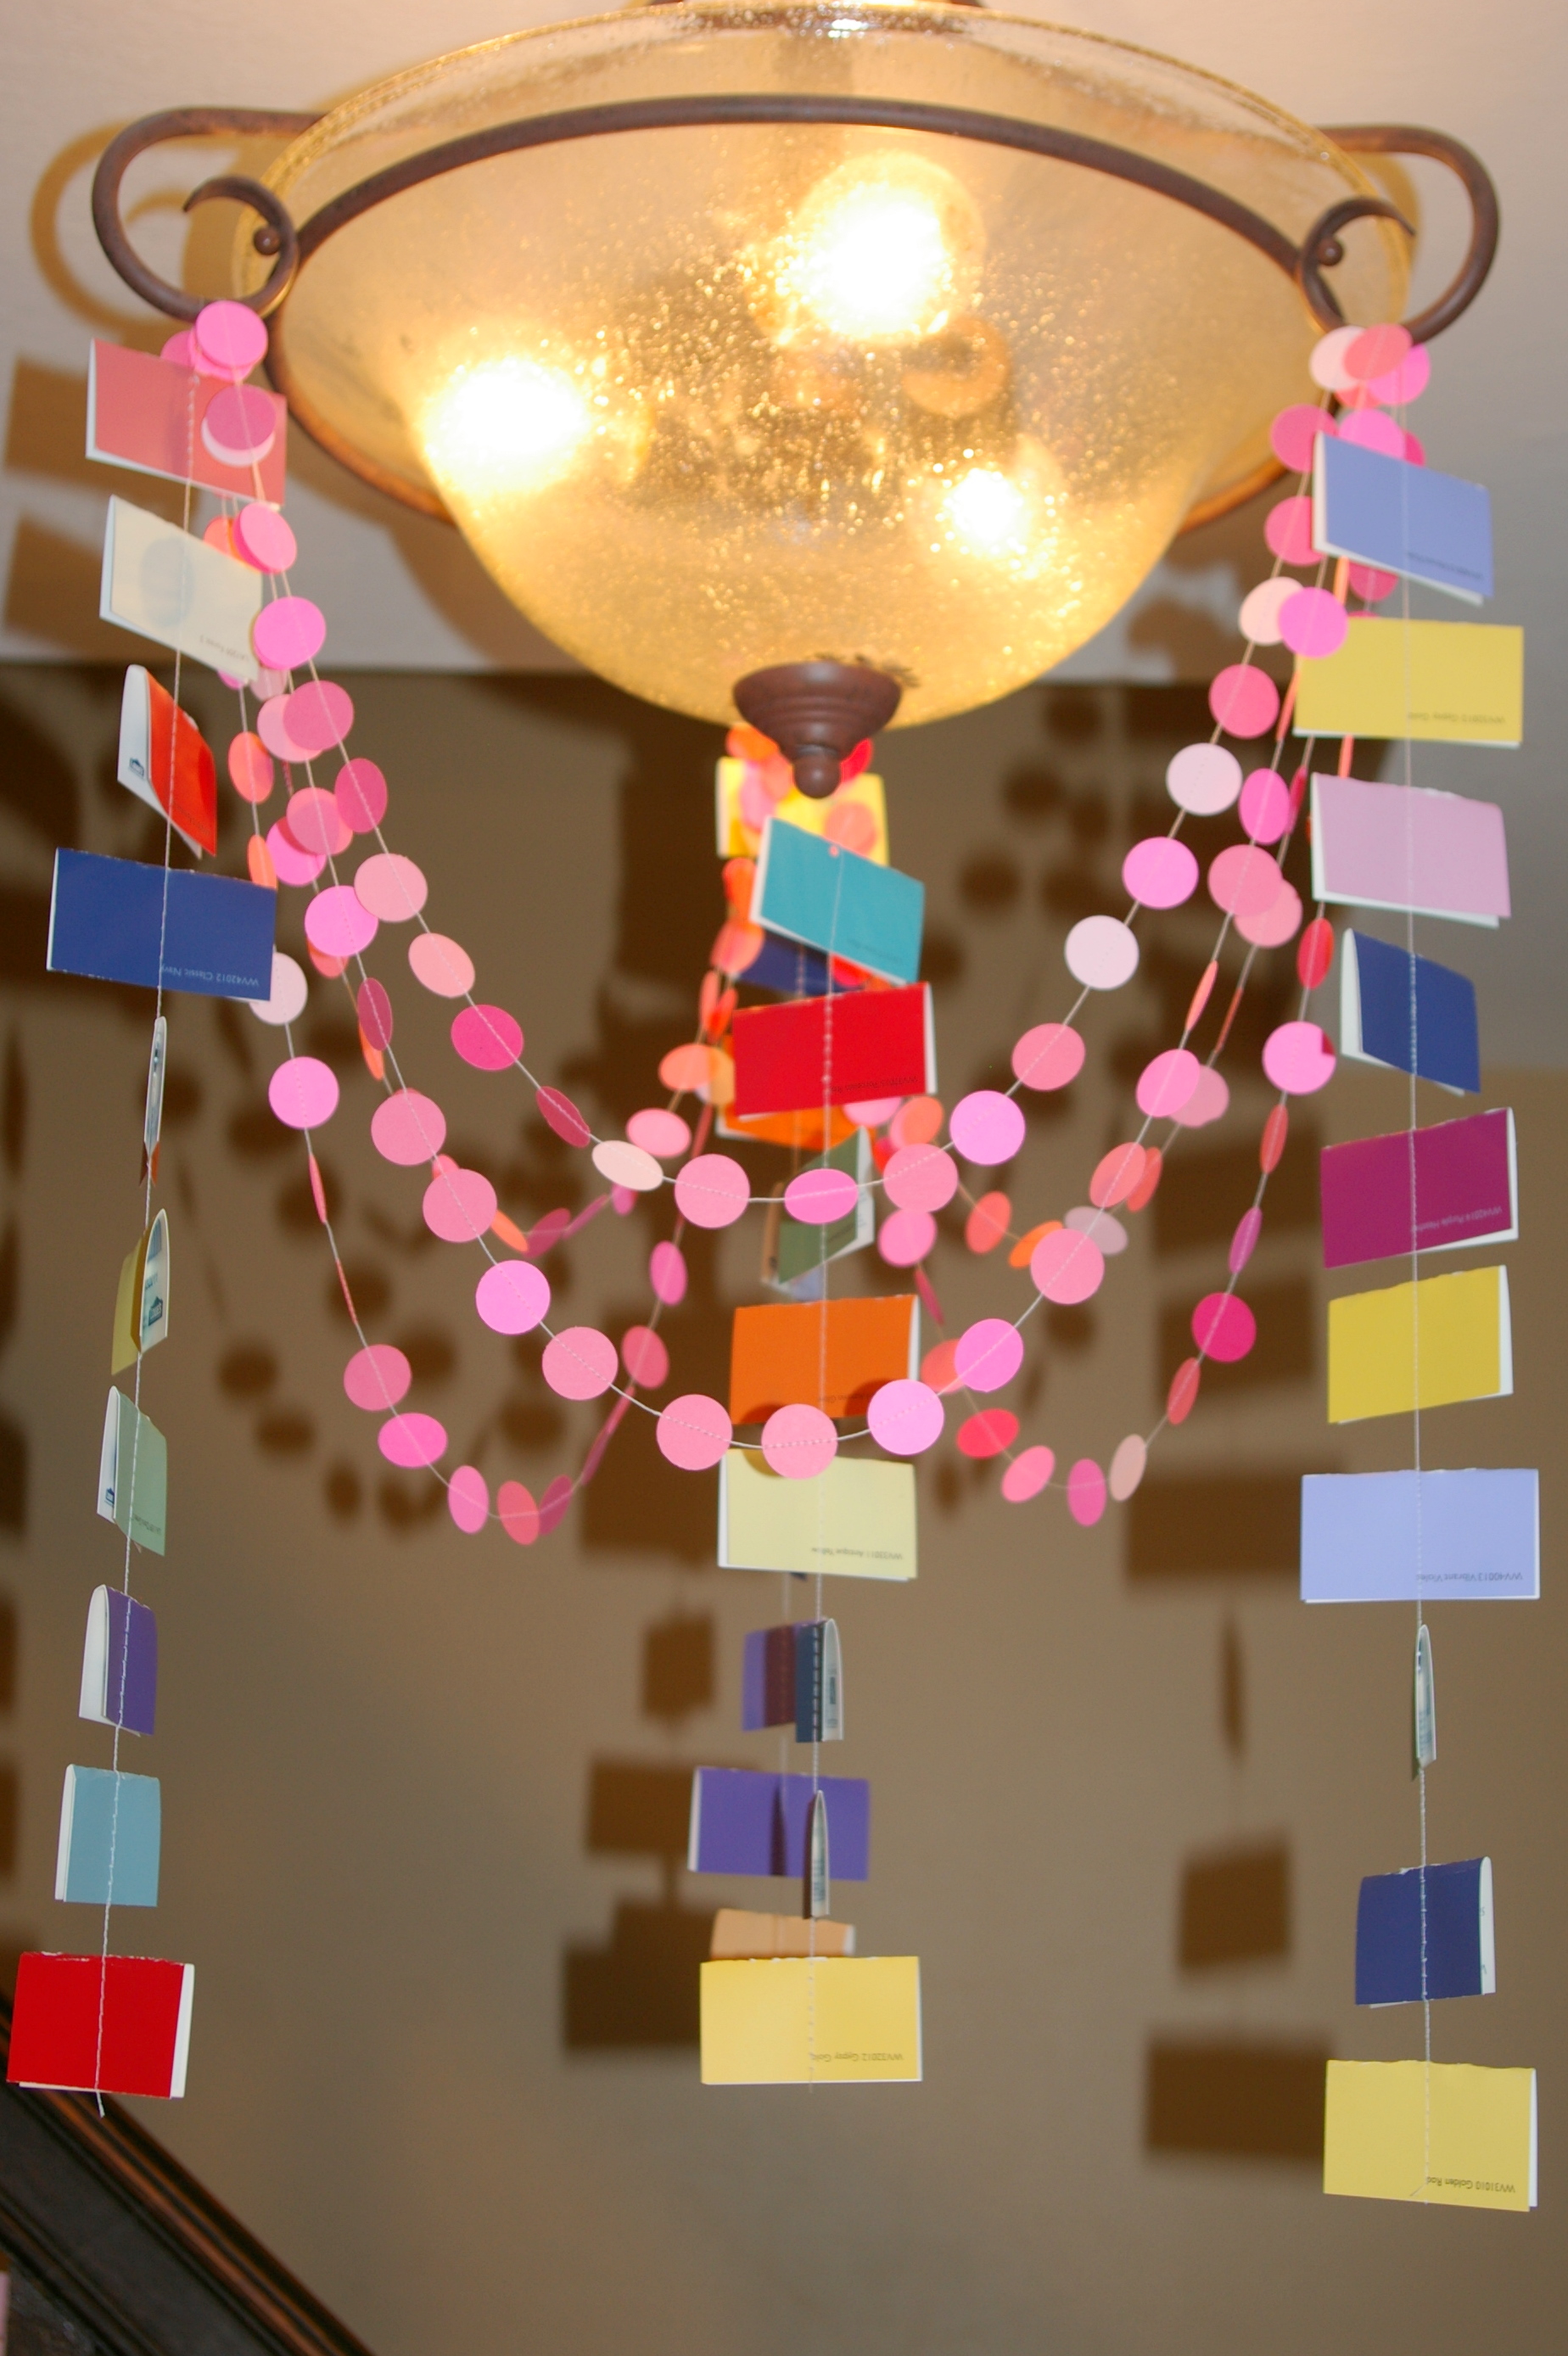
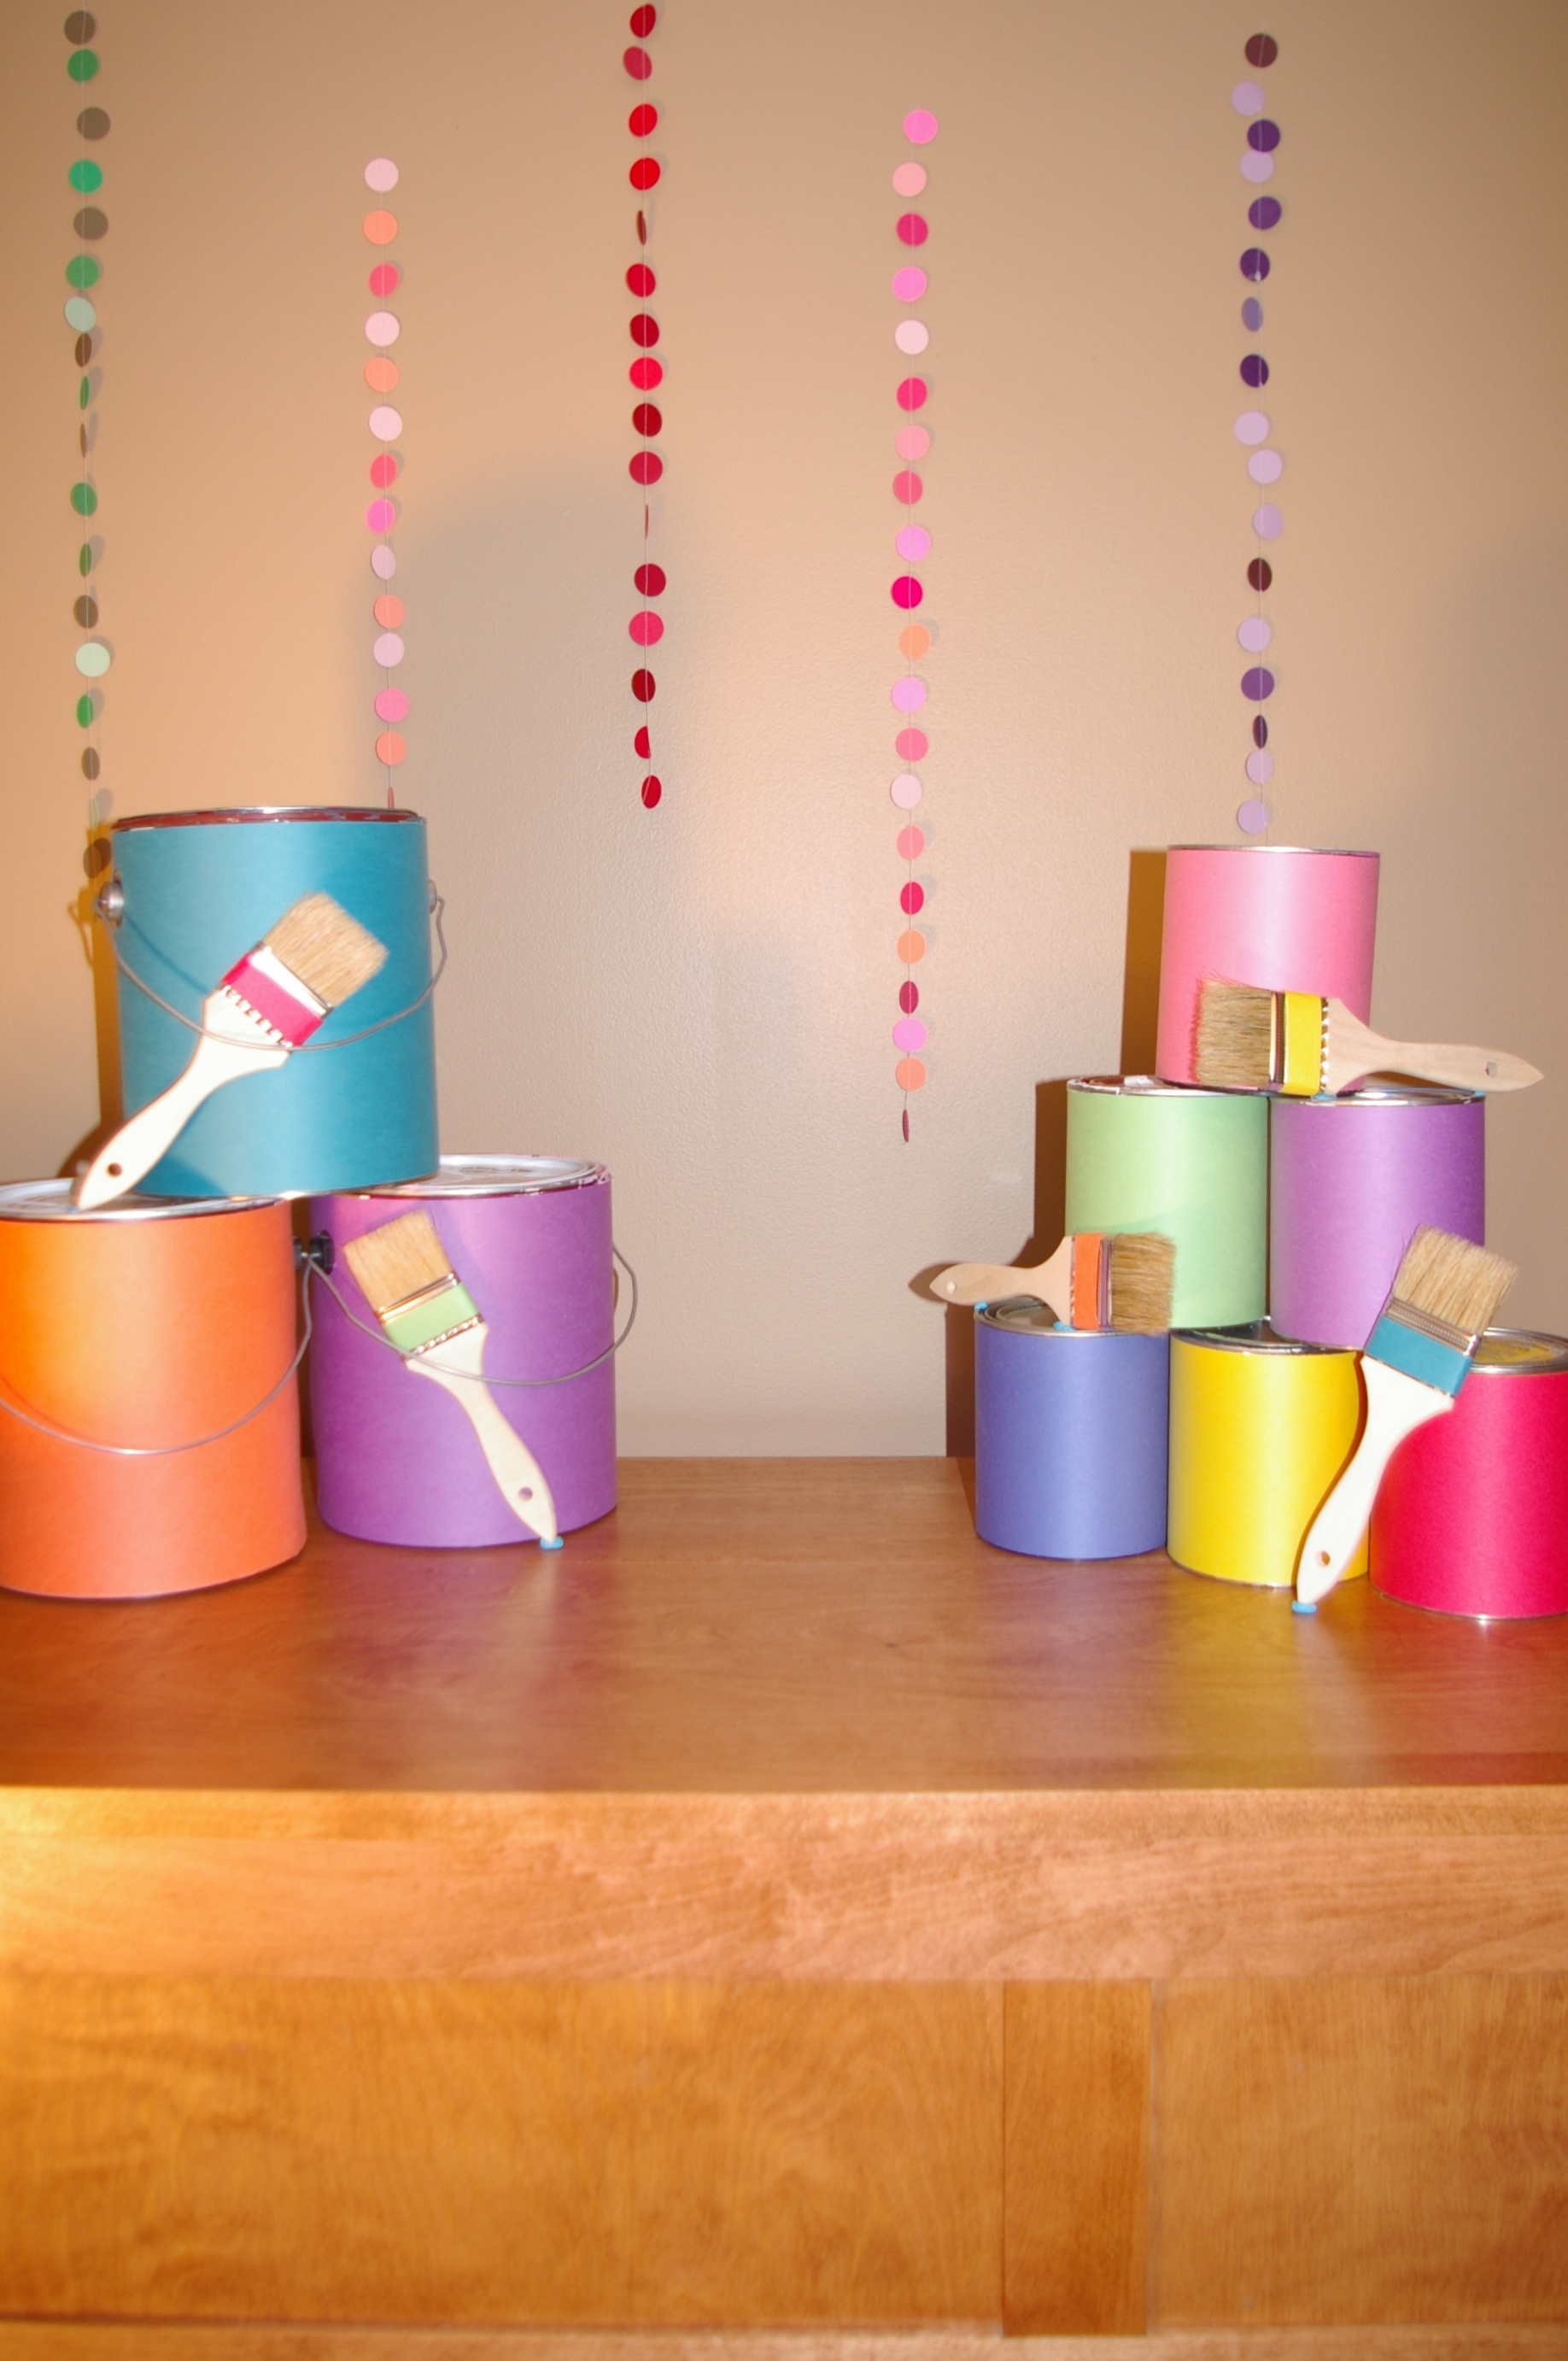
We have a budding little seamstress in our house. Bree, who is 6, sewed all the dots and paint chips that were strung throughout the party. I love it! We also covered old paint cans and chip brushes in bright paper to create a display in the entry way.
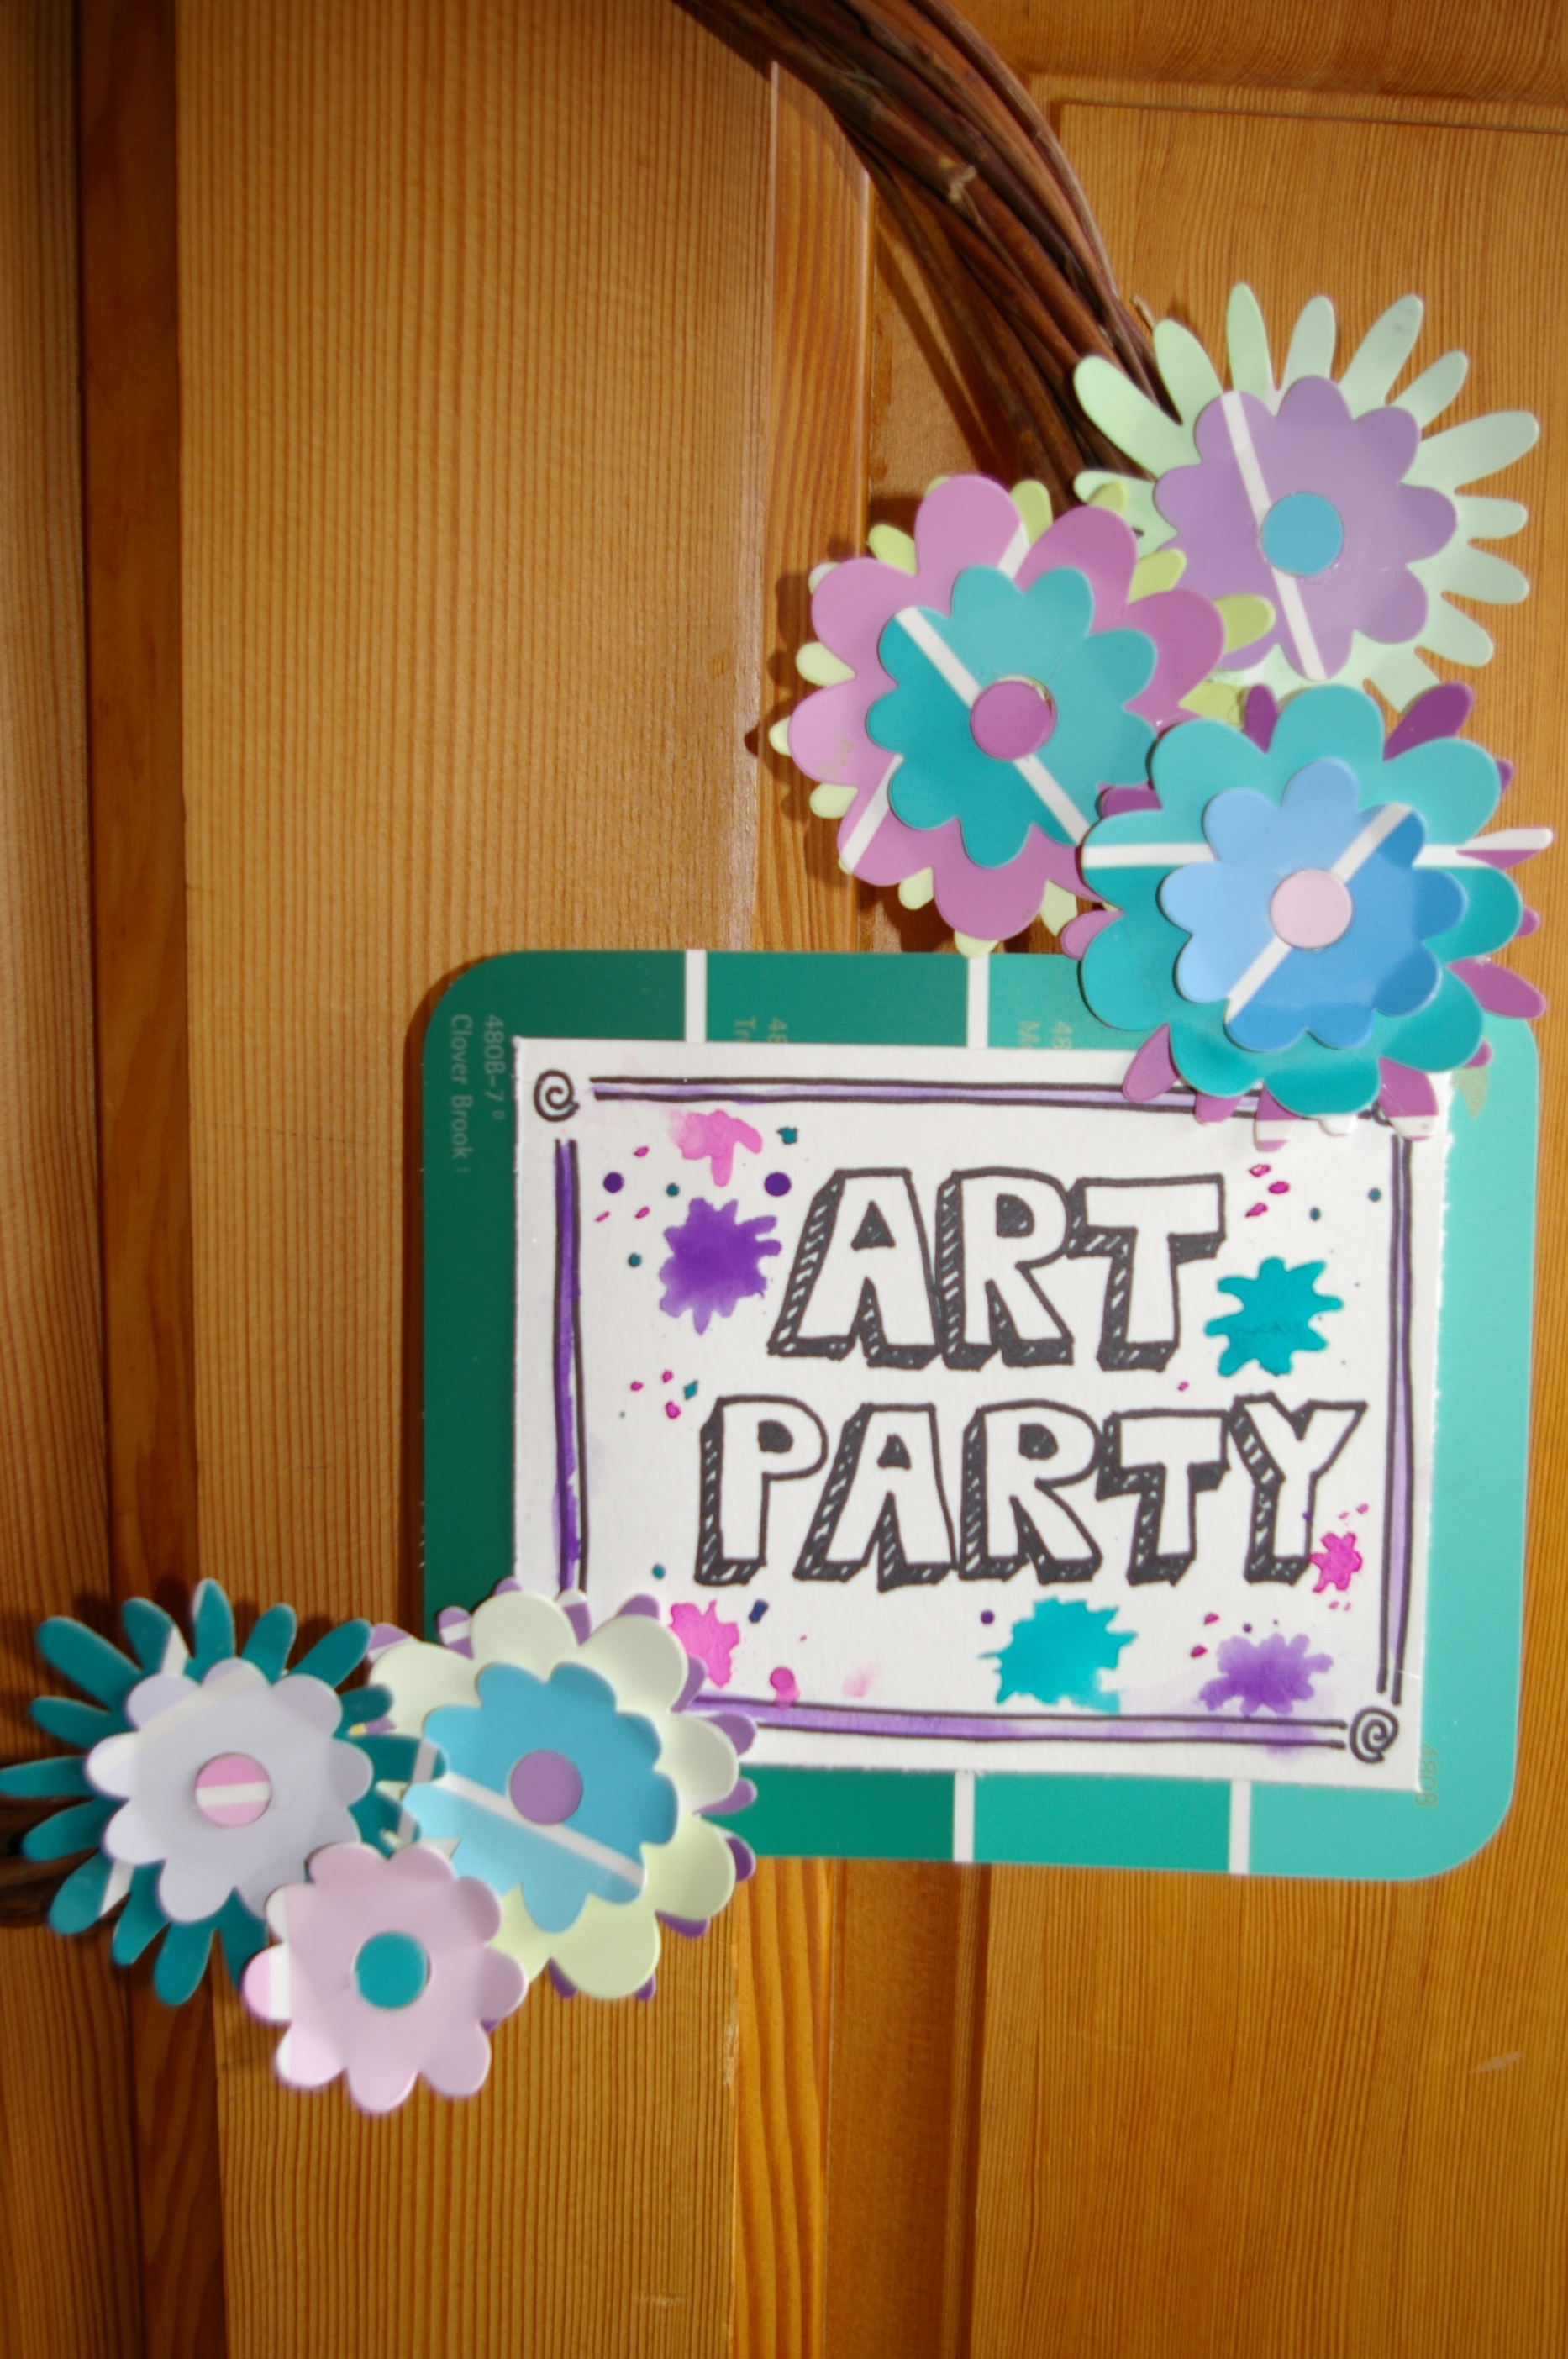
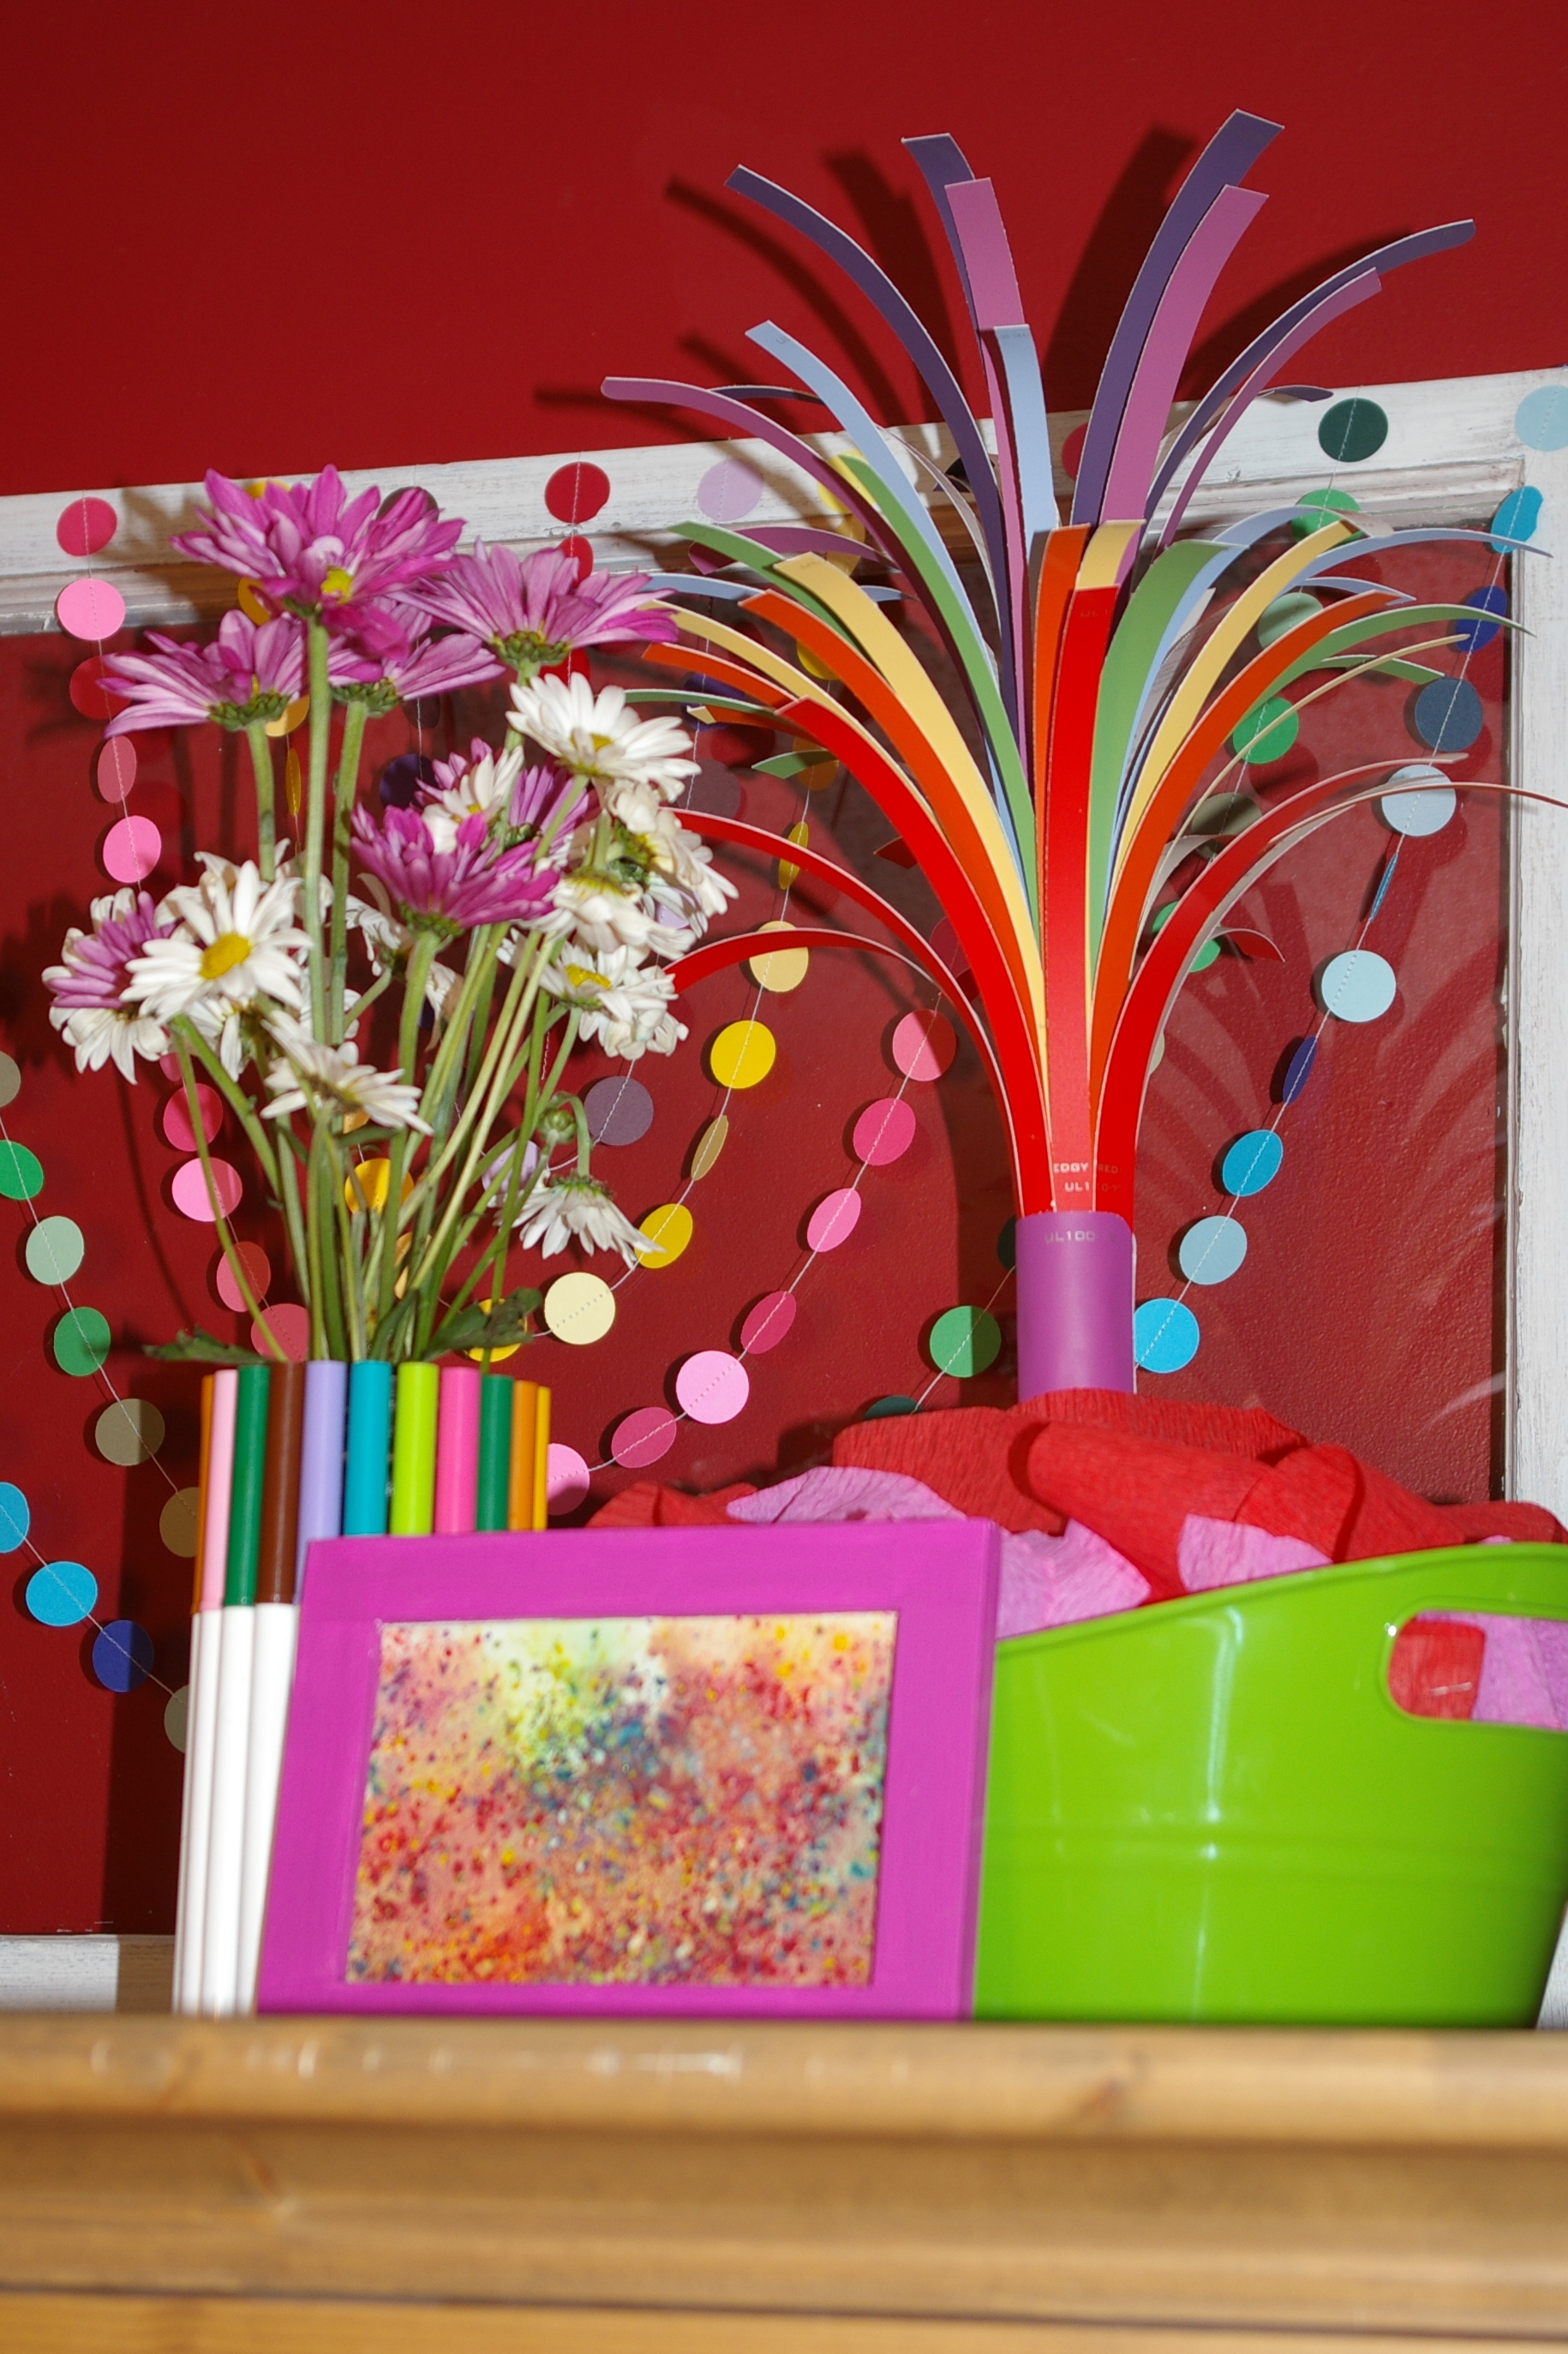
The wreath was created using more paint chips, I love the paint chip flowers. Above the art armoire was a cute grouping of more sewn dots, a paint chip color burst and a vase covered in markers.
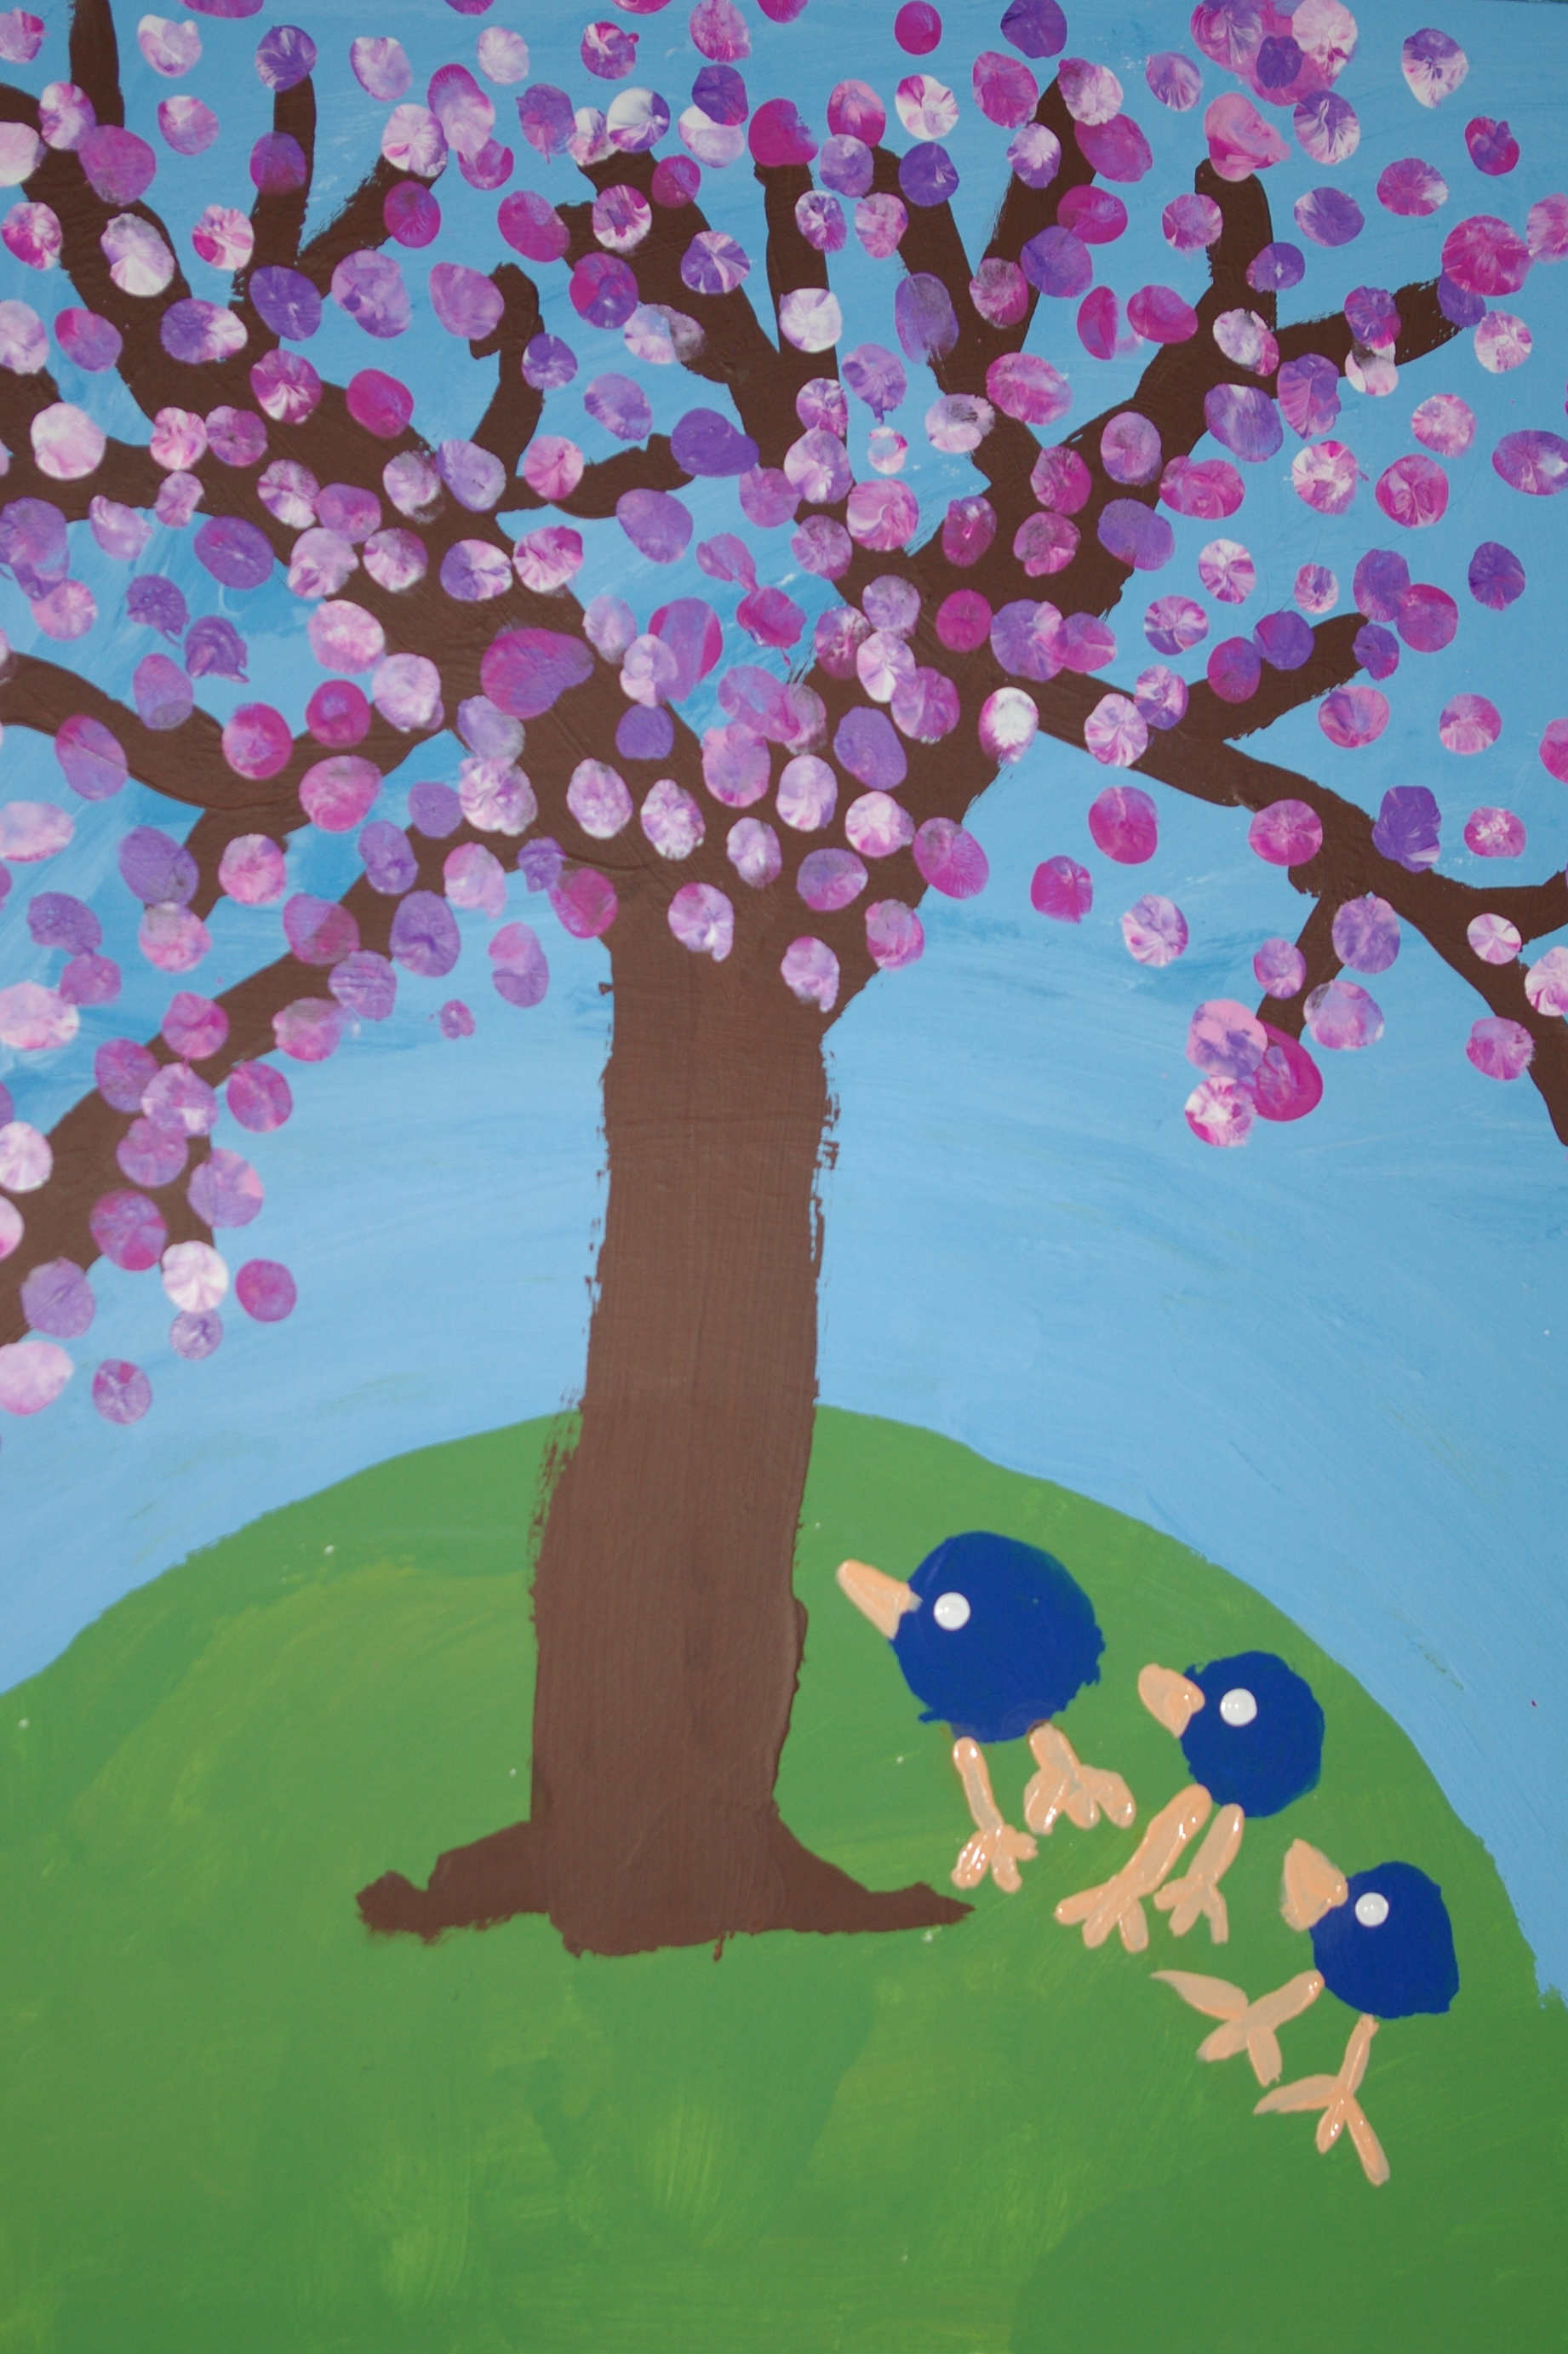
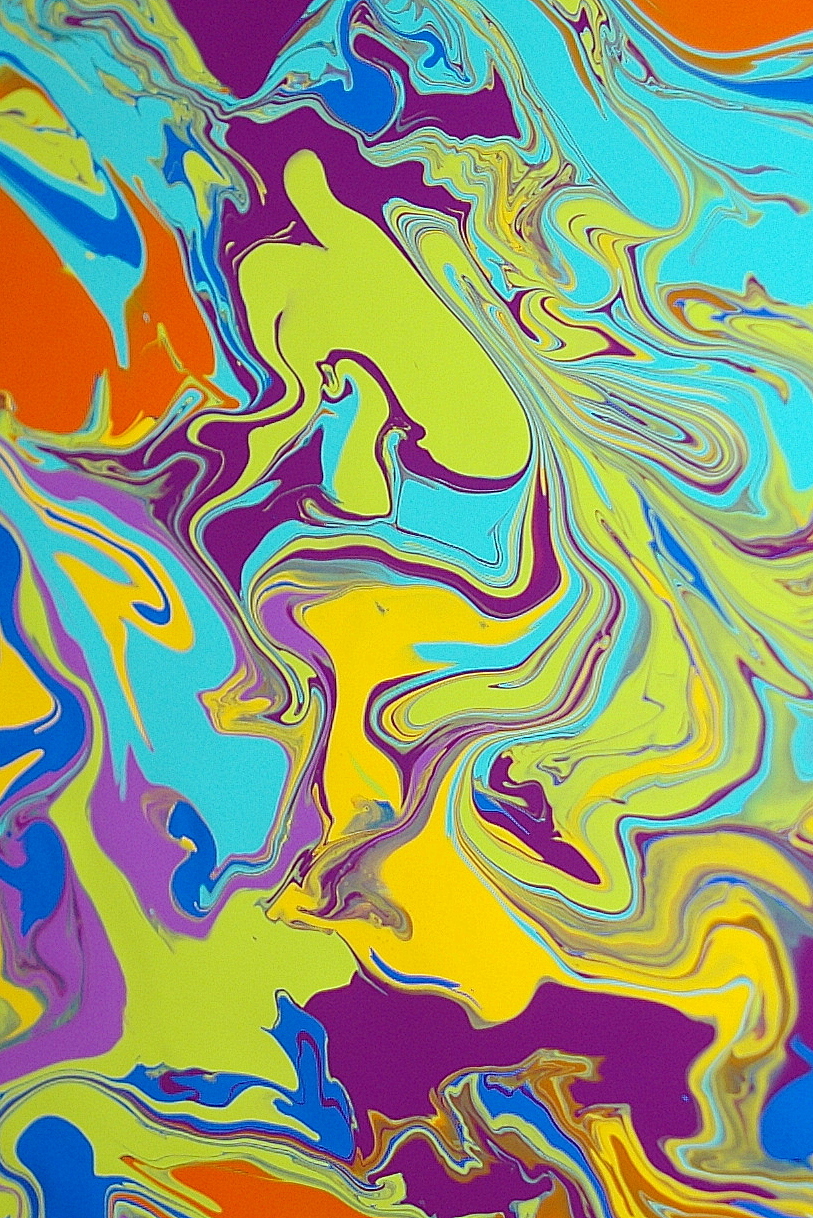
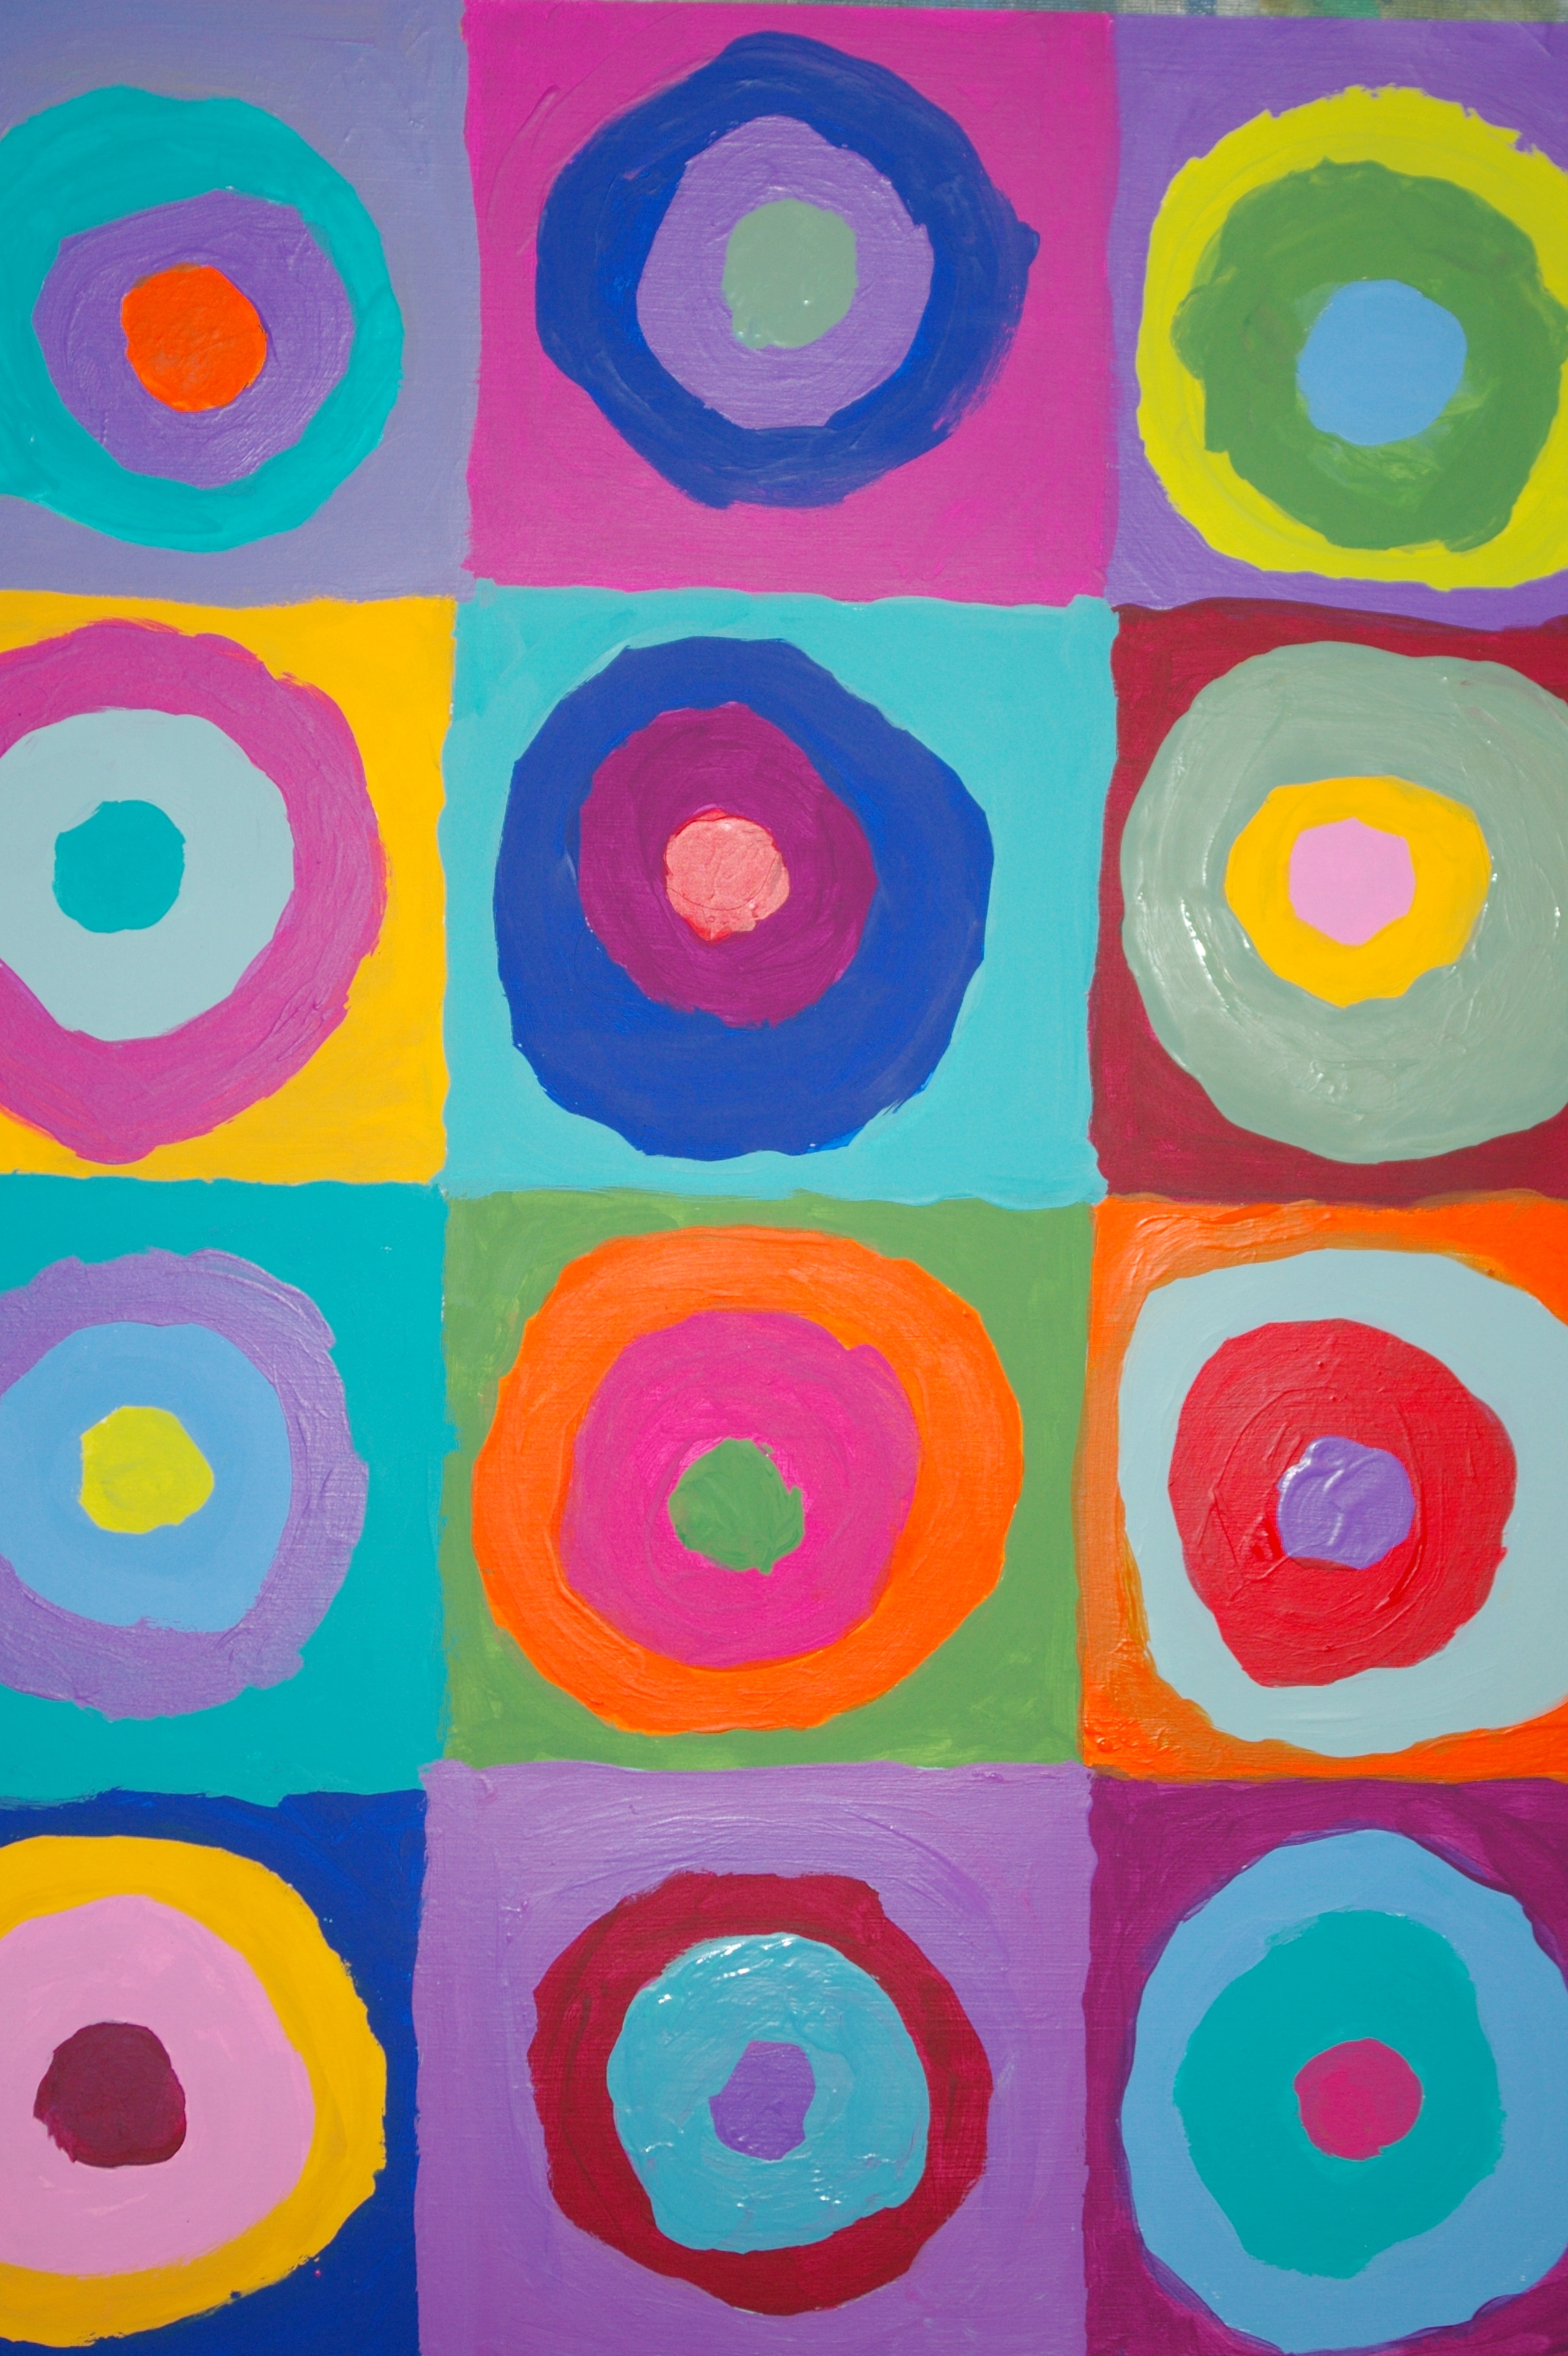
Annika had a gallery wall of a few of her pieces. To find out how we created the sweet spring tree and pour painting click on the links. I also love her version of Kandinsky's Concentric Circles.
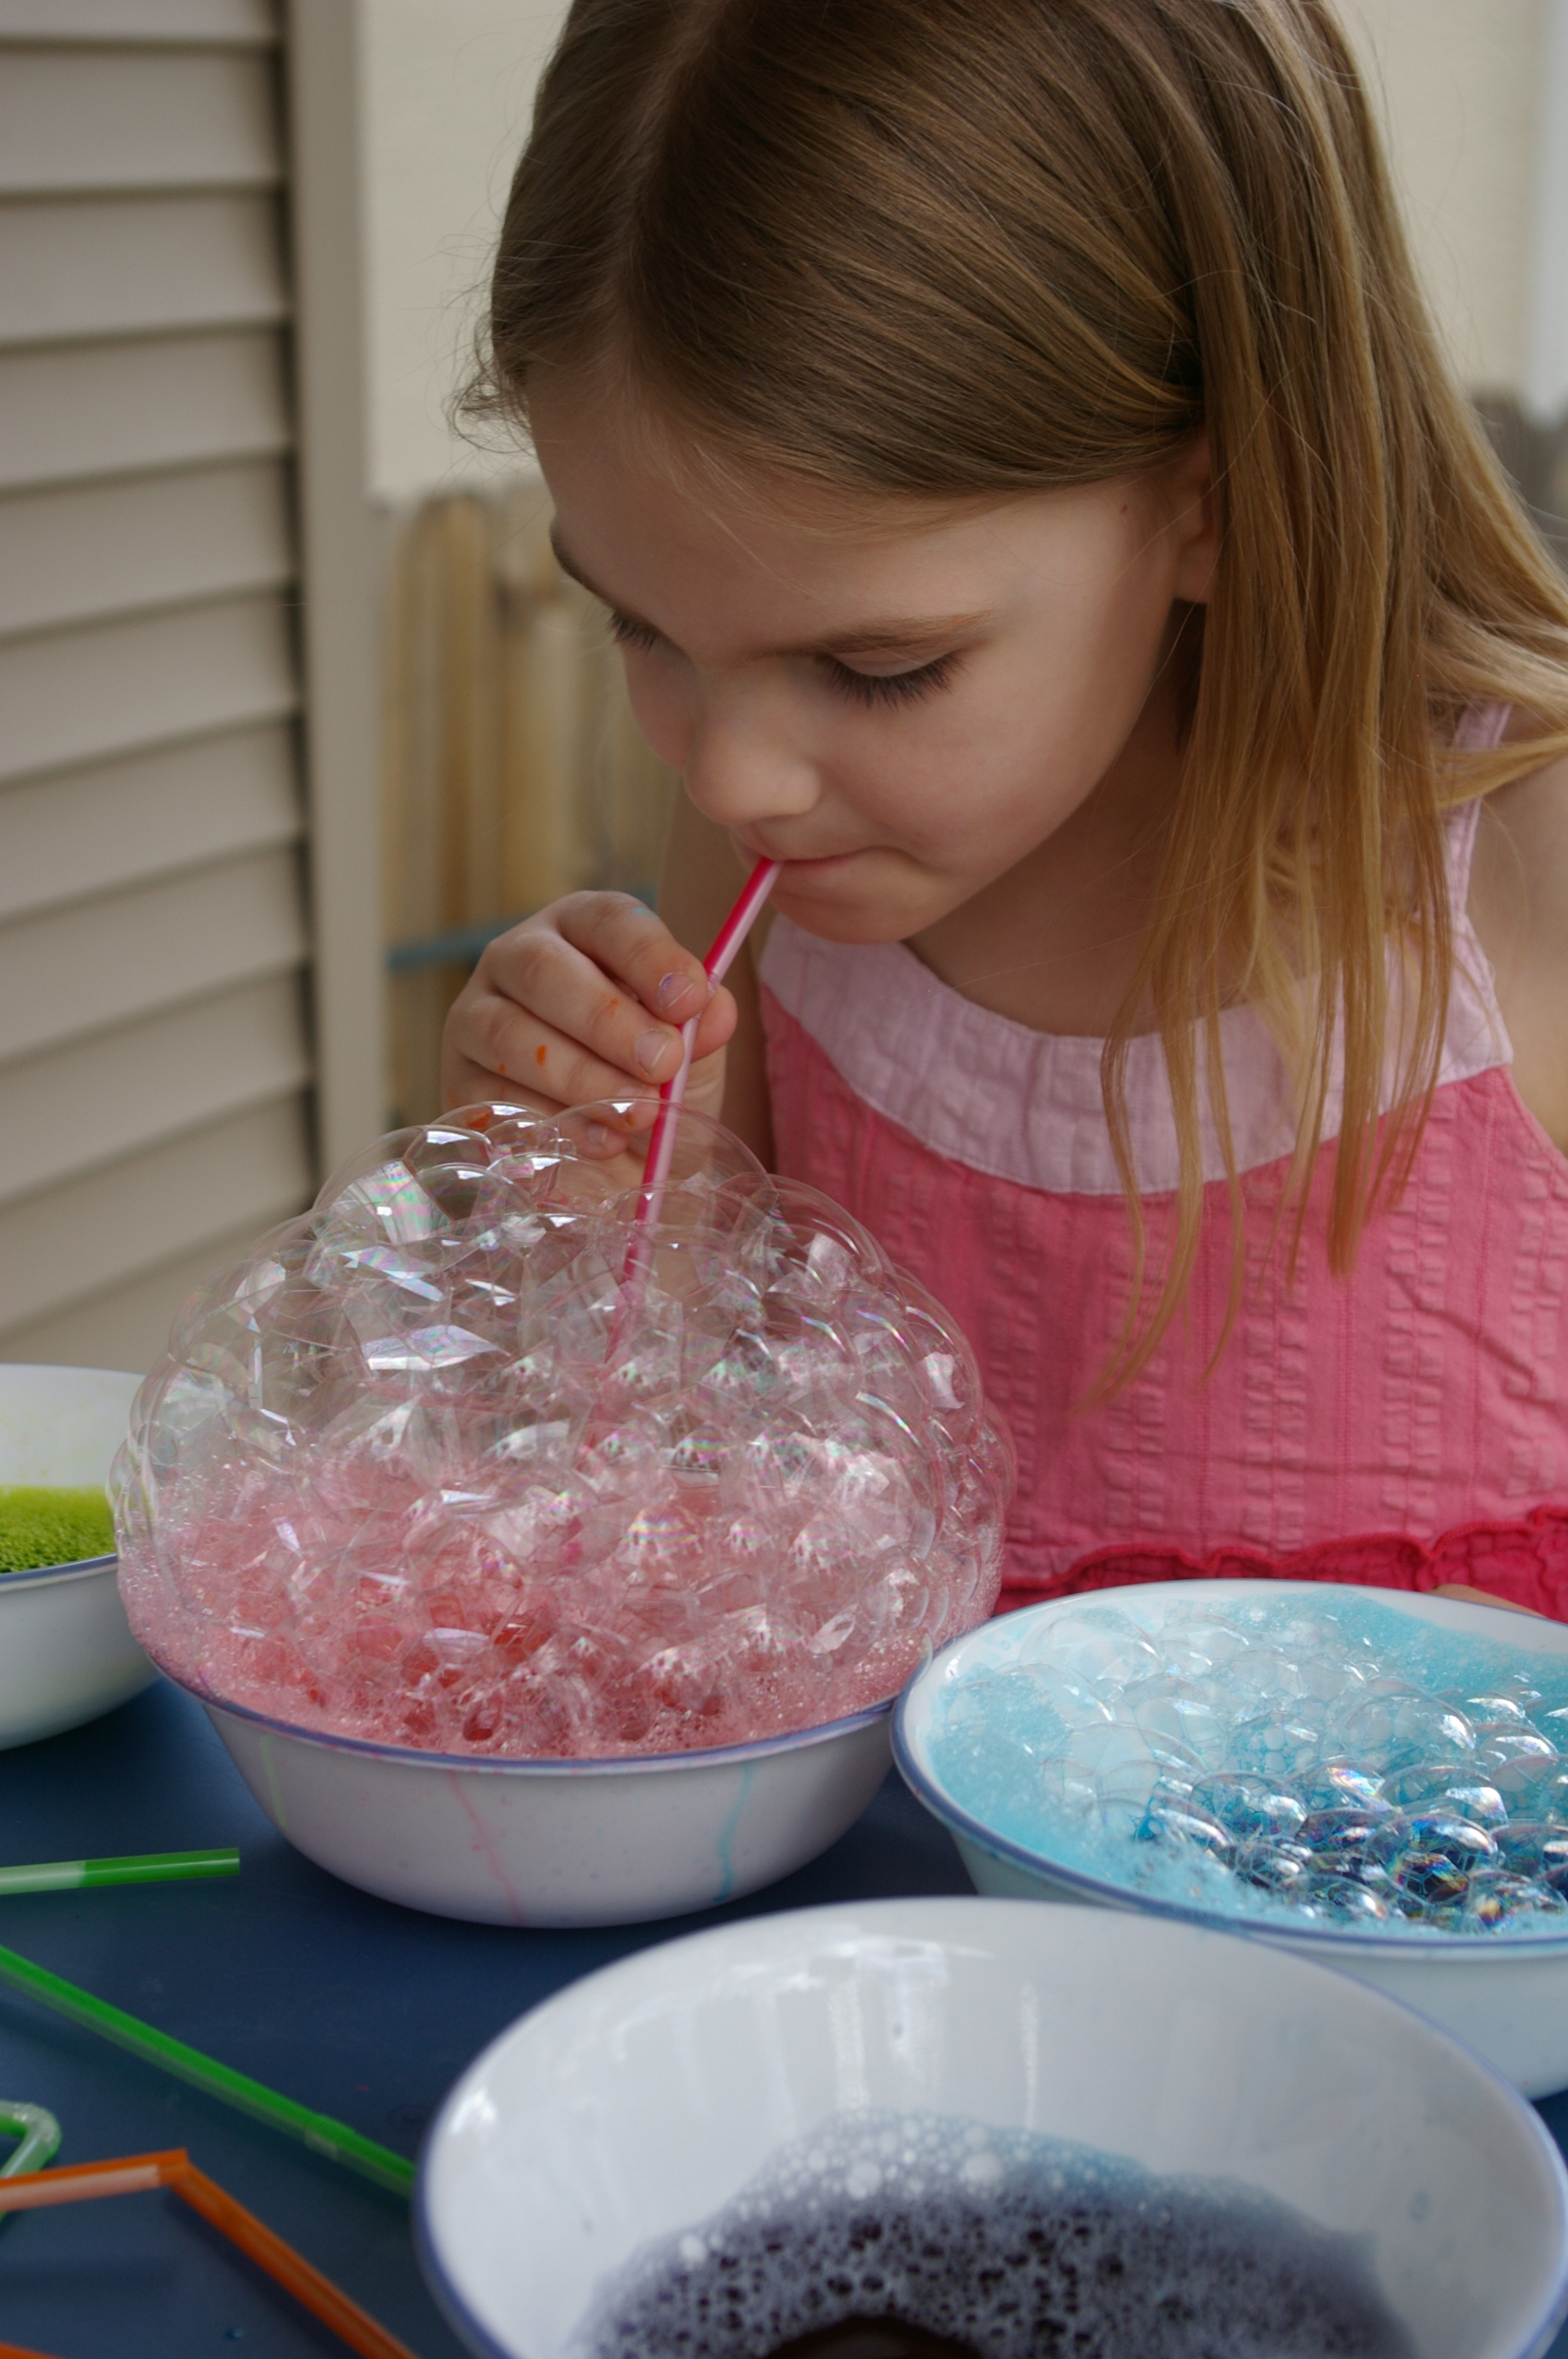
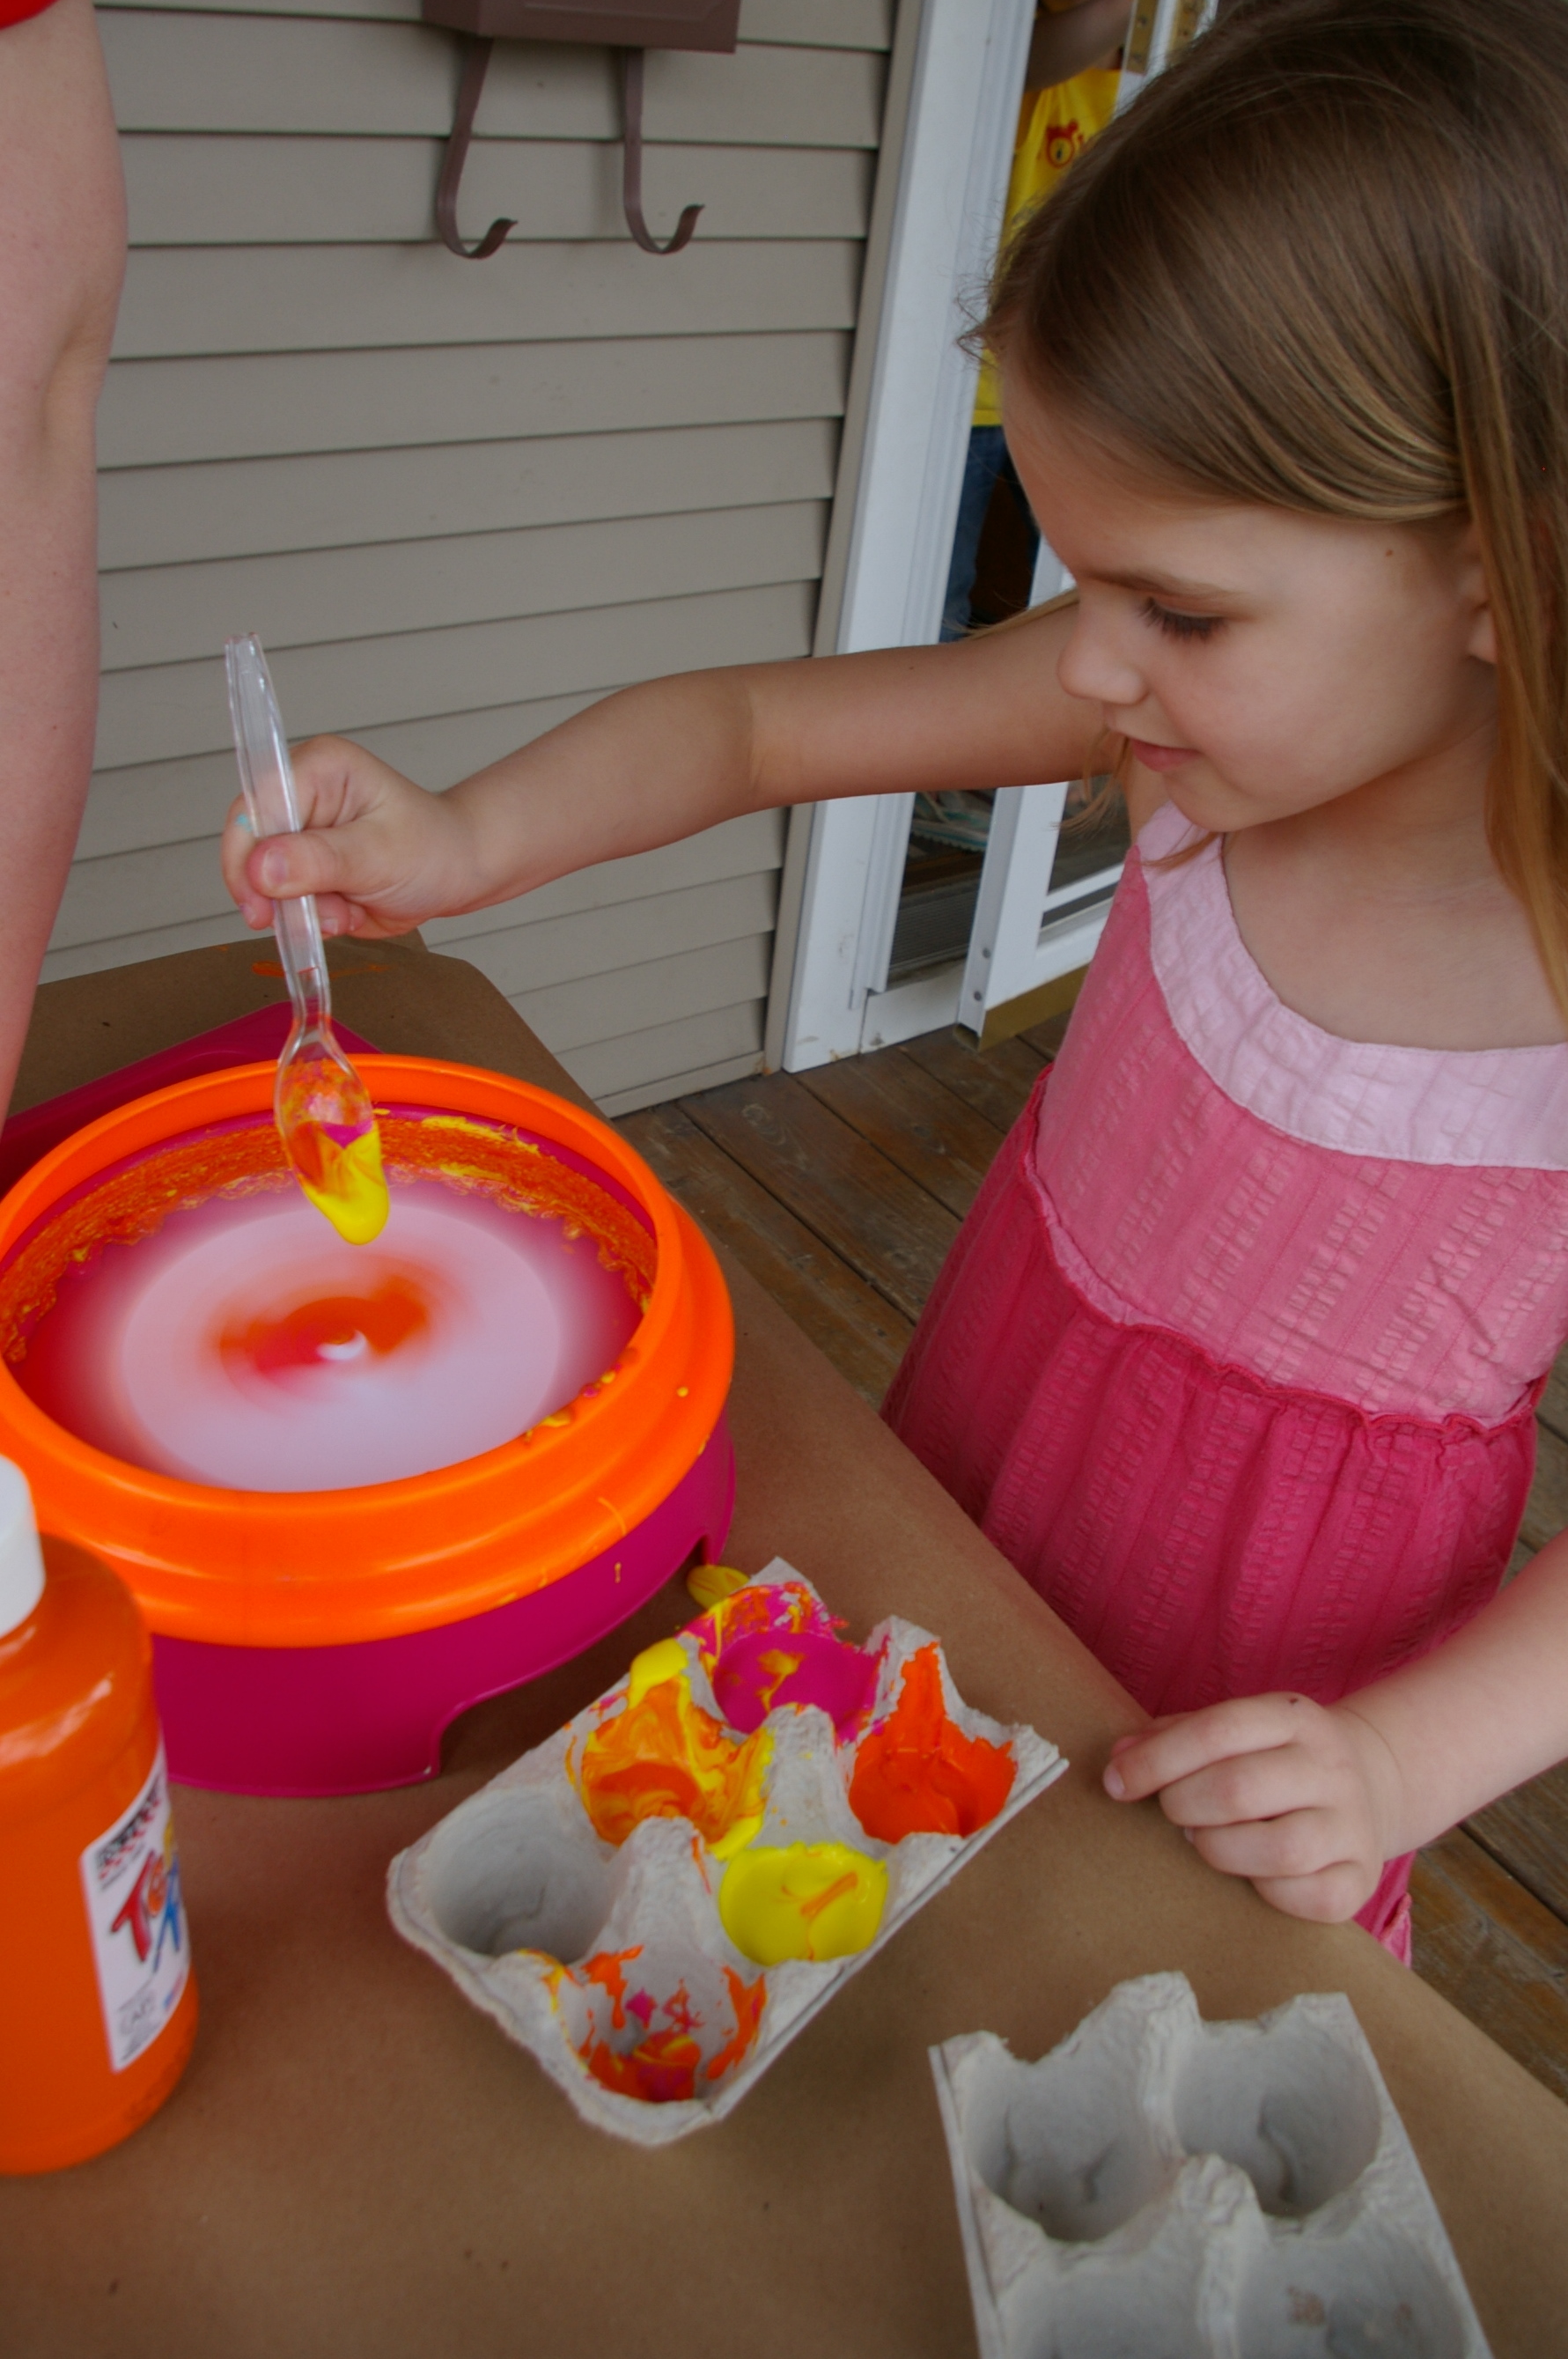
There were a few painting stations set up outside. The kids loved bubble painting, marble painting and creating spin art. I had one helper at each station which worked great.


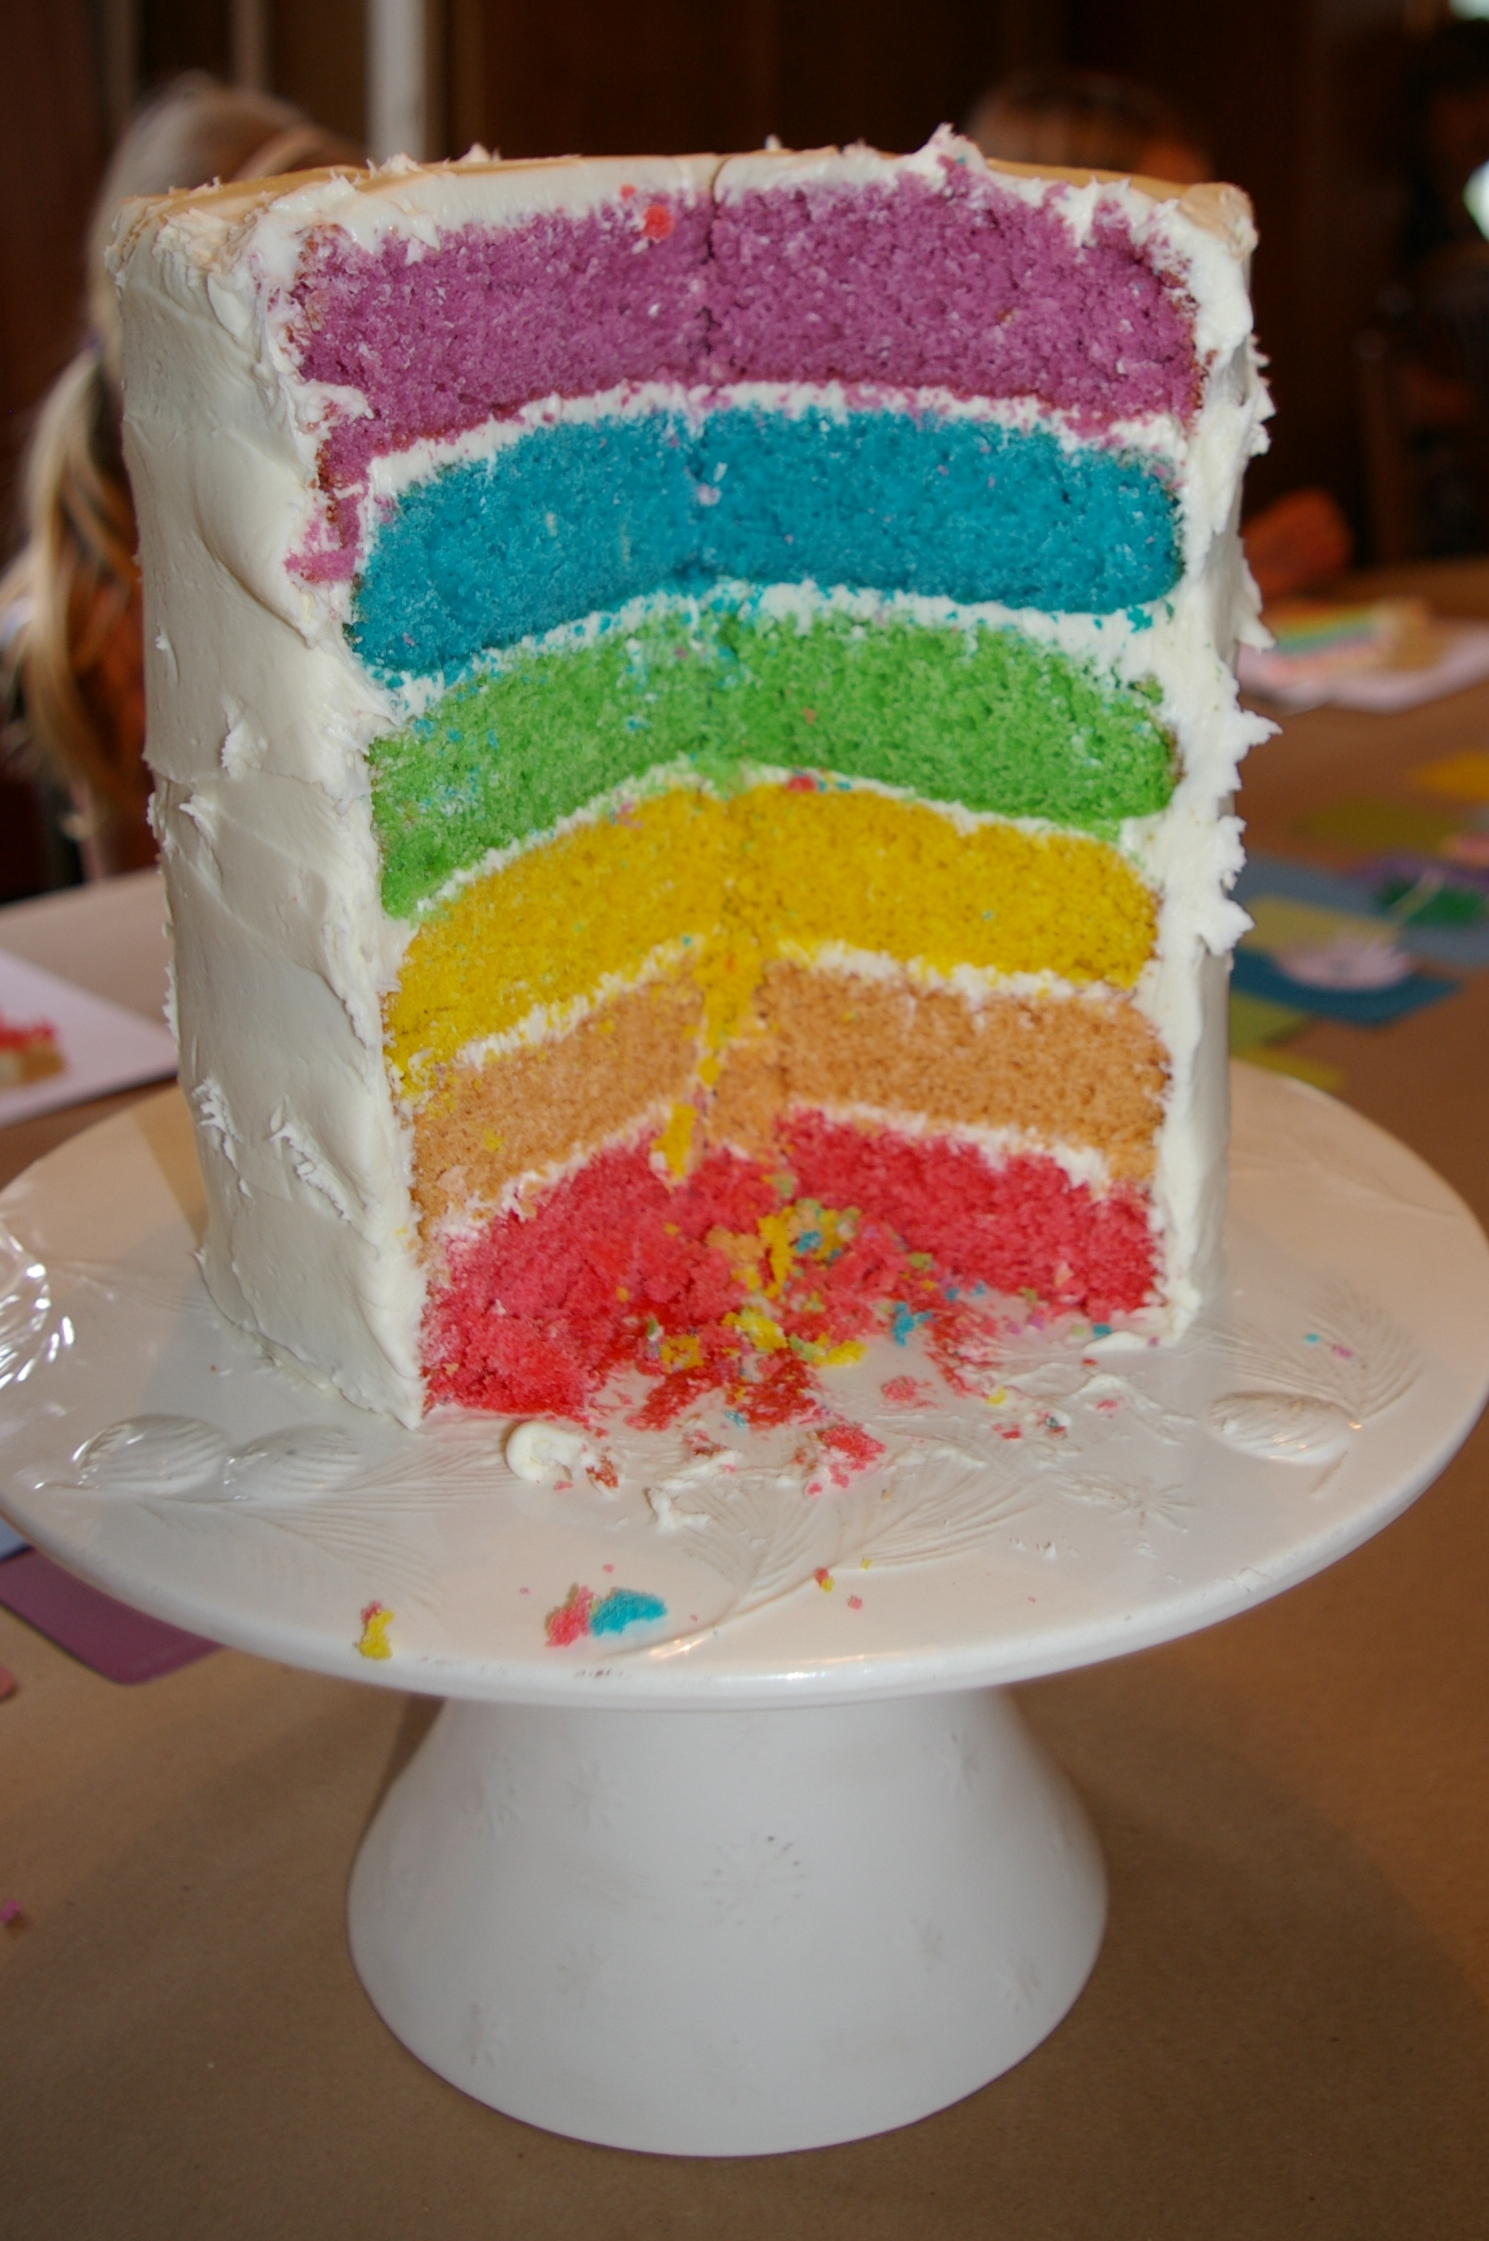
Annika wanted a colorful rainbow cake like all the ones we saw around St. Patrick's Day. It was really easy to create, although I will worn you, with all the layers it can get a bit tall. As I was putting it together, I realized I should have used less batter in each layer. I really so love the over sized statment it made, but next time I will make sure not to use 2 cups of batter for each color. One problem that we ran into because of the size was how to serve it. The cake was simply too big for regular plates so a friend suggested that we serve it on card stock. I really love the idea, it is an art party after all! I also served white grape juice with purple grape juice ice cubes. The ice cubes melted fast, but they did create a fun color effect as they melted into the white grape juice.
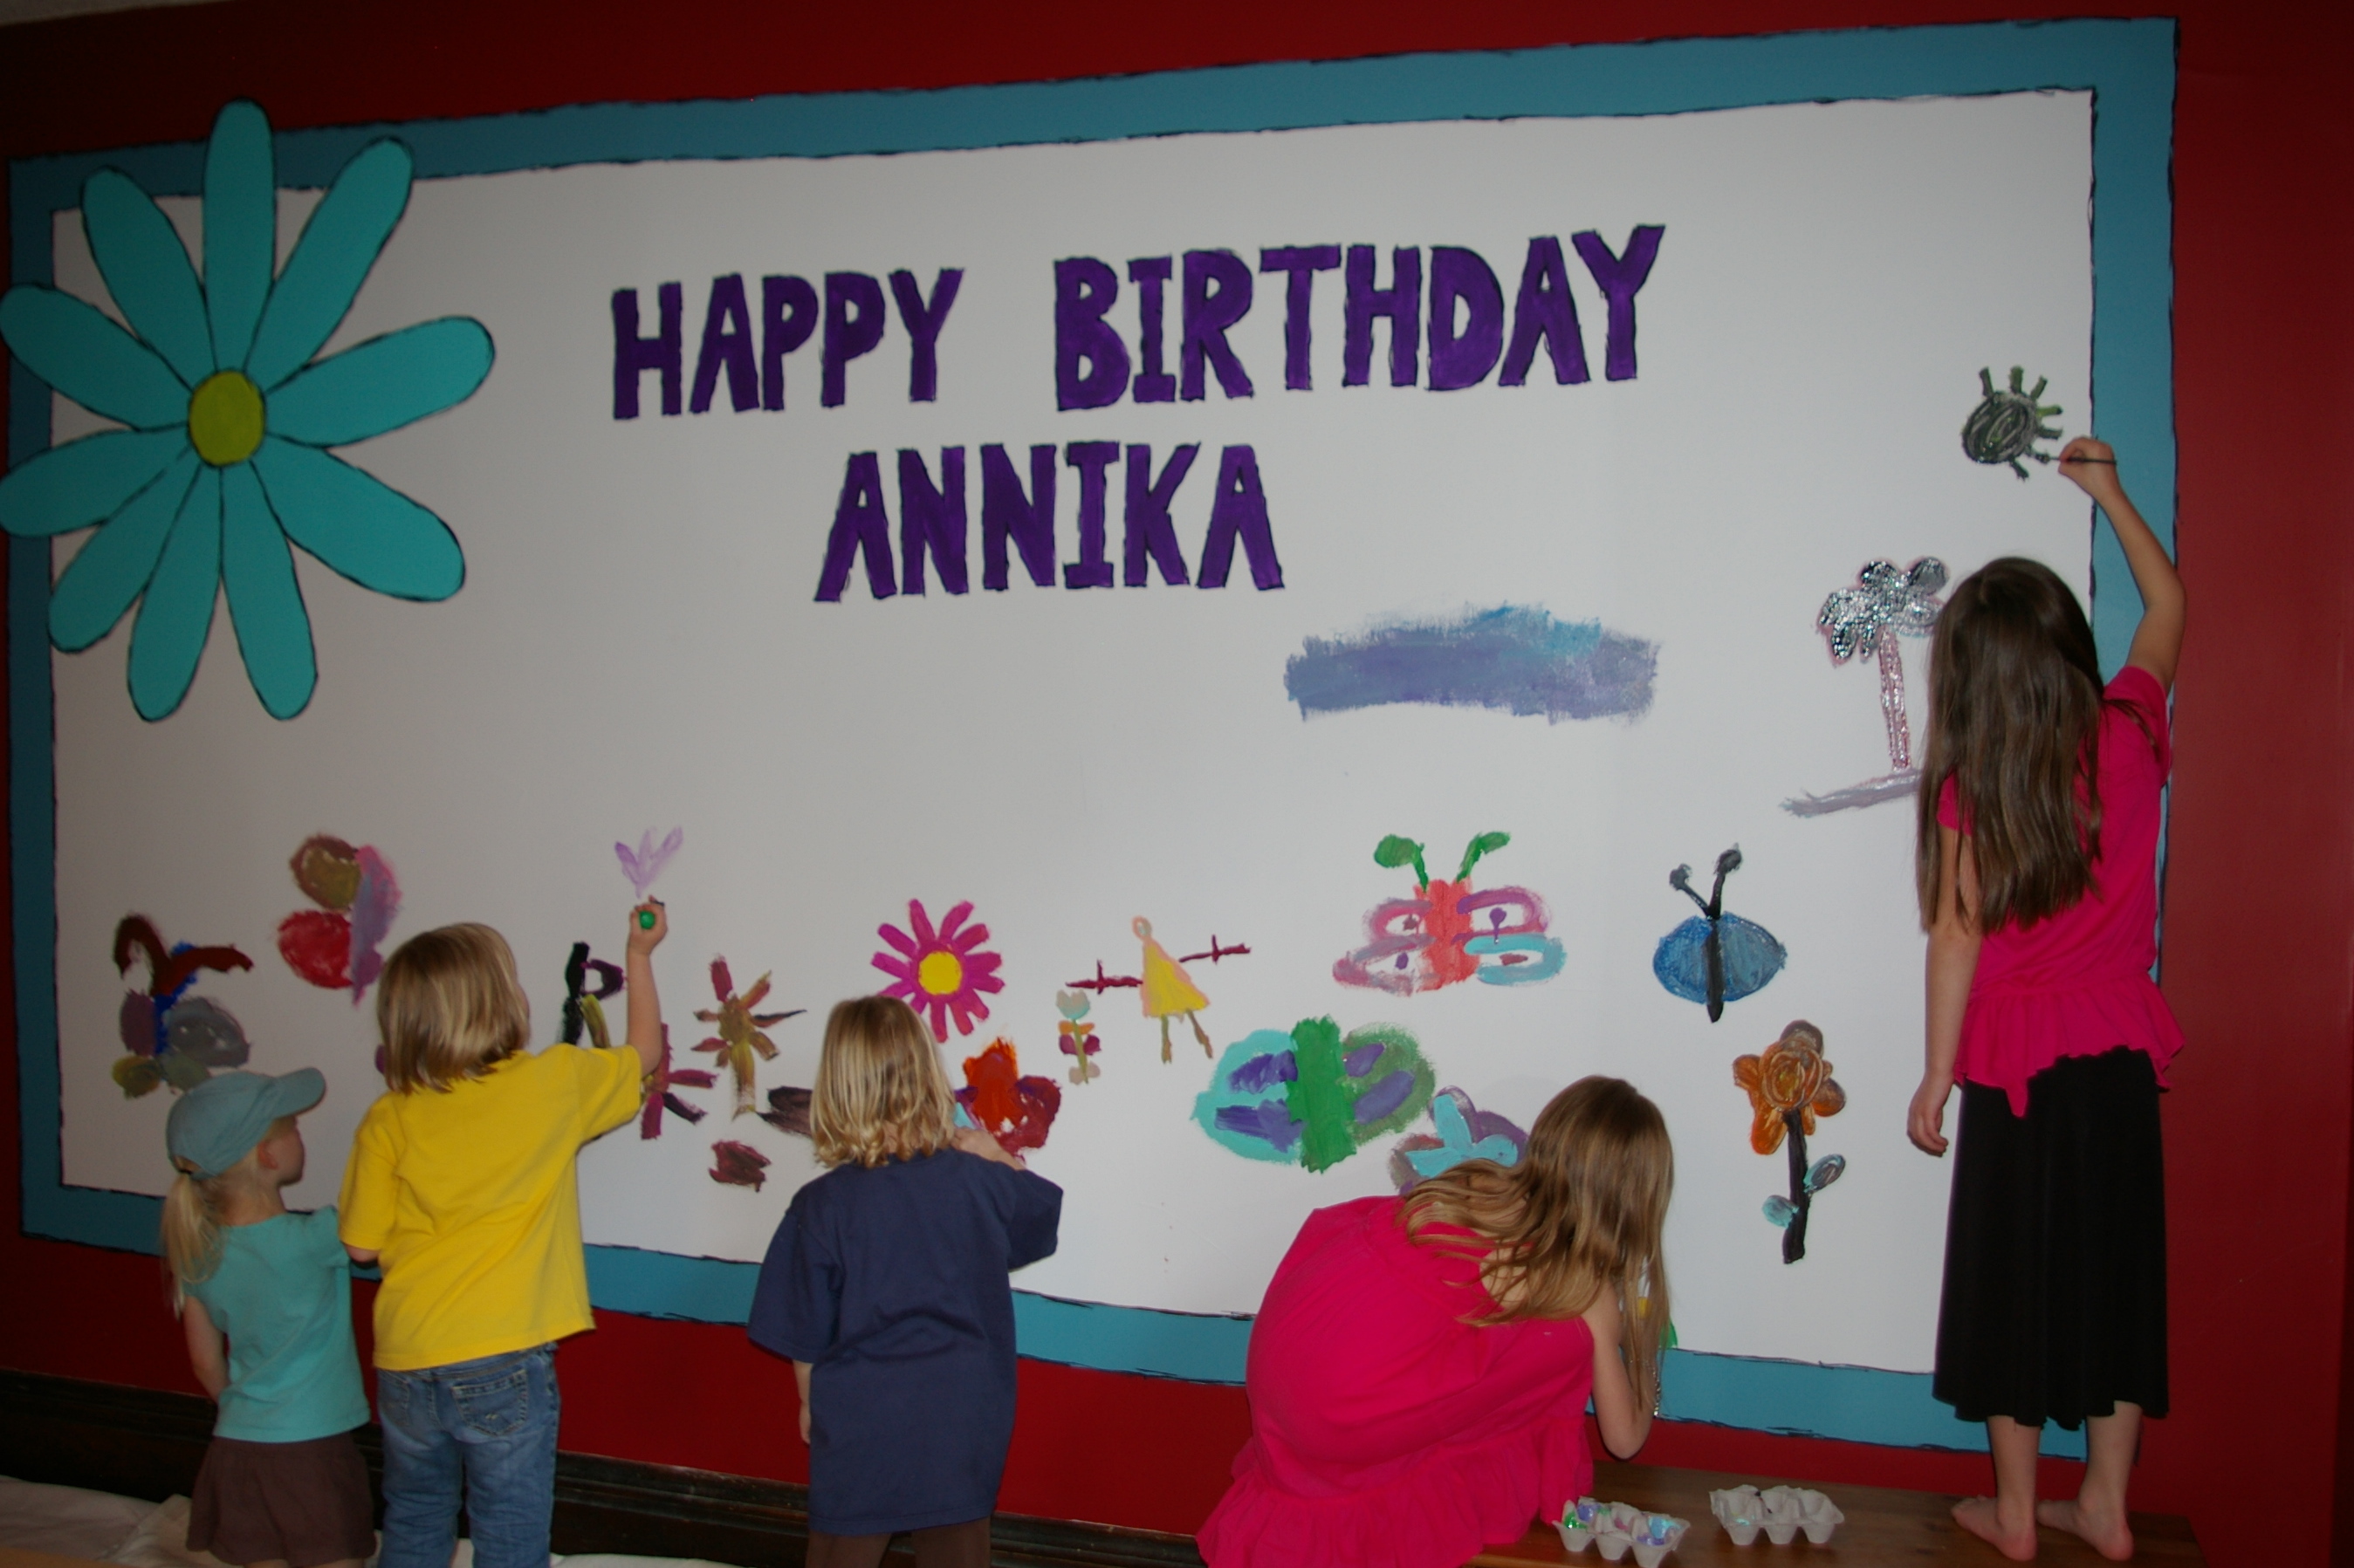
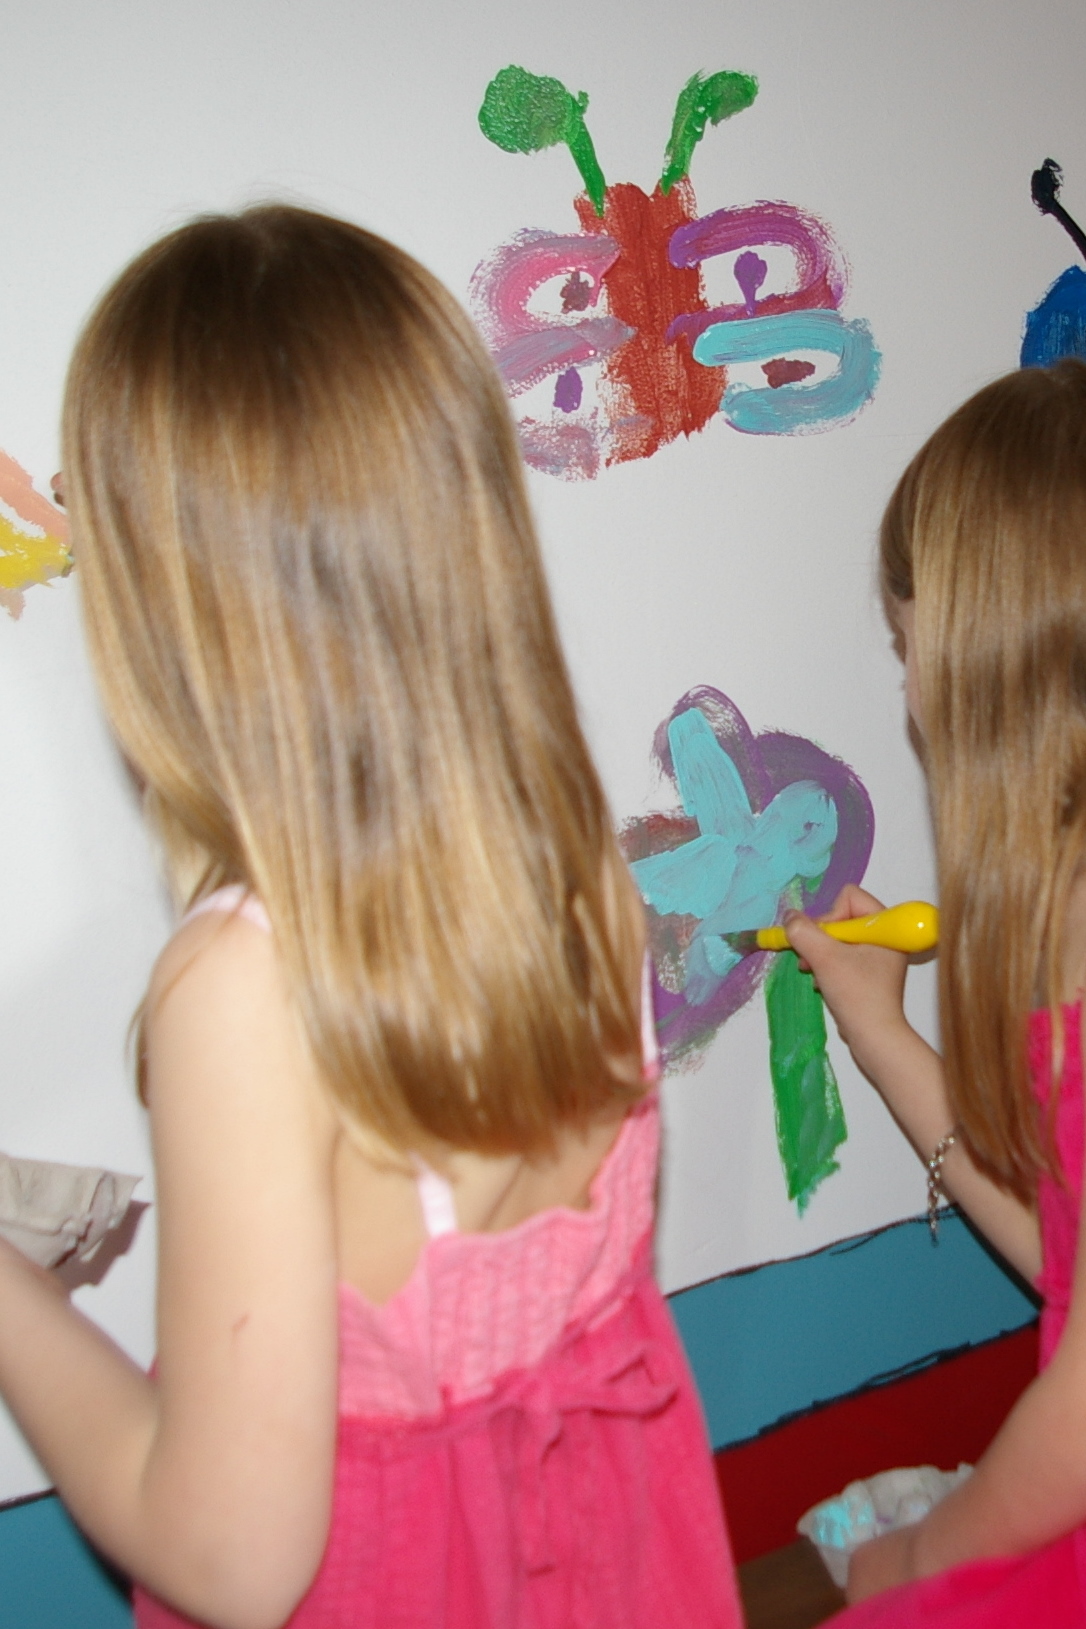


They enjoyed all the stations, but kept coming back to this one. I think that being able to paint on a wall which is normally discouraged, and having such a large area to work on was a real draw for the kids. They each had half of an egg carton that they used as their painting pallet. There were numerous colors of craft acrylics that the kids could choose from. The colors got a bit muddy since there was not real good way to have them rinse out their brushes between colors. I LOVE the wall and I am going to have a hard time when we have to demolish all their hard work to put up the new drywall. This would be such a fun idea for a play room, always changing art work.
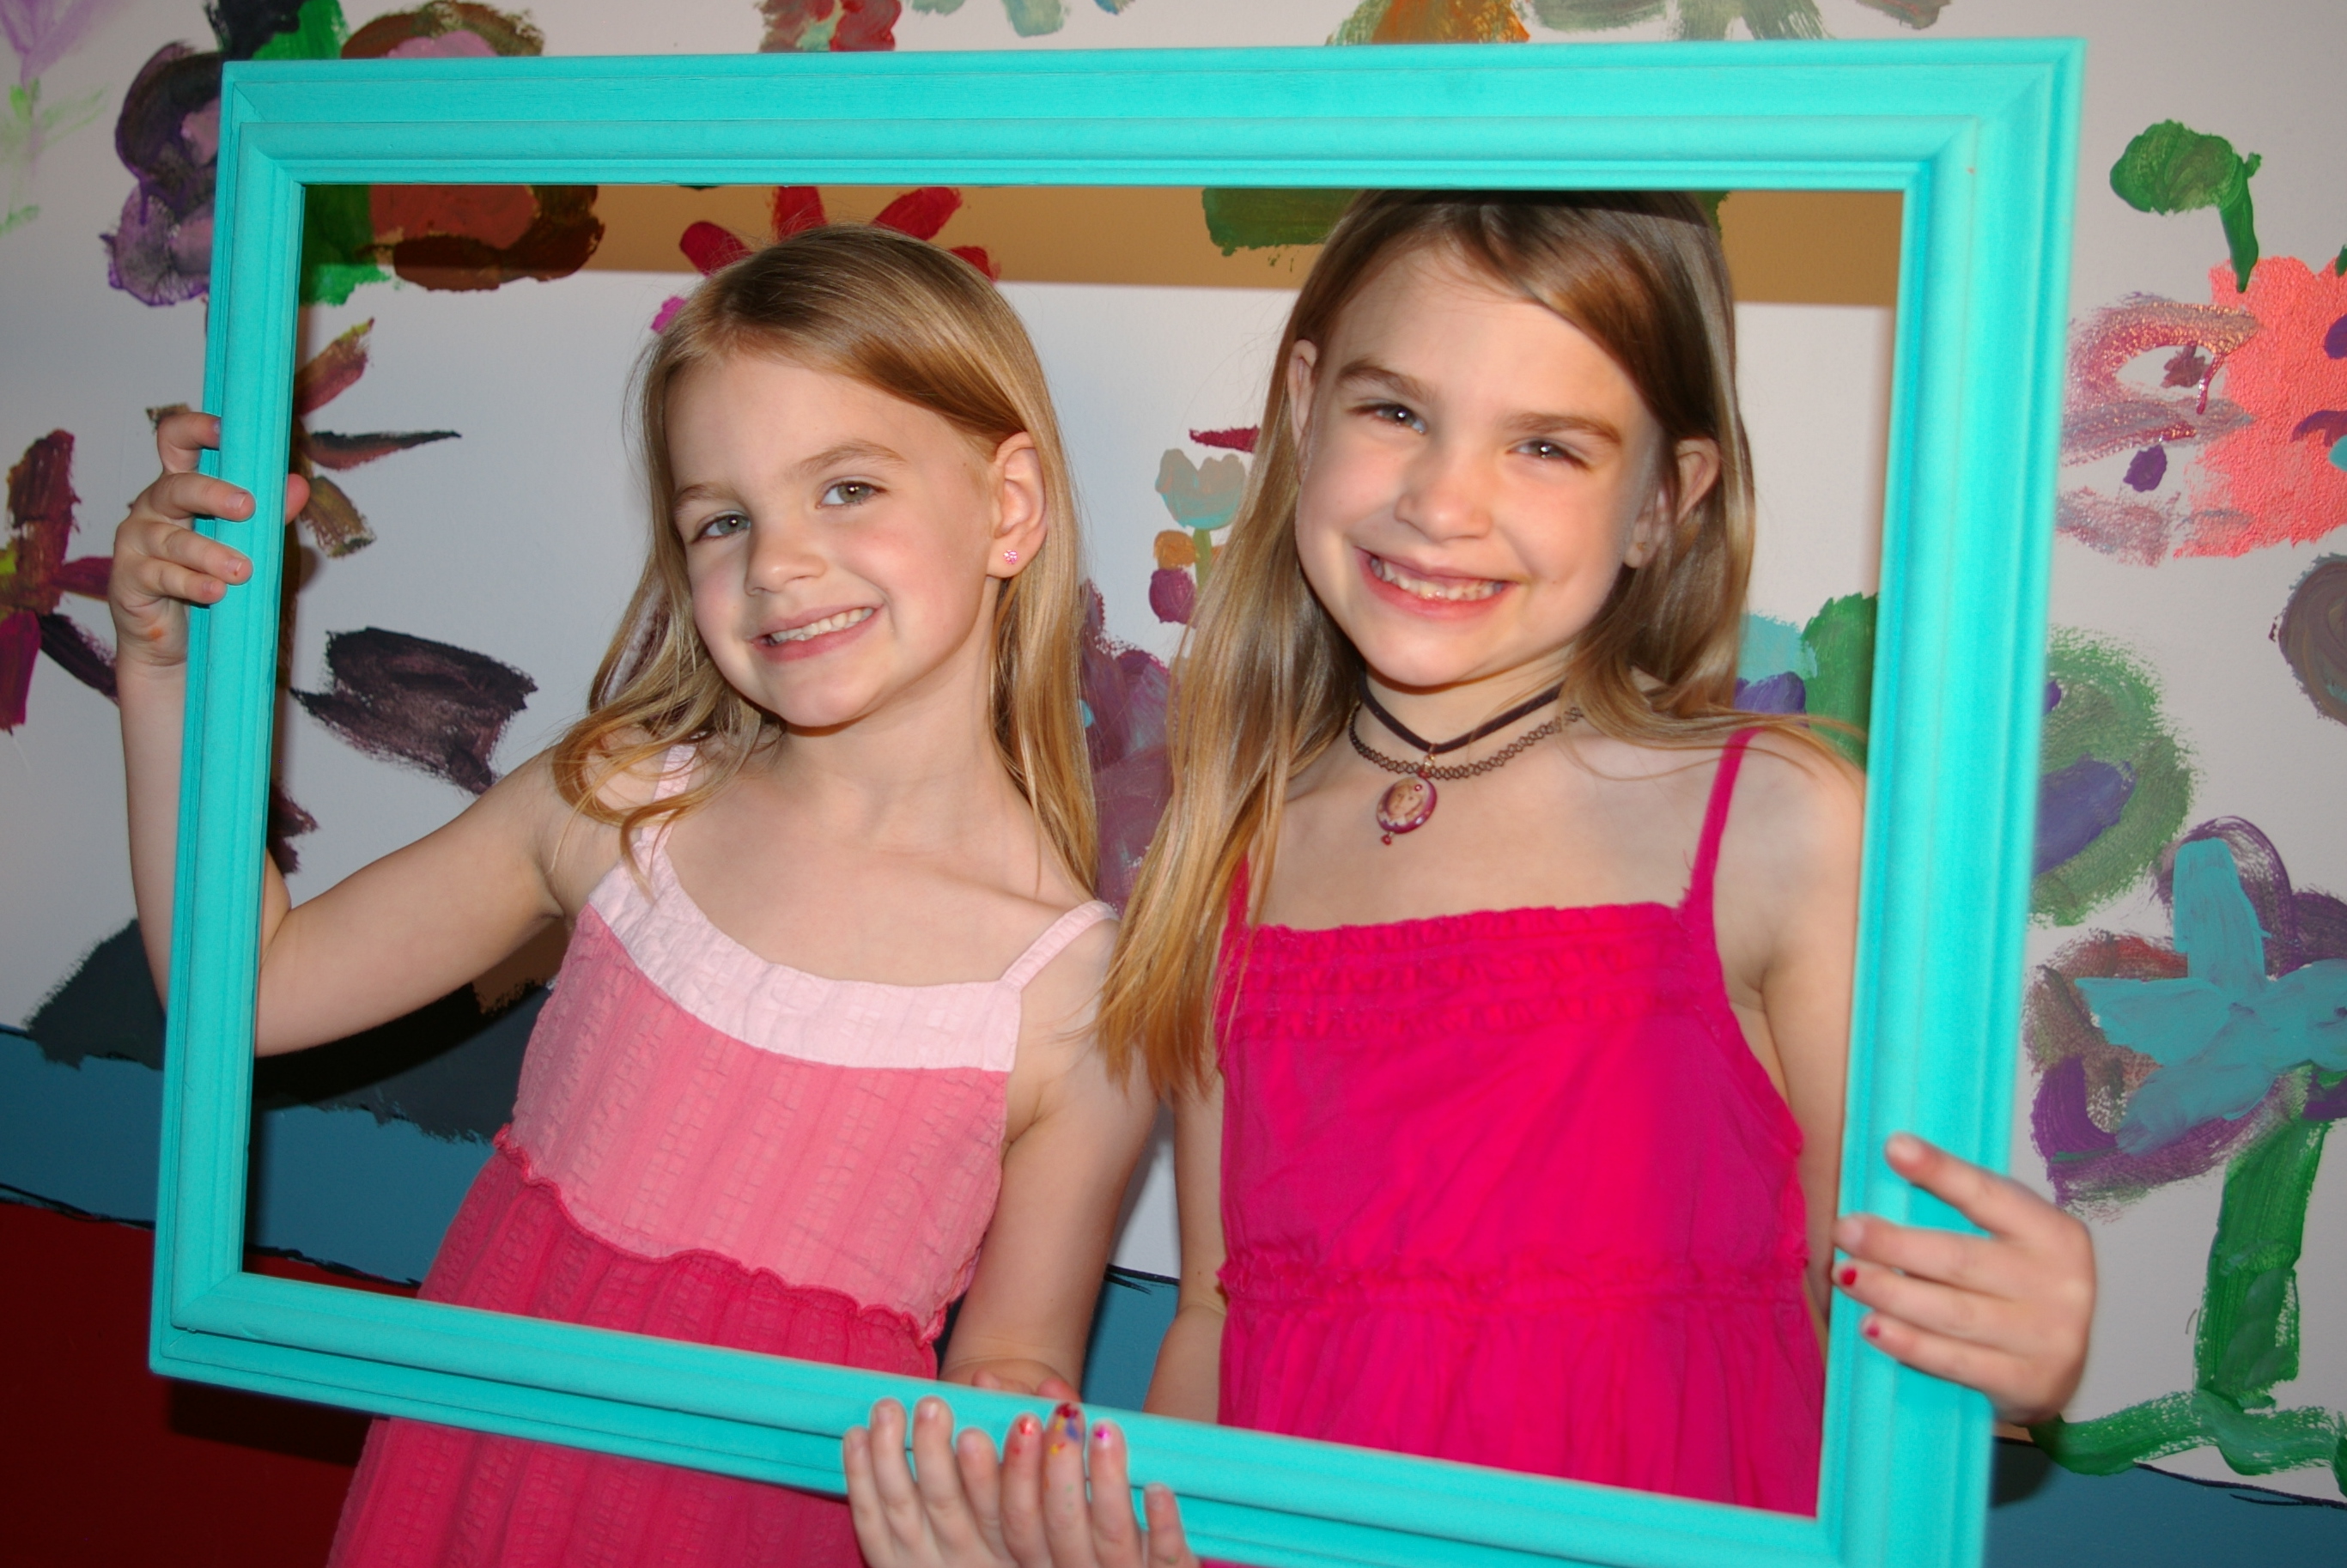
I saw the idea of using a frame to take pictures at a wedding and I loved it. Such fun memories, and I love that you can see some of the kids hard work behind the girls.
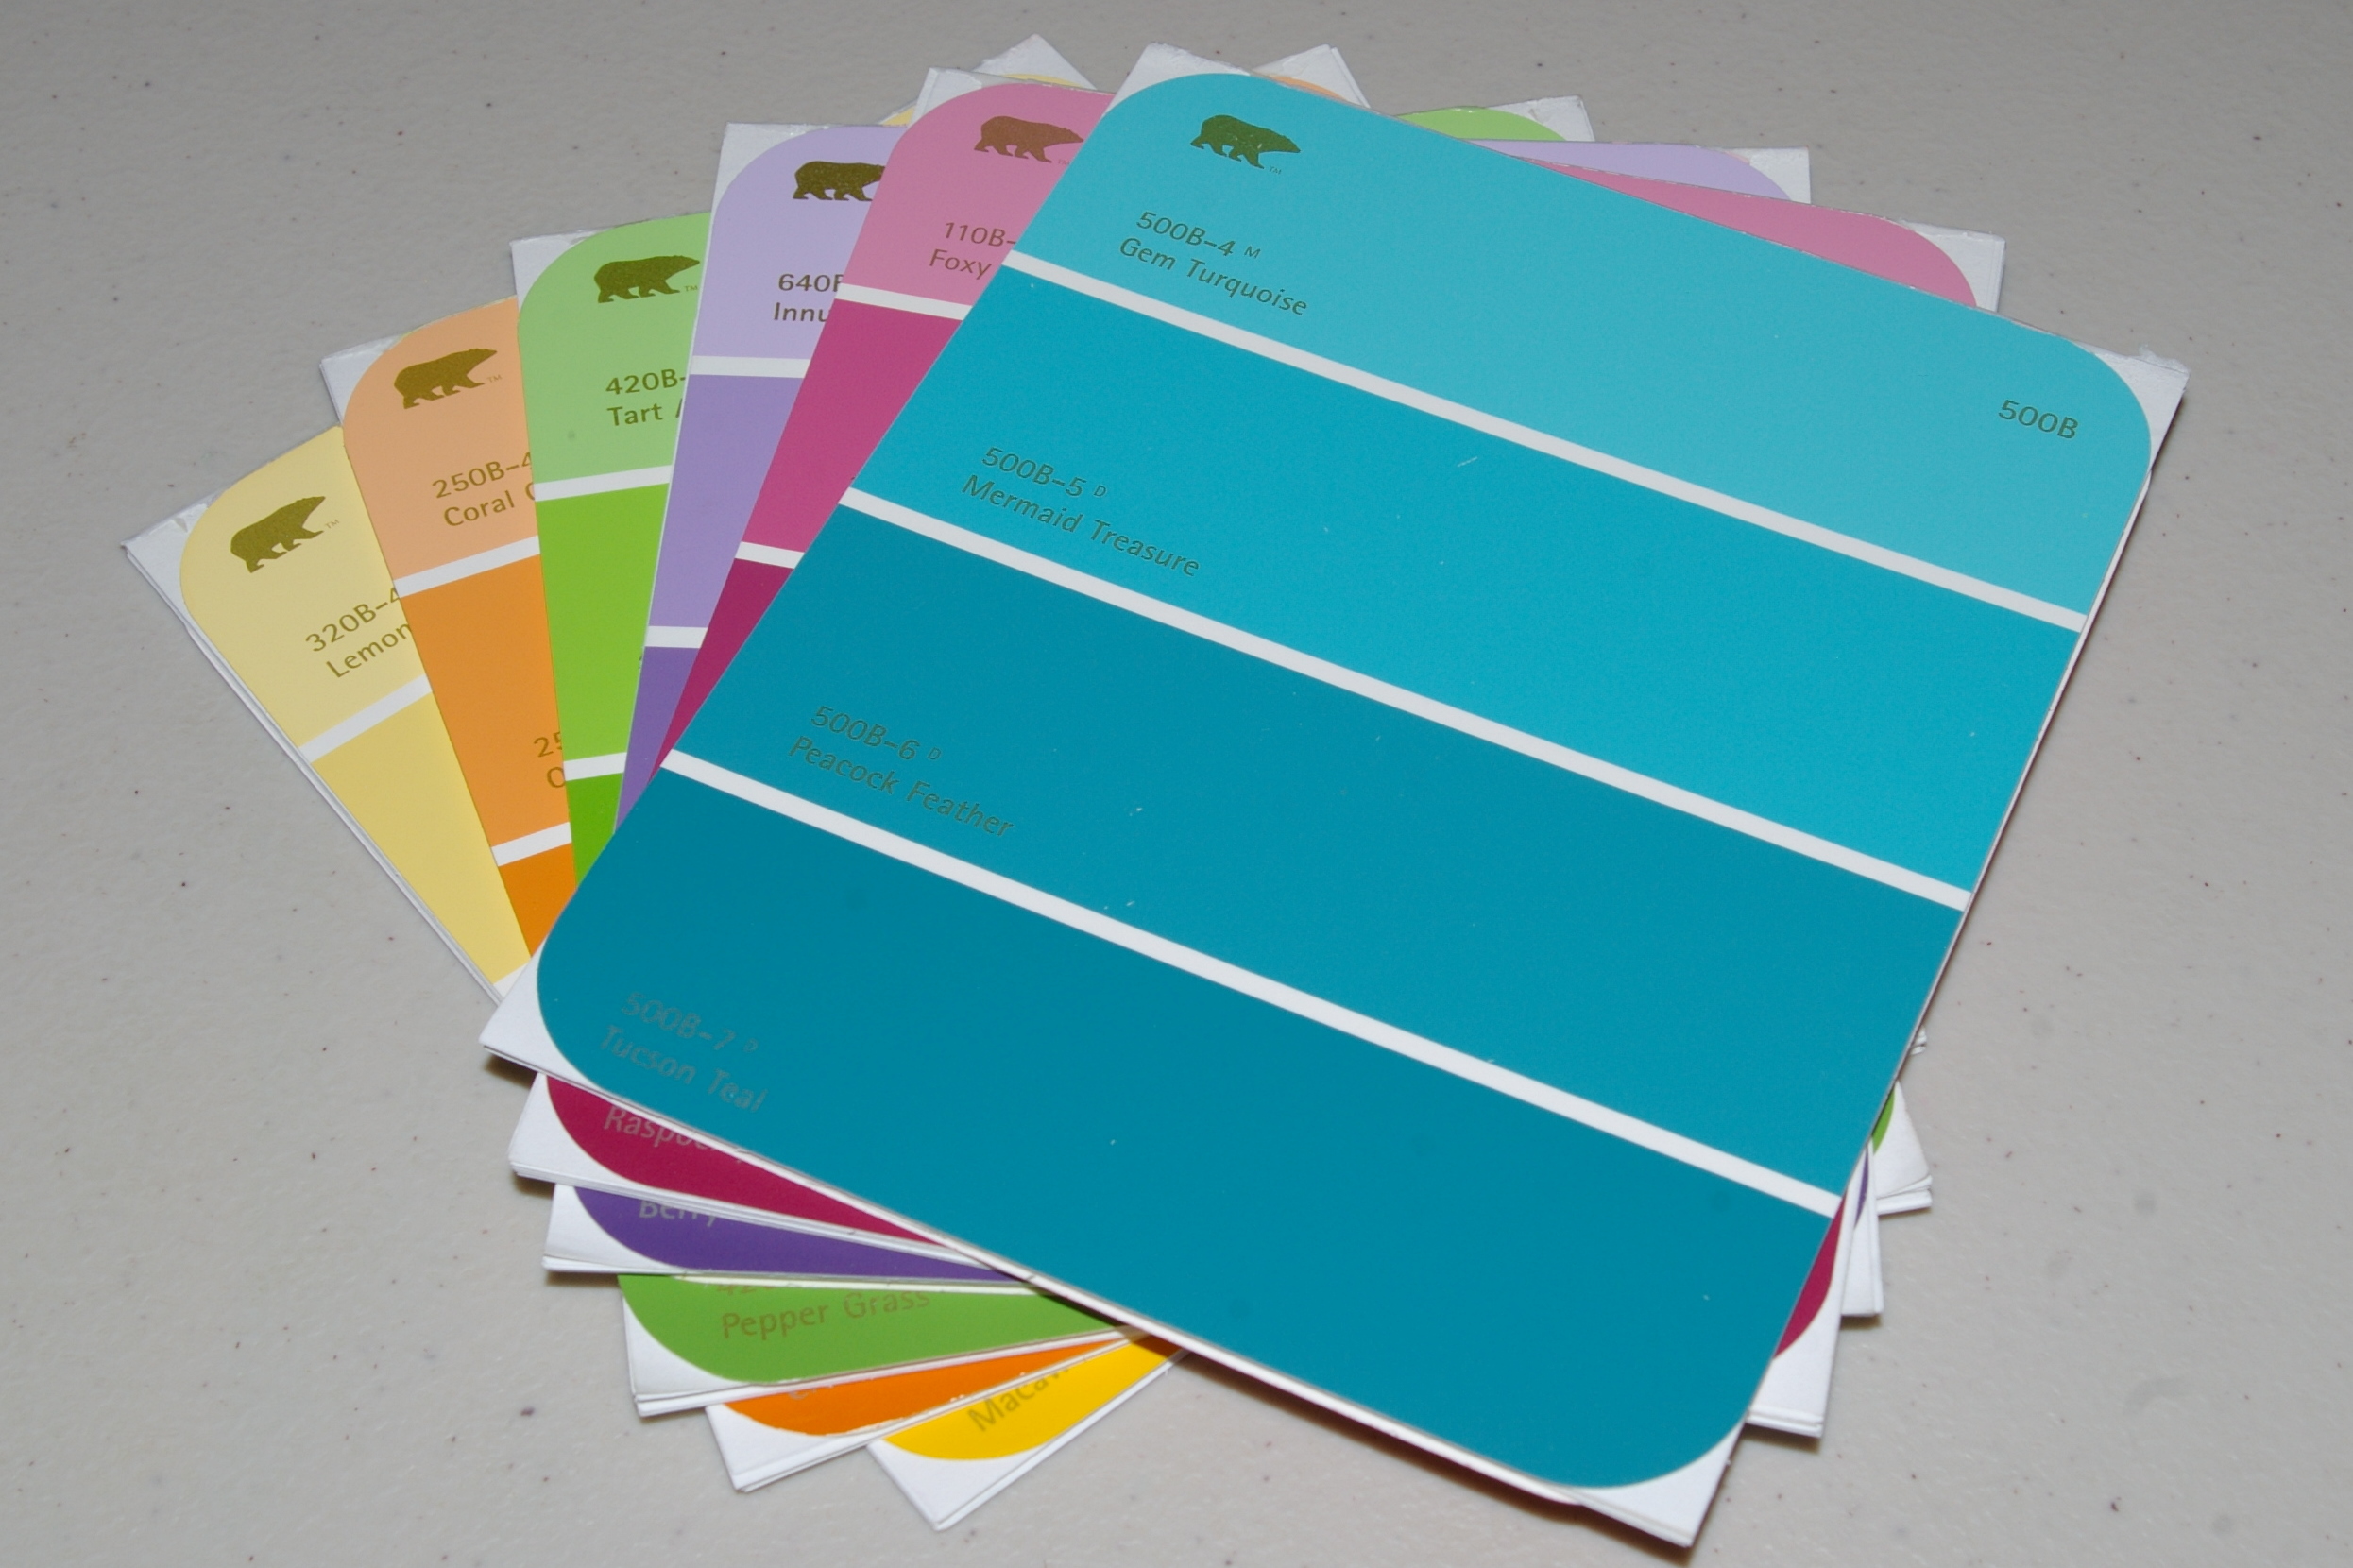
For party favors, the girls took home all the art work they created as well a cute little paint chip notebooks, I included a pencil and some gel pens. The paint chip notebooks were super simple to create. All you need is paper cut to the size of your paint chip and padding paste. They turned out so cute!
-----------------------------
Thanks, Tammy, for sharing such a wonderful ideas!