December 28, 2010

New Year.....new ideas!


So are you ready to rip down your Christmas decorations yet????  I am getting there!  I don't think that it's as much the decorations as it is all the extra Christmas MESS.....the presents everywhere....the hubby's computer and cords......cookie crumbs.....mittens and boots....relatives.....(oops----wait....they read my blog!)

The only thing that is delaying my whisking away of the decor is that packing away the Christmas stuff always leaves "holes" in my house....

How does that happen?  What was on my mantel before my glitter trees??  How could I have forgotten in a few short weeks?

If you can relate then get excited because next month I will have some New Year....new ideas for you!!

....a winter white wreath......children's art hangers from household "trash".....picture frame holders from old cabinet doors......gorgeous candles made from old spaghetti jars and epsom salts.....and lots of ideas for how to decorate with old windows!!  I can't wait!

See you in 2011!


(Here's a sneak peek!!)
Read more ...

December 25, 2010

Picture Panic....

So this year we took our own Christmas pictures with our new camera and I went to Goodwill to purchase frames.....because I am saving money!

Now before you look under at the picture you need to know that I even asked the salesperson for a tape measure to ensure that I purchased the right sizes of frames.....well....


.....not quite fitting....

It's Christmas afternoon and we are to be leaving soon and this was to be a gift....

At first I thought about gifting an old picture frame of mine, but the layers of dust might be a giveaway to it's true age!  But then I saw the matte in it and got an idea....


What if I aged the matte with some glaze???  Hmm.....not there yet... and still not big enough....

What about some burlap??  I still had a tiny scrap leftover from my fall decor...


Yes....I'll be sure to finish scraping off my Goodwill sticker before I wrap it!


Getting closer.....


I started digging through my craft drawer and found some brown ribbon....


I about burned off my thumb with the glue gun doing this, but I was getting closer.....


Still a little plain and I still needed to dress up the frame.....so I dug some more and found a scrap of brown fabric....


What if I made a twisted fabric flower???


*Sigh*......Crisis averted.....all at ZERO cost!!!


...now to go and borrow some wrapping paper since I ran out at 11pm on Christmas Eve......

**By the way....the frame was a very ugly brown to begin with.....I brush painted it with a semi-gloss ivory/white paint and rubbed a rag with glaze over it to get the "old" look....


Read more ...

December 24, 2010

Merry Christmas


      So Joseph also went up from the town of Nazareth in Galilee to Judea, to Bethlehem the town of David, because he belonged to the house and line of David.  He went there to register with Mary, who was pledged to be married to him and was expecting a child. 

While they were there, the time came for the baby to be born, and she gave birth to her firstborn, a son. She wrapped him in cloths and placed him in a manger, because there was no guest room available for them.

       And there were shepherds living out in the fields nearby, keeping watch over their flocks at night. An angel of the Lord appeared to them, and the glory of the Lord shone around them, and they were terrified. 
 
But the angel said to them, “Do not be afraid. I bring you good news that will cause great joy for all the people.  Today in the town of David a Savior has been born to you; he is the Messiah, the Lord.  This will be a sign to you: You will find a baby wrapped in cloths and lying in a manger.”
 
      Suddenly a great company of the heavenly host appeared with the angel, praising
God and saying,
 
  “Glory to God in the highest heaven,
   and on earth peace to those on whom his favor rests
.”


Luke 2: 4-14
Read more ...

December 23, 2010

Quick Williams-Sonoma knock-off table runner

How are you decorating your table for your Christmas dinner??  Do you need a quick, easy and cheap idea?


My friend, Lisa, wrote....

"I don't know if you have been into the William Sonoma store in the Mall recently. I only go there to pine... Anyway, I saw one of their table decorations that I thought was sooo simple. So I made it. I already had a white table cloth and purchased a bit of burlap and 1 yd of the plaid and stitchwitched it to make it long enough."


Sorry about the blurry pictures.....she sent them via Facebook....but you get the idea!  I love how crisp it looks!

And quite honestly, I would probably hot glue all the seams!  I have a roman shade on my kitchen window that I made and it is hot-glued....I'm going on at least 2 years with it!
Read more ...

December 22, 2010

Linking up...

I am linking up my Knock-off PB lanterns at:


Read more ...

Hard Tack Candy


It has been a family tradition that we make hard tack candy for Christmas.  I remember being a little girl at my Grandma's farmhouse and we would all sit around the big kitchen table pulling the candy and burning our fingers.  It just wasn't Christmas without those pretty jelly jars full of colored sugar candy.

Well....last year my mom and I decided to pass the tradition on to my children......after about 3 burned batches we finally perfected our recipe......really, it wasn't our fault, the candy thermometer was off by 20 degrees!!


The basic ingredients are very simple.....sugar, cornsyrup, water, food coloring and flavoring....we get our flavoring at a local country store....I think that the grocery store carries basic flavorings like rootbeer, cinnamon, and spearamint...


This was our recipe.....truly, I have no idea what a dram is....I just ignore things that I don't understand....


Add 2/3 light corn syrup to 2 cups of granulated sugar....add an additional 2/3 cups of water...mix it up and then put the spoon away... 


I kept wanting to mix it up....but you don't want to touch it!!


Now...a calibrated candy thermometer is crucial to the success of making candy!


If you notice, a candy thermometer shows the different stages that sugar passes through as it reaches different temperatures....we were taking it all the way to hard crack....even a few degrees over will result in burnt sugar candy....which is gross...speaking from experience!


Partway through our first batch, we starting thinking that our thermometers were off.....(My mom is the expert, she can put a drop of that sugary stuff in a little bit of water and know what stage it's at....)  We knew that we needed to check our thermometers because we didn't want a repeat of last year!

So how do you calibrate your thermometer????  Easy!  Boil a pan of water....your thermometer should read very near 212 degrees Farhenheit or 100 degrees Celsius....ours was off by 20 degrees.....again!!!  That would have been disasterous!!

Determine how much your thermometer is off and adjust for that.....


While you wait for your sugar to get to the hard crack stage....butter a (Goodwill purchased!) dish....


You want the dish to be heavily buttered because that keeps the candy from sticking later!


Mix up your food coloring....our first batch was rootbeer, so we wanted to make it brown. 

We used different colors for different flavors.....red is raspberry, orange is cinnamon, blue is peppermint, green is spearment....be creative.....the more colors, the prettier your jar is!


Meanwhile.....your pan of sugar is just doing it's thing.....you are not touching it and just watching the thermometer.  Don't be worried if this process takes 30 minutes or more......it takes a while for the temperature to get up around 260 degrees, but then it starts to move more quickly....


At about 260 degrees, we added to food coloring......at 300 degrees we took the pan off the heat (very important!) and added the flavoring...

It probably only takes a few minutes between 260 and 300 degrees.....it starts to move quickly!


Pour your candy onto your buttered dish.....yum....it smells so good at this point!  Rootbeer wafting through the house....


The recipe calls for you to score it and break it into pieces....but there's no danger or risk doing it that way.....


Instead....using scissors, lift the edges of the boiling hot candy and cut into pieces....all while burning off your fingertips!


The edges cool faster so you want to pull from the edges and stay away from the middle (or you'll completely lose your fingers!) 

Drop the pieces onto a cookie sheet where they have a chance to cool and harden while your family is screaming at the tv in the background....


We didn't get much help until the game was over!


We just store the candy in ziploc bags and gift it in jelly jars or whatever pretty glass container you have available....


Merry Christmas!


Read more ...

December 21, 2010

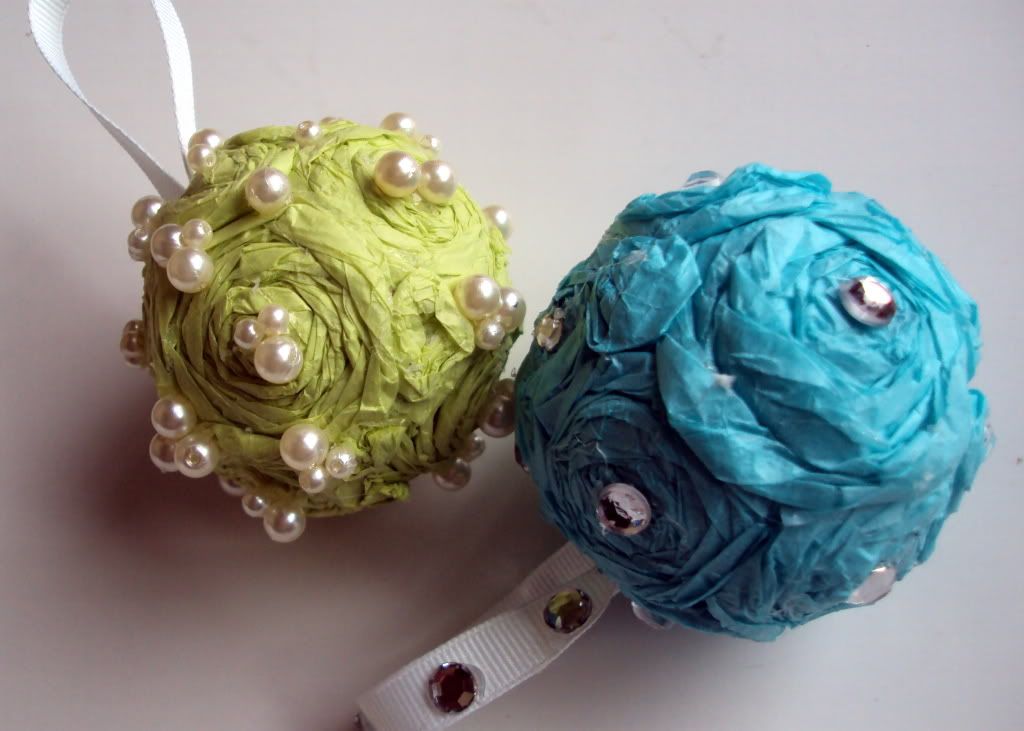
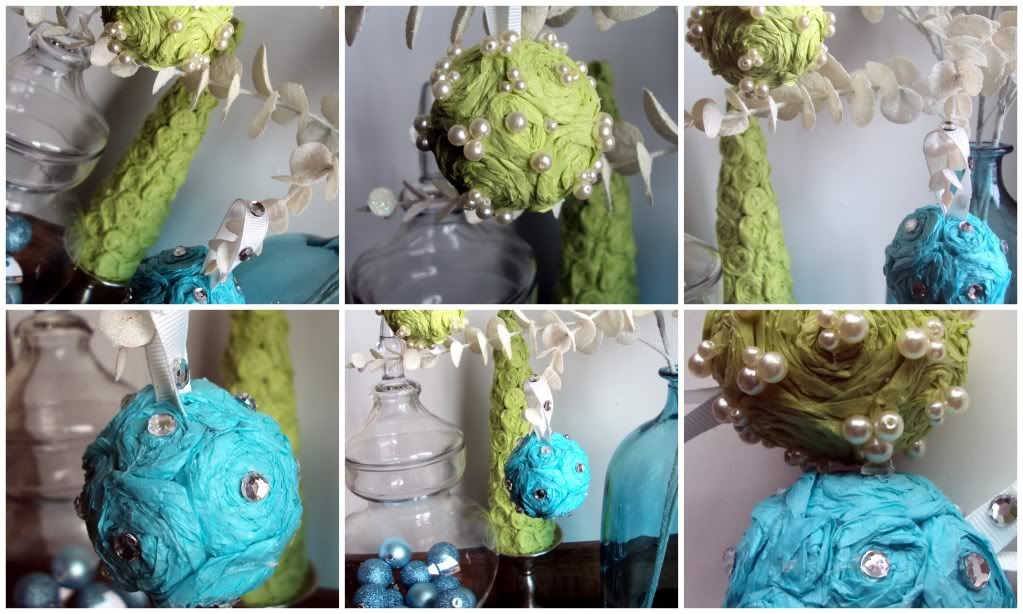
Gift Idea: tree ornaments from tissue paper!


Yes.....they are made from styrofoam balls and TISSUE PAPER!!!


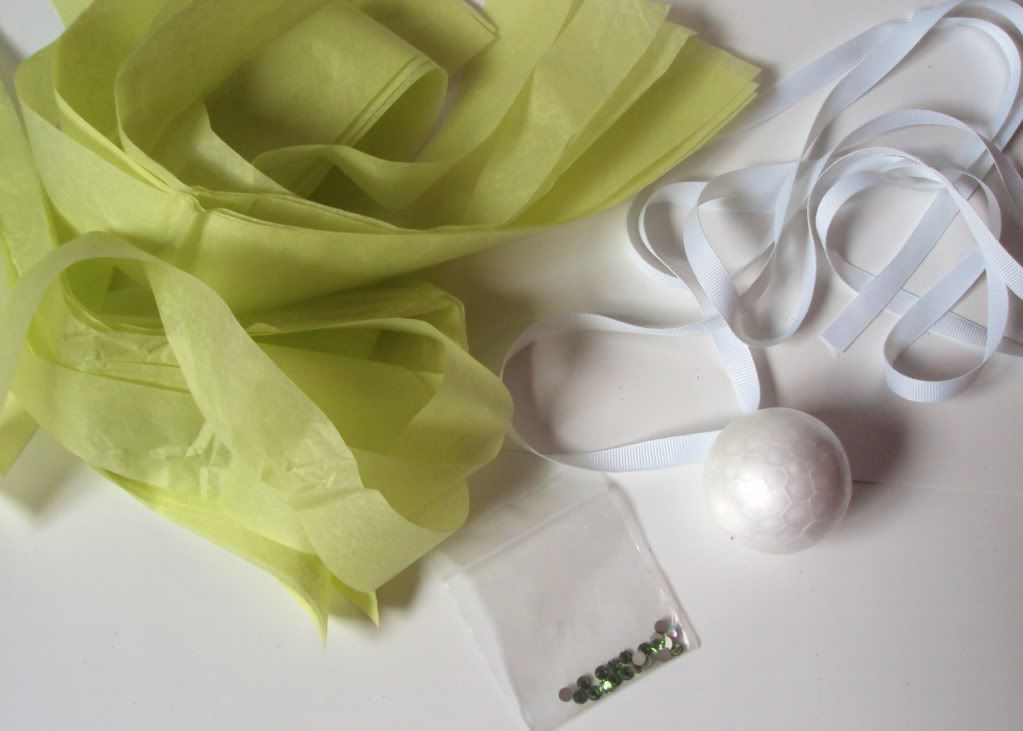
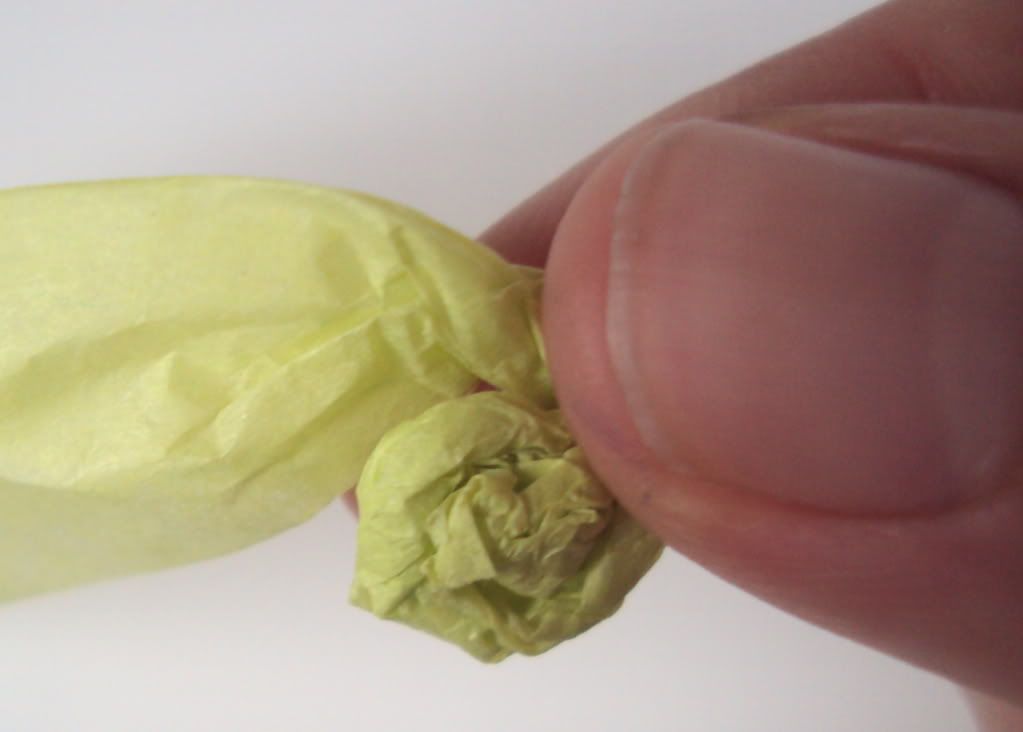
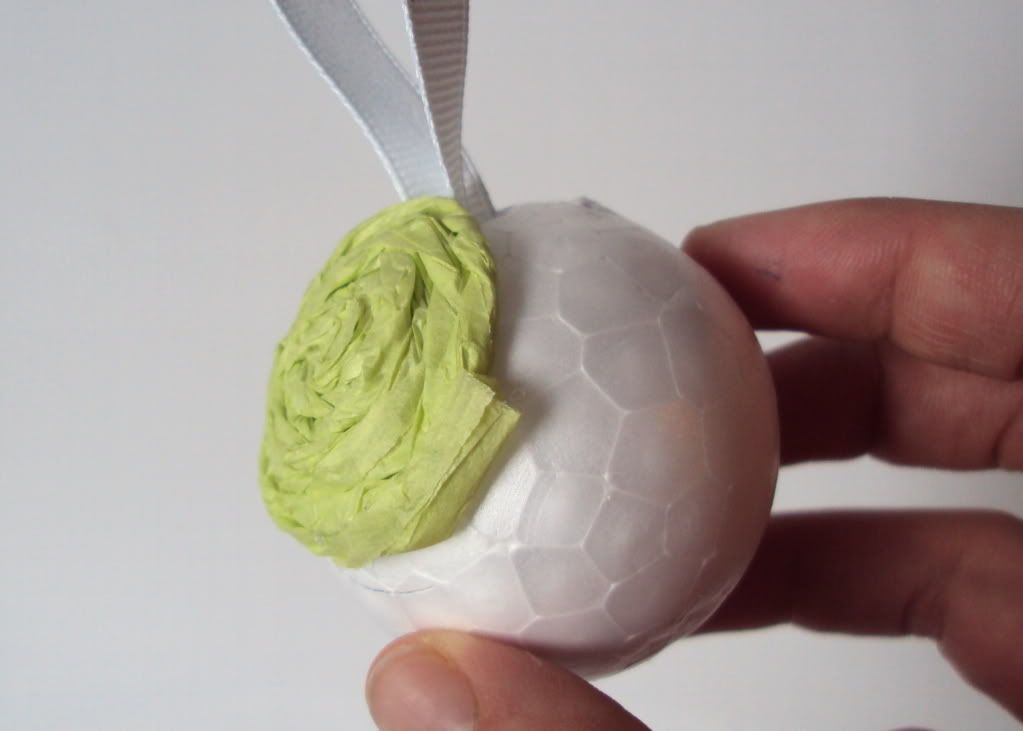
For the complete tutorial go here to:

UndertheTableandDreaming


She uses this.....and...


....this....to make.....this!


Gorgeous and inexpensive!! 


You could pack them in a white box tied with a simple ribbon and give a set of 6 for a unique and personal Christmas gift!  I'd love to receive a gift like that!!  (but I want a new iron even more!)
Read more ...

December 20, 2010

Superquick Candycane Candle

Here's a 2-minute Christmas craft....

Grab a $0.33 candle from The Dollar Tree, a $1.00 votive and some candycanes, a glass jar and some ribbon.....


(I actually swapped out the candy canes for peppermint sticks....I had the brillant idea of breaking the candy canes into sticks....doesn't work!!)


Put sticks into your jar....


Put candle into votive, tie with ribbon....and voila....a two-minute craft!


(Of course, it only lasts like 2 days because everyone in your family keeps stealing the peppermint sticks!!)

Read more ...

December 18, 2010

My PB knock-off lanterns


{PB Knock-off....}


I posted a while ago about these PB Knock-off Lanterns.  I liked them, but I wanted to add my own touch.....so I did!


Would you believe that the only wood  I had to buy was the dowel rods!!  We have a lot of scrap wood!!


I just cut random squares.....I wanted my lanterns to have a more layered look.  I also wanted my posts to be round, so I used dowel rods.


Grab your Gorilla glue.....Gorilla glue is your friend!


Glue the dowel rods to your base.  You must make sure that they are the same length....mine weren't (sorry, Dad, you made one a smidge too short!) so the top didn't go on evenly.  So....call your Dad and ask him to fix them because you are too scared to use the tablesaw....


Glue on your top.....


I didn't measure....I had about 8 minutes to put these together before my piano lesson came...so I just kept turning it around and eye-balling if the dowels were in line. 


I wanted a more layered look for my top, so my hubby cut various sizes of wood squares that I stacked and glued on the top square......


Hmmm......the scrap wood is looking a little uneven----or is that where I was trying to use the table saw, got scared and pulled the wood out the wrong way.......I may need a little caulk.....


I've also learned that "cheap" Walmart spray paint is exactly that....cheap.  My $0.97 can is not covering really well.  Looks like another trip to TrueValue to get some Rustoleum Blossom White......


Grab a glass vase from The Dollar Tree and your Gorilla Glue.


Glue to your lantern.....after you have let the glue dry....realize that there was a reason the other lanterns were so tall....


There's no way to fit a candle into the vase....grrr!


Place empty lanterns and your front porch and pretend they have candles in them......maybe I'll go grab a $1.00 strand of white lights and fill them with that....

Overall, I think that they go nicely with my Dollar Tree pillows....


If you like this scrapwood project.....then you might also like my "old" crate from paintsticks.....


Thanks for visiting!

I'm linking up with:


Read more ...
Related Posts Plugin for WordPress, Blogger...